 Magezon Blog Help Merchants Build Comprehensive eCommerce Websites

| * For more useful tutorials on Magento Page Builder, visit our series. |
You must know the Magento Page Builder Image content type if you’re running an eCommerce website on the Magento platform. That’s right, this tool adds images to your web pages. But how important are images?
Image is crucial visual content to attract more visitors and enhance retention. When you can make the most out of it, it will help personalize your website and brand your business, increasing the conversion rate.
In this article, I will guide you through everything you need to know about Image content type. Let’s start now with the first section: its location.
Table of contents
Where Is the Magento Page Builder Image Content Type Located?
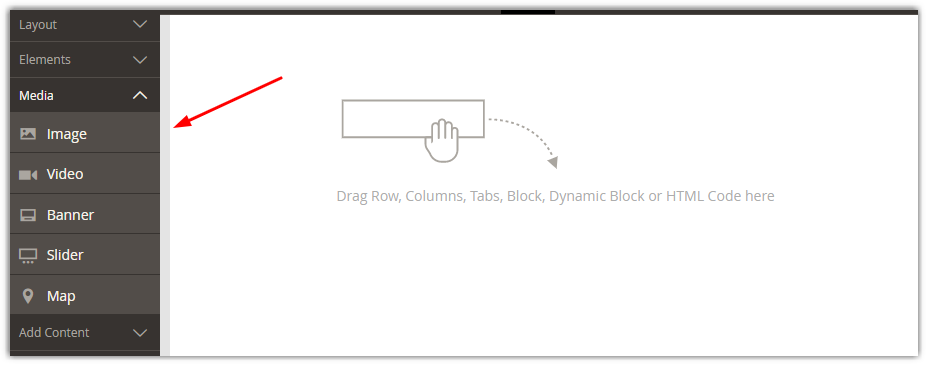
In the Magento Page Builder workspace, you will see the Image content type under the Media section on the left panel.
Introduce the Image Toolbox
After having the Image content type appear on the stage, hover over to display the image toolbox.

| Tool | Icon | Description |
| Move | Changes the position of the image on the stage. | |
| (label) | Image | Shows that the current content container is an image’s. |
| Settings | Enters the image setting page to edit the image and its container’s properties. | |
| Hide | Sets the current image as hidden. | |
| Show | Displays the hidden image. | |
| Duplicate | Makes a copy of the current image. | |
| Remove | Removes the image. |
Try FREE Magezon Page Builder demo today.
Easily create a beautiful, engaging Magento website in any style whenever you want without relying on developers or designers. Just by drag & drop.
How to Add an Image in Magento Page Builder?
You can follow the same steps as with other content types in Magento Page Builder at this stage.
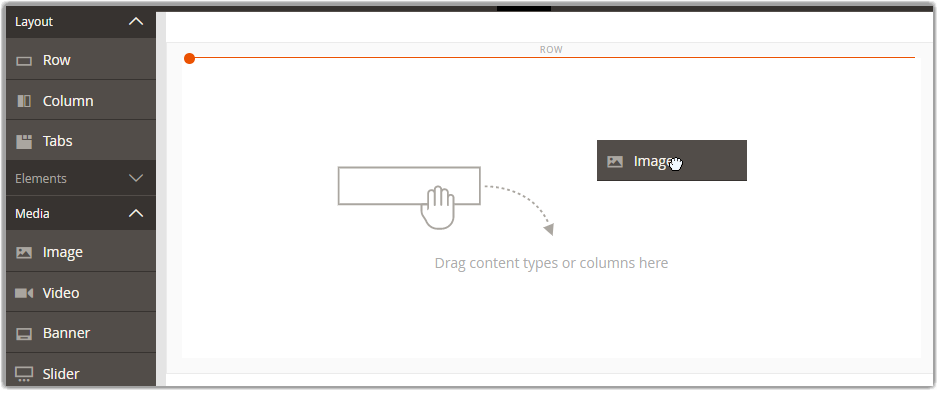
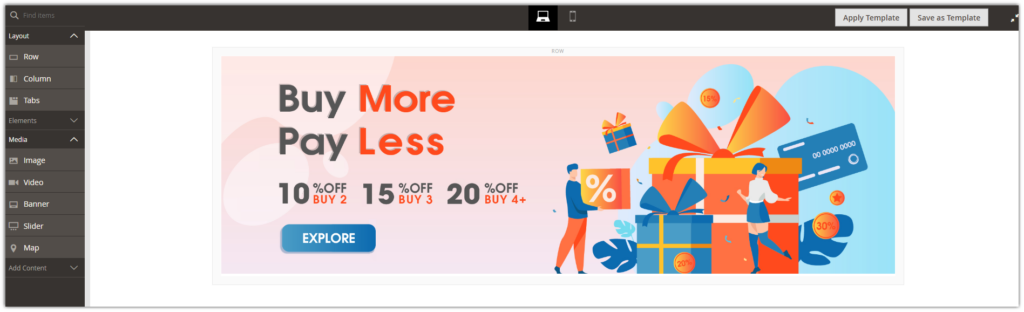
#Step 1: Now, first, look at the left panel. Then expand the Layout section, and pick one from the content types you need. You can choose either Row, Column, or Tabs. Bear in mind that you also need to set the properties of this content type so it will appear exactly as you wish.
To make it simple, I’ll choose the Row, the first content to appear.
After having the row on stage, drag the image placeholder inside it until the orange line appears, then drop.
- Below is what the image container looks like:
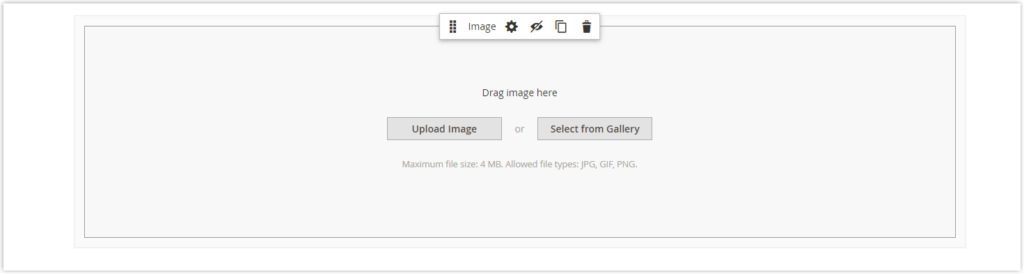
Before adding an image, remember that Magento only allows JPG, GIF, and PNG files with a maximum file size of 4 MB.
There are three methods to add the image, which are:
- Method 1: Upload a new image:
- Step 1: Click Upload Image.
- Step 2: Choose any new image in your file system and upload it.
You can also drag an image from your computer and drop it anywhere in the image container.
- Method 2: Select an existing image from the gallery:
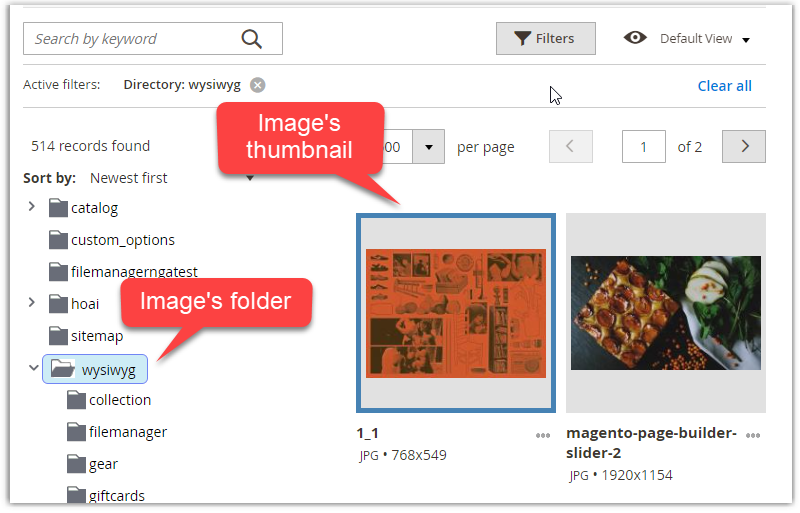
- Step 1: Click Select from Gallery.
- Step 2: In the collapsed tree of the left sidebar, open the folder where the image is located. Then click its thumbnail and hit Add Selected button in the upper-right corner to finish.
- Method 3: Find and choose an image from the Adobe Stock:
- Step 1: Click Search Adobe Stock to find the image you want.
- Step 2: Add the preview or licensed image to the gallery.
- Step 3: Choose the image’s thumbnail, then click Add Selected.
If you use this method, you must have an Adobe Stock integration configured for your Admin. For more information to help you work better with Adobe Stock assets, please visit this Using Adobe Stock Images guide.
After all the steps above, below is our result:
Unlike the background image’s unchangeable position, you can move the image anywhere within the current container or among different containers. Watch the video below where I move the image from a row to a column to better understand.
If you choose to work with the Banner and Slider content type, you can also add an image with the Upload Image and Select from Gallery methods.
How to Change Image Settings?
You have known how to add an image; now, you may want to change the settings to make it look better on your website. In this section, you will learn how to change the general settings, advanced settings, and SEO (search engine optimization).
To show the image settings page, hover over the image container, then click the settings icon (![]() ).
).
A. General Settings
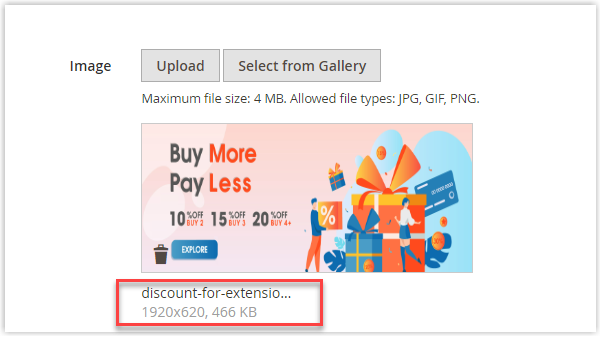
- You will see the three methods to add or change the current image at the top of the page that you’ve learned from the previous section. Follow the same instructions, and you’re good to go.
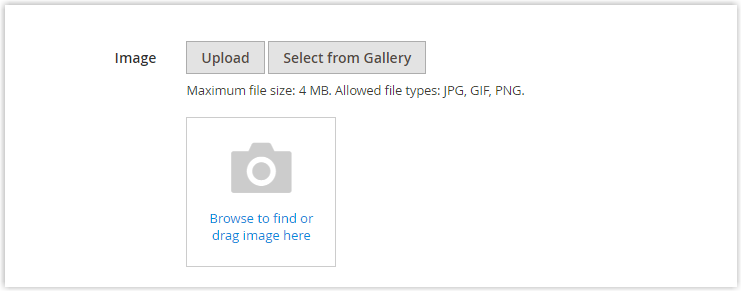
After adding the image, you can see its name, file size, and dimensions at the footer.
- You may notice that there’s the Mobile Image section right under. It’s as simple as it’s called; this is used to upload the image for display on mobile devices.
There are the same three ways to upload an image, so you know what to do.

- You can specify a link for the image if you want. Your customer will be sent to a destination page when clicking on this link. There are four link types for you to consider:
- URL: Links to either a fully-qualified or relative URL.

– Relative URL: magezon.com
– Fully-qualified URL: https://www.magezon.com/
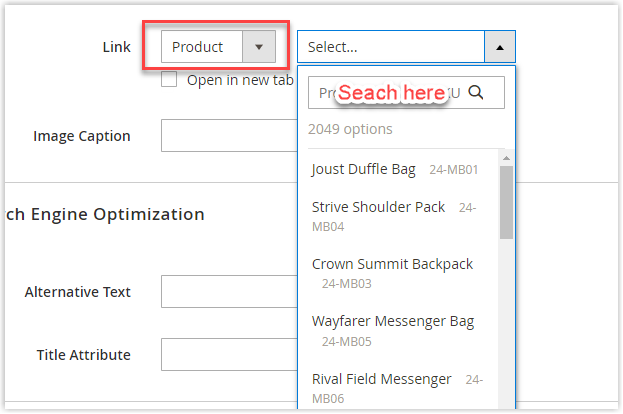
- Product: The destination page is identified by the product name or SKU. You can search for the product by typing its name or SKU on the search box.
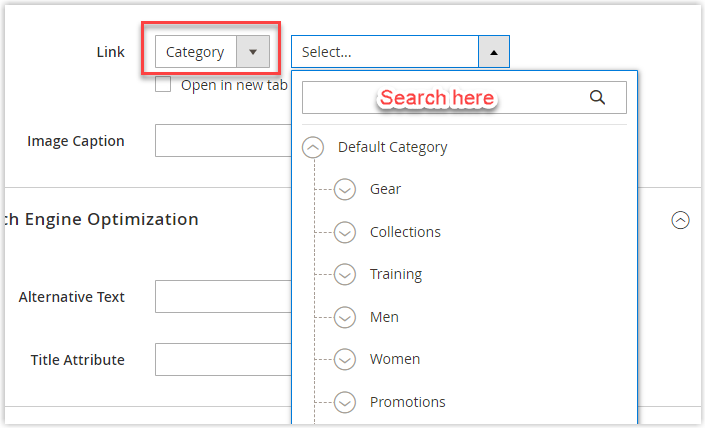
- Category: The destination page is specified by the category or subcategory. You can use the category tree to select the category or subcategory after typing either partial or full name on the search box.
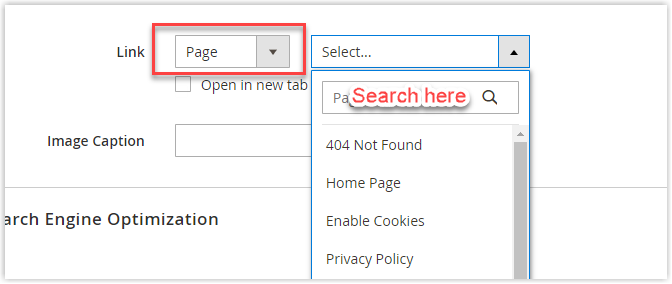
- Page: The destination page is specified by a content page. You can use the search box to find the page and select one from the results list.
Notice that there is a small check box under the select tree called Open in new tab. Select it if you don’t want visitors to navigate from your store. In other words, if you leave the checkbox clear, the destination page will open at the same tab, and your visitors will more likely leave your store.
- Next, you will need to add an image caption. It will appear below your image, showing your visitors and search engines the information about it. You might want to translate the caption into different languages if your site is available worldwide.
In HTML, you may notice the <figcaption> tag is a subset of the <figure> tag.
For example: <figcaption>Image Caption </figcaption>
- When everything looks good enough, click Save to apply the settings.
Let’s move to the next part, where you’ll change the settings of:
- Search Engine Optimization (SEO)
- Advanced
B. Search Engine Optimization
In this section, you will learn to optimize the way the image is indexed by adding keywords to the alt tag and title, therefore, increasing your website’s rank on the search engine results page like Google.
Remember that even if your eCommerce web pages are not found in the first search results pages, with the help of images, you still have a chance to stand out among the big names.
Ok, let’s start now.
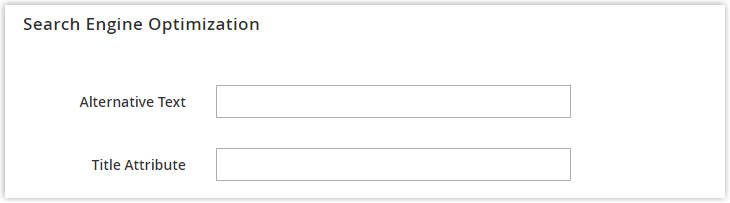
As you can see, there are two fields to fill in. The entered text in these fields will be visible to the search engines, improving how the page is indexed. They are
- Alternative Text: The text you enter here will assist digital accessibility tools in displaying. In other words, it should describe exactly what your image is talking about.
In some locales, it is compulsory to include an alt text which is considered to be the best accessibility best practice.
The alt attribute is a subset of the image tag in HTML.
For example: <image title=”this is image” alt=”description” src=”image.jpg”>
- Title Attribute: The text you enter here will appear as a tooltip when you mouse over the image.
To get your image best indexed by the search engines, your title should include keywords and be descriptive.
The title attribute is a subset of the image tag.
For example: <image title=”this is image” alt=”description” src=”image.jpg”>.
Try FREE Magezon Page Builder demo today
Easily create beautiful, engaging Magento website in any style whenever you want without relying on developers or designers. Just by drag & drop.
C. Advanced Settings
You may notice that all the content types in Magento Page Builder have an advanced settings section for their container. We’ll also have a quick look through each sub-setting for Image content type.
- Alignment setting
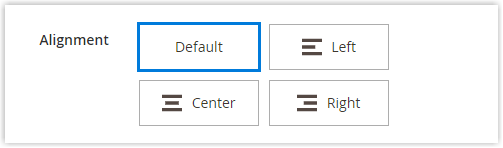
This setting is to control the position of the image within its container horizontally.
| Default | The default alignment setting specified in the current theme’s style sheet is used. |
| Left | The image content is aligned along the left border of the container with any given padding value. |
| Center | The image content is aligned in the center of the container with any given padding value. |
| Right | The image content is aligned along the right border of the container with any given padding value. |
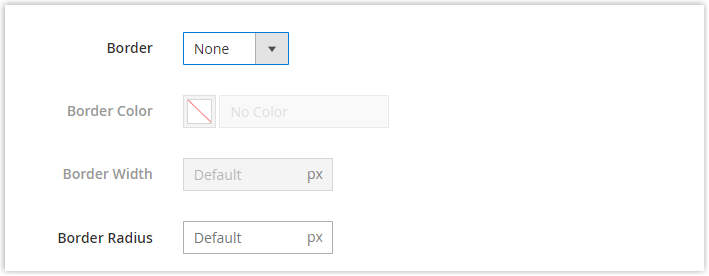
- Border setting
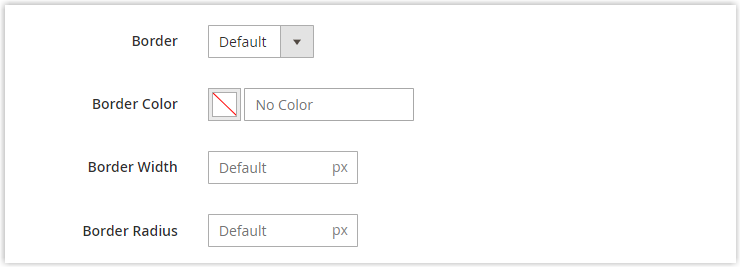
This setting is to control the way the image’s border appears. As you can see, there are four sub-settings which are border styles, color, width, and radius.
For the border’s styles, there are ten options. If you choose None, there won’t be a visible border for your image’s container, and you can’t go further with Border Color and Border Width. Like this:
If None is not your option, you can change other container border settings.
- First, its style:
| Default | The default border style given by the associated style sheet is used. |
| Dotted | The container border looks like a dotted line. |
| Dashed | The container border looks like a dashed line. |
| Solid | The container border looks like a solid line. |
| Double | The container border looks like a double line. |
| Groove | The container border looks like a grooved line. |
| Ridge | The container border looks like a ridged line. |
| Inset | The container border looks like an inset line. |
| Outset | The container border looks like an outset line. |
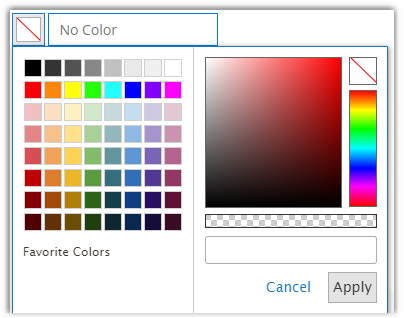
- Next, its color, width, and radius:
- Border Color: Choose a color with a swatch or color picker, or entering a valid color name or equivalent hexadecimal value.
- Border Width: Enter the number of pixels identifying the borderline width.
- Border Radius: Enter the number of pixels identifying the borderline radius size.
- Then, there will be a CSS Classes fill box where you can personalize the image container more. If there is more than one class, they will be separated with a space.

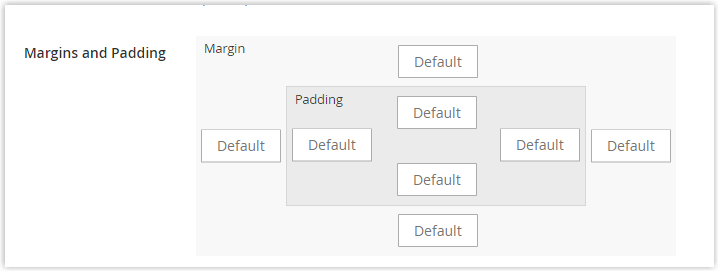
- The final setting is for the margins and padding. This setting will identify the image container’s outer margins and inner padding.
Now that you have finished learning about the Image content type in Magento Page Builder. However, if you aren’t satisfied with the results, the next section will offer you more options to customize the images on your website.
Optimize Your Website Images With Magezon Page Builder
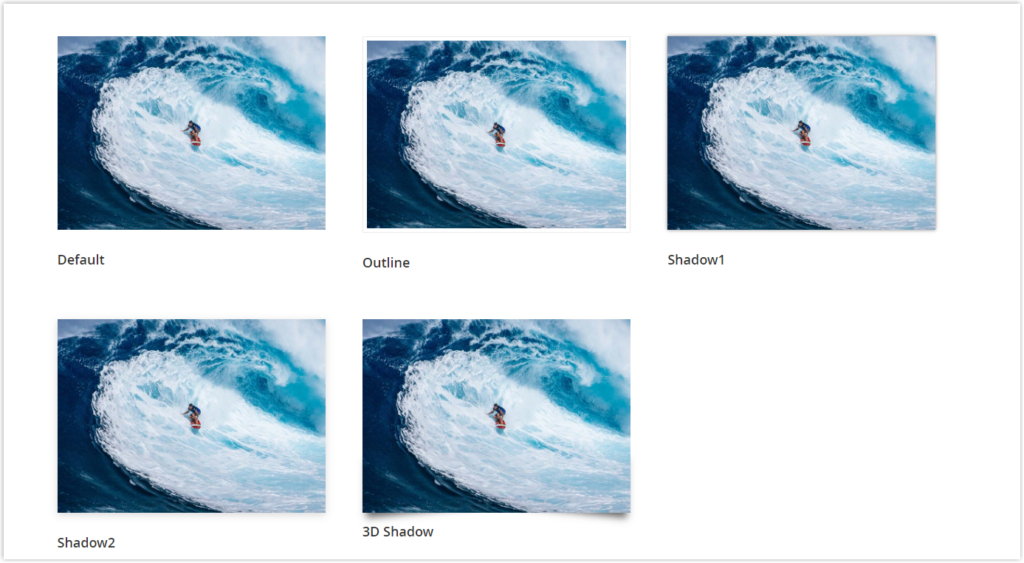
The highlight of the Single Image element in Magezon Page Builder is the special effects you can add.
In Magento Page Builder, you can only change the settings for the borderline of the image container, but with Magezon Page Builder, you can do much more.
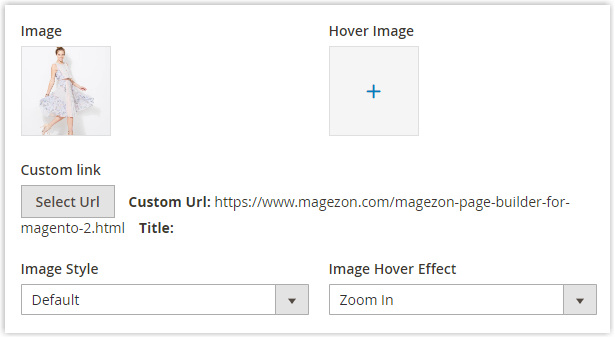
Besides the Default style, we provide four more options for Image Style, which are Outline, Shadow 1, Shadow 2, and 3D Shadow. With these effects, your website will become much more eye-catching.
What’s more, with Magezon’s Single Image, you can also add hover effects. This effect increases the likelihood that customers will click on the link you have inserted in the image. It comes with three different effects, which are Zoom in, Zoom out and Lift up.
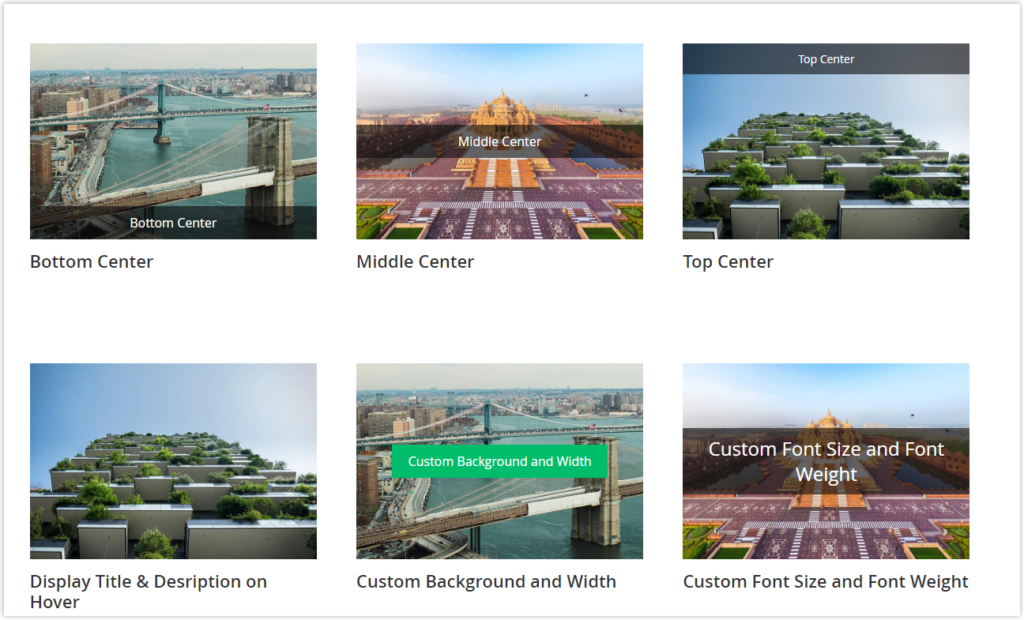
This is what you can get when you use the hover effect for a single image:
Do you recognize the urge to click on the image when you mouse over it?
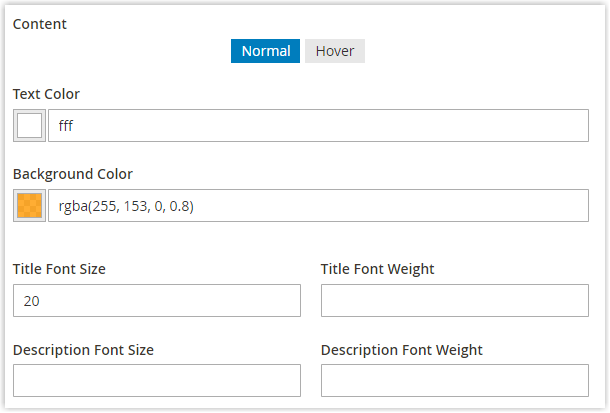
On the other hand, you may have noticed that there is also a line of text on the image with the orange background. That is the image title or description you know on the Image content type of Magento Page Builder. However, with Magezon Page Builder, you can do more than just add a default title. You can add effect, change its format, position, and more.

Wrapping Up
That’s all you need to know about the Image content type in Magento Page Builder and the Single Image element on Magezon Page Builder. Now you have two options to optimize your website and make it outstanding.
Basically, the Image content type is all you need for a fundamental image. Still, if you want more advanced settings for your image with little to zero coding skills, I highly recommend Single Image of our page builder. You can also find more than 50 elements with a user-friendly customization interface and various options to build any page layout you want.
Try FREE Magezon Page Builder demo today
Easily create beautiful, engaging Magento website in any style whenever you want without relying on developers or designers. Just by drag & drop.


