 Magezon Blog Help Merchants Build Comprehensive eCommerce Websites

| * For more useful yet interesting tutorials on Magento Page Builder, follow here. |
Welcome to the first blog in Magezon’s series of discovering Magento Page Builder. Magento Page Builder is not a too complicated tool, yet it takes time and effort to master every element of it. And once you’ve done it, using this tool is a piece of cake. In this blog, I’ll detail the Magento Page Builder row – the first content type you see in the Magento Page Builder working panel.
After explaining everything about the Row content type, I’ll show you how to create a banner in a row. This is an excellent chance for you to practice using this builder. Now, let’s jump in.
Table of contents
Explain Magento Page Builder Row
First thing first, what is a row in website building? Easy, a row is a horizontal element you add to a page. You can apply styling to an entire row, rearrange its position or add new elements, such as columns.
It is the same for the Row content type in the Magento Page Builder workspace. Now, let’s go further into it.
To use the Magento Page Builder, ensure you update Magento EE to 2.3.1 or newer and Magento CE to 2.4.3 or newer. After that, configure Magento Page Builder by following this tutorial.
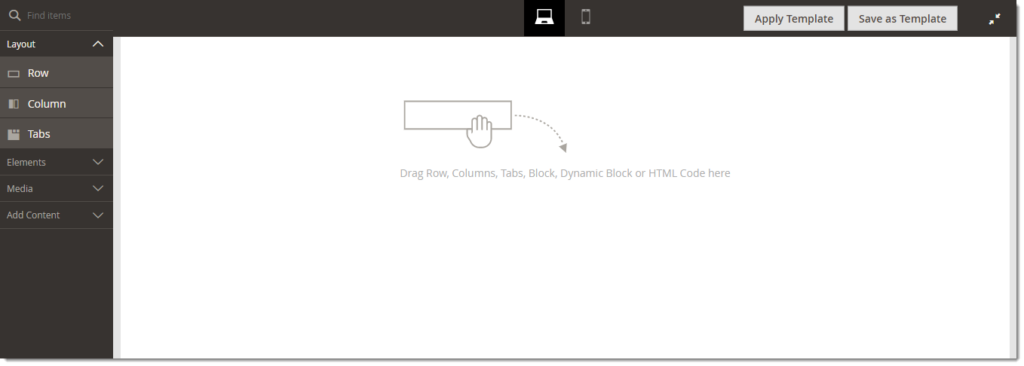
On the Stage, you’ll see a line “Drag Rows, Columns, Tabs, Block, Dynamic Block or HTML code here.”
To add a row to the Stage and make any changes, follow these steps:
#Step 1: In the Page Builder panel under Layout, drag a new Row to the stage.
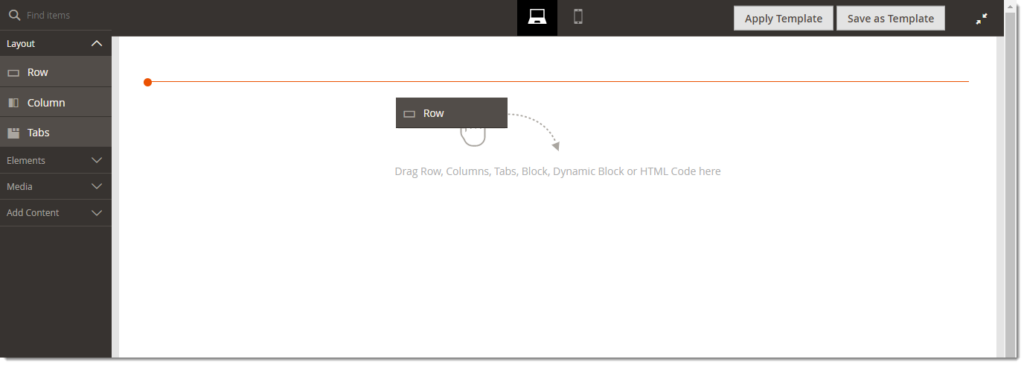
#Step 2: A red line indicates the row’s location. Drag the row elsewhere if you want to place it in another location. (In case there is more than one content type apart from the row on the Stage. But if the Stage is empty, you can only place it in one location.)
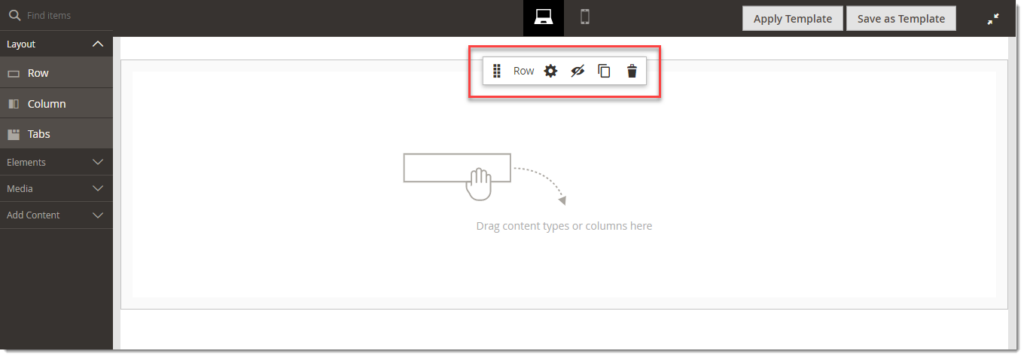
#Step 3: Drop the row. It appears in the center of the Stage, with the line “Drag content types or columns here.” You can drag and drop Column and other content types onto the Row.
#Step 4: Hover over the row, and you’ll see a toolbox that allows you to make any change to the row.
Explain Row Toolbox
The row toolbox allows users to change location, hide, duplicate, edit, or delete the row. Here’s the full description of every option in the row toolbox:
| Tool | Icon | Description |
| Move | Change the row’s location (Click and hold the mouse and move anywhere). | |
| (label) | Row | Indicates the content container as a row. |
| Settings | Opens the Edit Row page, where you can adjust the properties of the row container. | |
| Hide | Hide the selected row. | |
| Show | Show the hidden row. | |
| Duplicate | Duplicates the selected row. | |
| Delete | Removes the row container and its content from the stage. |
Note: A row container is an element that contains a row and its content.

Try FREE Magezon Page Builder demo today.
Easily create beautiful, engaging Magento websites in any style without relying on developers or designers. Just by drag & drop.
How to Work With Row Settings
You’ve known about the Row Toolbox, including Settings. If you use the Magento Page Builder row, you’ll use this tool frequently. So, I’ll show you how to use this tool to change the properties of a row in Magento Page Builder.
To open the Settings panel, hover over the row container and click the Setting icon. A page named Edit Row shows up.
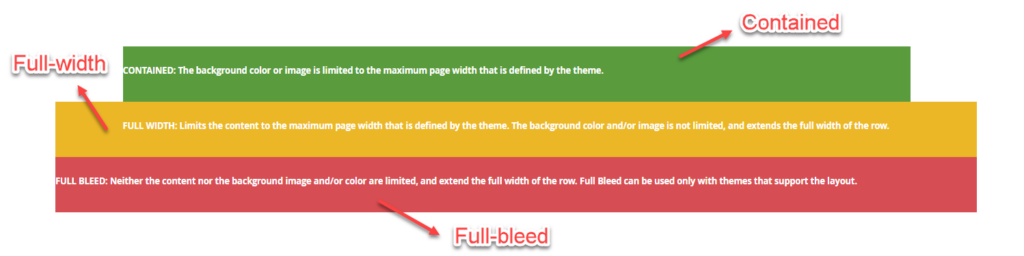
1. Appearance
a. There are 3 alignment types of Appearance: Contained, Full Width, and Full Bleed. Select the type to decide how your content appears on the row, which means how the background color and/or background image is displayed in relation to the container and width of the content area.
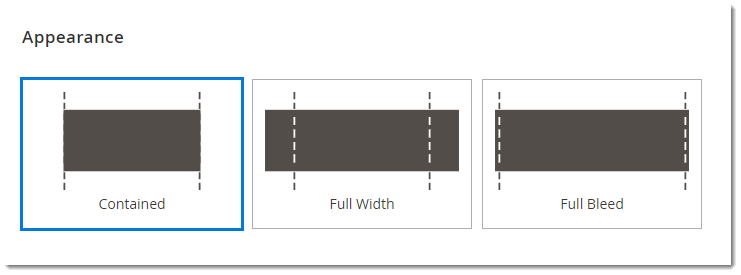
| Type of alignment | Description |
| Contained | The background color or image is limited to the maximum page width (determined by the theme). |
| Full-width | The content is limited to the maximum page width determined by the theme. The background color and/or image are not limited and extend the entire row width. |
| Full-bleed | Neither the content nor the background image and/or color are limited and extend the full width of the row. Full Bleed can be used only with themes that support the layout. |
Have a look at this illustration:
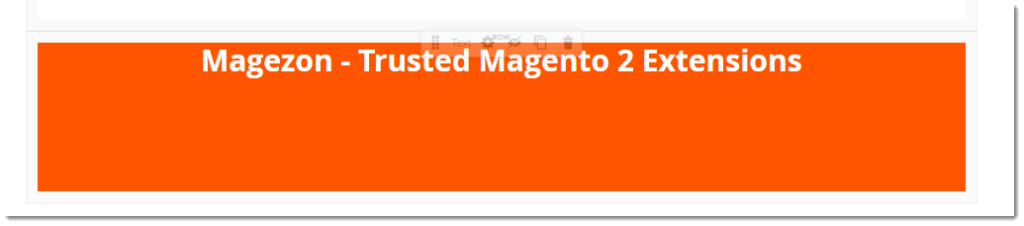
b. Next, Minimum Height. This field is to which you can add a value to adjust the minimum height for the row if you wish. Enter a number with any valid CSS unit (such as 200px, 70%, 30em, 90vh) or a calculation (such as 200vh – 351px).

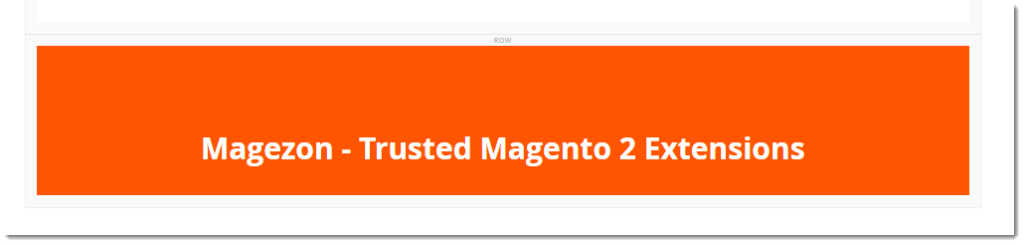
For example, the height of this banner’s image is 800px. I set the Minimum Height to 800px. Therefore, the banner shows up with the picture’s total height.

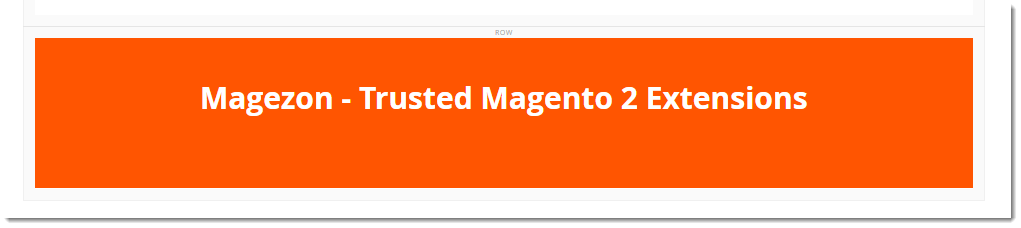
c. Finally, Vertical Alignment defines how the child blocks of this container will be positioned. There are 3 types of vertical alignment: Top, Center, and Bottom. To use vertical alignment, set the Minimum Height for the row first.
Let’s have a look at this example:
2. Background
Magento Page Builder users have many options to define how the background of a row is displayed. Not only can you set a solid color or use a simple image as the background, but you can also manage complex effects if you want.
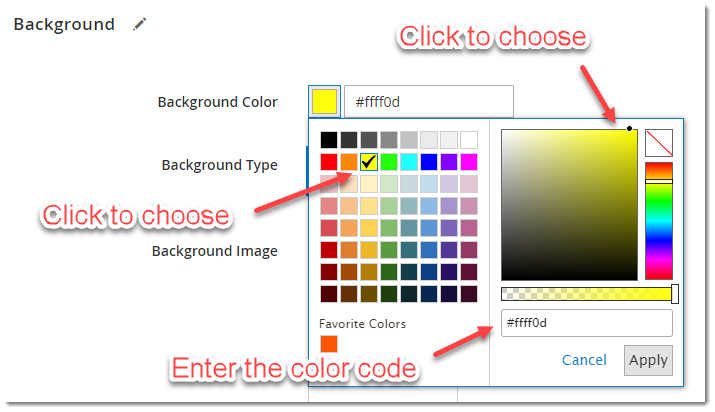
a. Background Color
The default color of the background is no color. To define the background color, you can do one of these:
– Choose a swatch
– Click the color picker
– Enter a valid color name or hexadecimal code
For example, if you want to choose yellow as your background color, you can do one of these:
Note: In background images, Magento Page Builder also supports a transparency layer or alpha channel that can create backgrounds with different degrees of opacity.
b. Background Type
You can select an image or a video as the type of background. Let’s see the settings of Image and Video types.
- Image type
If you select Image for Background Type, follow this setting explanation to display the background image as you want.
– Background Image: Use these tools to upload an image to apply to the row background.
| Tool | Description |
| Upload | Uploads an image file from your current computer to the gallery and set it as the row’s background image. |
| Select from Gallery | Opens the gallery so you can choose a picture from it and set it as the row’s background image. |
| Enables you to drag the image to the camera icon or browse the image in your file system. |
– Background Mobile Image: Use the same tools to select a different background image to be displayed on mobile devices.
– Background Size: Choose one of three sizes for the background image to define how it is scaled in relation to the width of the column.

| Size | Description |
| Cover | The background image stretches the full width of the column. |
| Contained | The background image is limited to the width of the content area. |
| Auto | Applies the size from the current style sheet. |
Let’s see how a background image would appear by applying each type of Background Size.
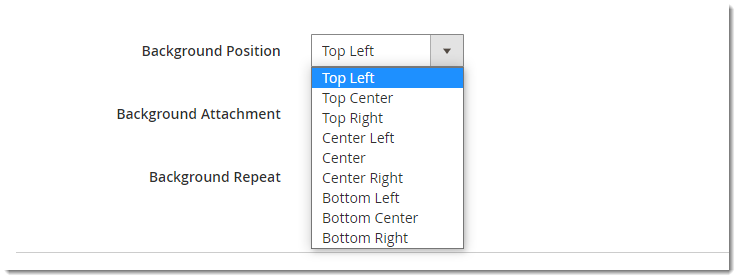
– Background Position: Select an option to decide how the background image is anchored in relation to the row.
– Background Attachment: Select an option to determine how the background image moves when people scroll the page.
| Attachment | Description |
| Scroll | The attached background image is synchronized to move down as people scroll the page. |
| Fixed | (Not available on mobile devices) The background image does not move as the container scrolls over the image and is fixed at a specific background position. |
– Background Repeat: If you want to repeat the background image to fill the available space in the row, set it to Yes. If not, set it to No.
- Video type
If you select Video for Background Type, follow this setting explanation to display the background image as you want.
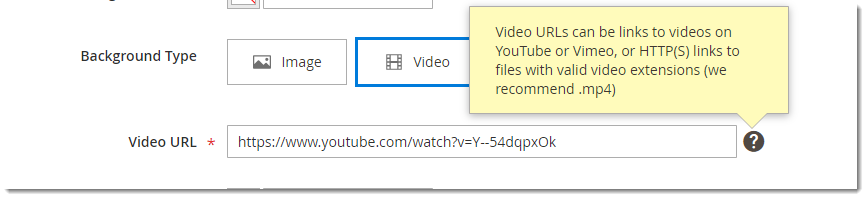
– Video URL: This field is to which you insert a valid video URL, which can be linked to Youtube videos, Vimeo videos, and video files (.mp4 is recommended). After inserting the video URL, the video will appear as the background.
– Overlay Color: Choose a color to apply a transparent tint to the video. This is optional.
– Infinite Loop: If you want the video to repeat in an infinite loop, set this to Yes (default). If not, set this to No.
– Lazy Load: If you want the video to load from the source only when visible on the screen, set this to Yes (default). If you want the video to load with the page, even when not visible, set this to No.
– Play Only When Visible: Set this to Yes (default) if you want the video to start playing only when it is visible. If you set this to No, the video starts playing immediately after it loads, whether visible or not.
– Fallback Image: You can choose a (thumbnail) image to display on the screen before the video loads in case the video can’t load. This is optional.
3. Parallax Background
The parallax background effect is when the website background moves at a different pace than the foreground, creating a unique 3D effect as users scroll down the website. It is excellent that Magento Page Builder allows users to create this effect for their website. Before you decide whether or not to adopt it, make sure you understand it profoundly. To do that, refer to What Is Website Parallax Effect? and 45+ Awe-Inspiring Examples of Parallax Effect Websites.
If you’ve decided to apply the parallax effect to your background, select Yes for Enable Parallax Background.
In Parallax Speed, insert a decimal value between – 1.0 and 2.0. This field determines how the background will behave when people scroll the page.
| Value | Description |
| Negative (< 0) | Makes the background scroll in the reverse direction. |
| 0 – 1 | Makes the scroll slower than the scrolling speed of the window. |
| 1 – 2 | Makes the scroll faster than the scrolling speed of the window. |
| 0 | Fixes the background to the window. (Eg: No scrolling) |
| 1 | Makes the background scroll at the same speed as the window. |

4. Advanced
In this section, users can make advanced changes to the properties of the row.
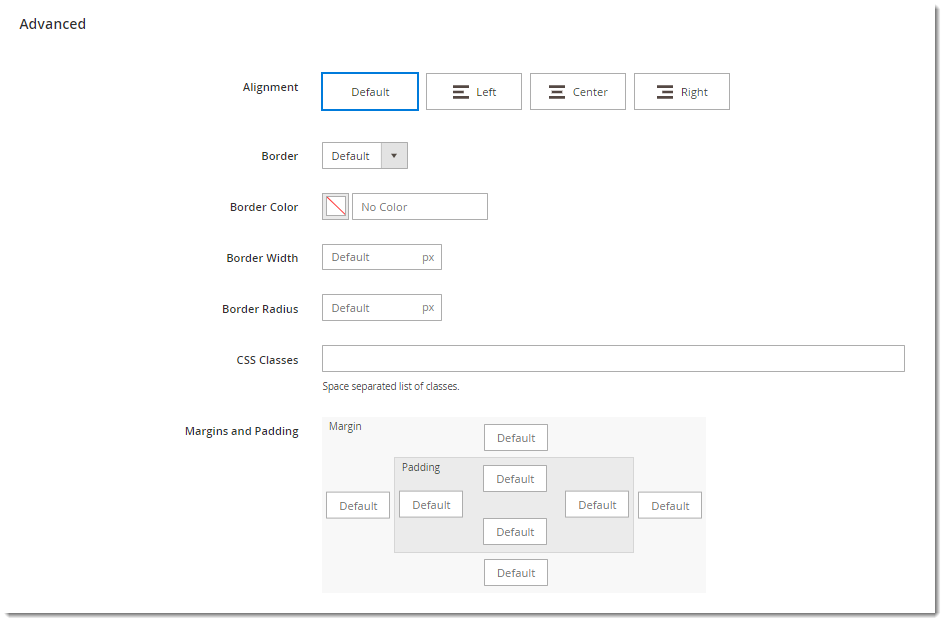
- Alignment: Select the type of alignment to define the horizontal positioning of content containers that you add to the row.
| Alignment | Description |
| Default | Applies the default alignment specified in the style sheet of the available theme. |
| Left | Content containers are aligned along the left border of the row container, allowing for any specified padding. |
| Center | Content containers are aligned in the center of the row container, allowing for any specified padding. |
| Right | Content containers are aligned along the right border of the row container, allowing for any specified padding. |
- Select the Border style to apply to four sides of the row container. The styles include:
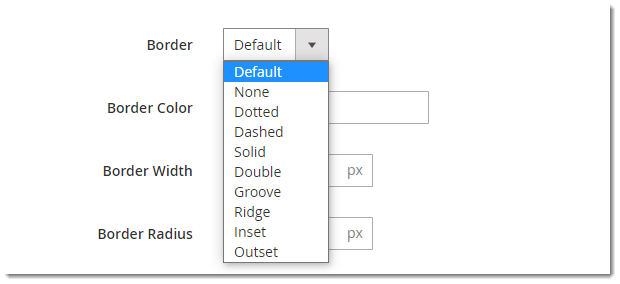
If you select None, Magento Page Builder does not provide any visible indication of the container borders. If you select other styles, you have these border display options to adjust:
– Border Color: The default color of the background is no color. Choose a swatch to define the background color, click the color picker, or enter a valid color name or hexadecimal code.
For example, if you want to choose yellow as your background color, you can do one of these:
– Border Width: Insert the number of pixels for the border line width.
– Border Radius: This field defines how round each corner of the border is. Insert the number of pixels to determine the size of the radius.
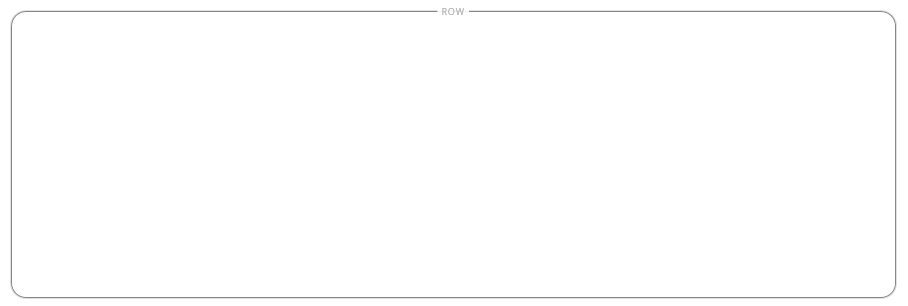
Look at the image below. This row is set with a Border Radius of 15.
– CSS Classes: This is optional. If you want to apply any CSS class to the row, insert the CSS class name into the row.

For example, if I want to set the color red for the border and have a CSS class .magezon {border-color: red}, I’ll enter “magezon” into the field.
In the case of any class names, separate them with a space.
– In Margins and Padding, insert values in pixels to define the row’s outer margins and inner padding.
Margins define the amount of blank space applied to the outside edge of all sides of the container. Four options include the Top, Right, Bottom, and Left.
Padding defines the amount of blank space applied to the inside edge of all sides of the container. Four options include the Top, Right, Bottom, and Left.
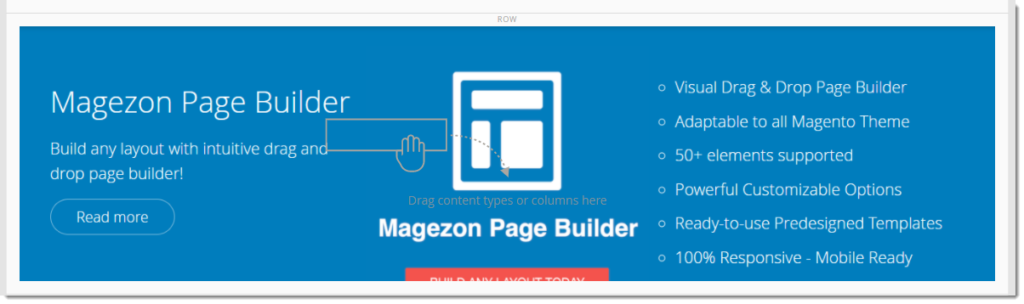
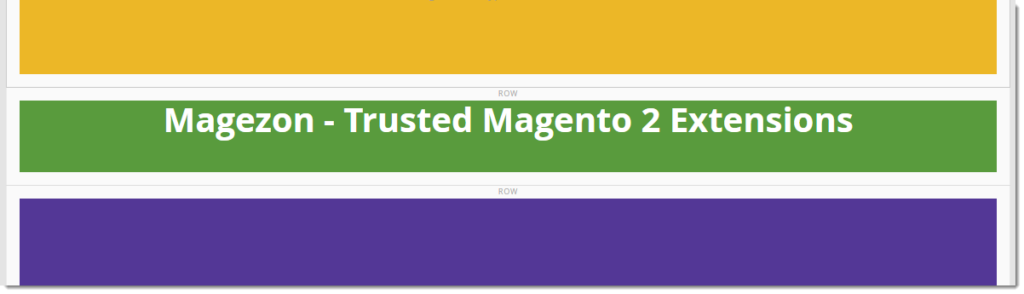
Have a look at this image. I created this row and added text to it. The margins and padding of the row are default.
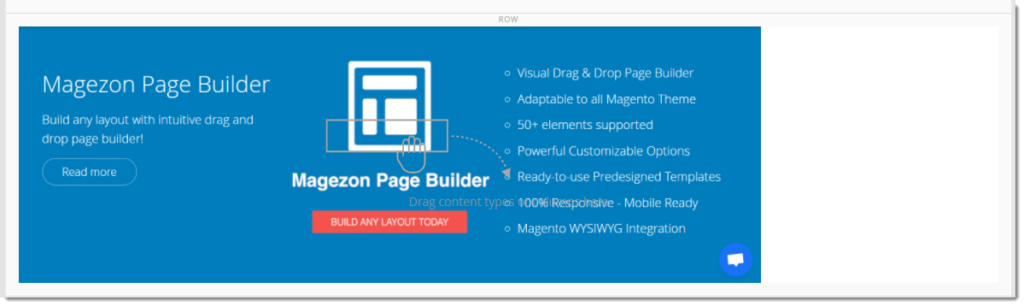
And this is how the row looks when I set 50 for the top and bottom margins and 200 for the right and left padding:
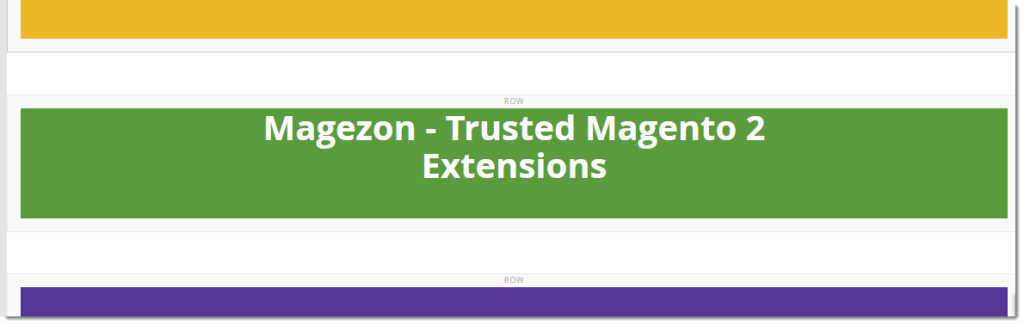
Hope this example helps you understand margins and padding better!
If you have any questions, please leave a comment below.
An Alternative to Magento Page Builder Open Source
Magento Page Builder is excellent, but to be honest, it is only suitable for beginners who want to create simple pages only. When you’ve used it for a while, you’ll see the functionality is somewhat limited, and the loading speed is not so high. If you need a tool with more powerful features to create responsive pages that attract customers and encourage them to buy, consider Magezon Page Builder.
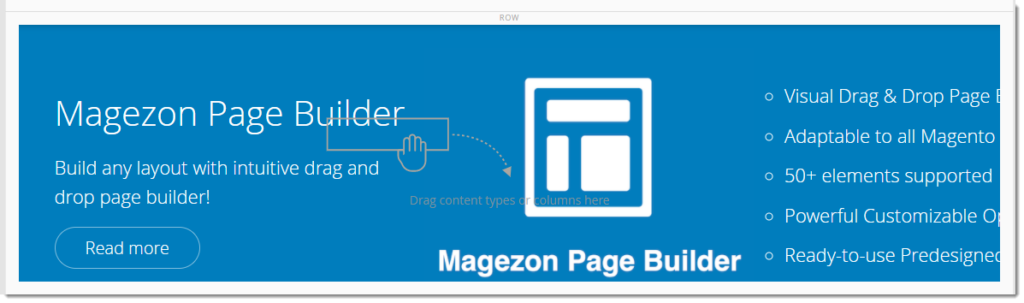
Magezon Page Builder is trusted by many ecommerce store owners to build their websites, with more than 50 elements, many pre-made templates, and outstanding built-in plugins.
Good news for you: Magezon will release the latest version of its Page Builder this spring. This new version is expected to offer more outstanding features for its users. Refer to this to see the new features: New Page Builder Sneak Peeks.
That’s All About Row in Magento Page Builder
Hope this blog aids you a lot in discovering and learning the Magento Page Builder backend. For more blogs and tutorials about Magento, visit Magento 2 Tutorials by Magezon.
Try FREE Magezon Page Builder demo today.
Easily create beautiful, engaging Magento websites in any style without relying on developers or designers. Just by drag & drop.


