 Magezon Blog Help Merchants Build Comprehensive eCommerce Websites

*To use Magento Page Builder, you must upgrade to EE version 2.3.1 or newer and CE version 2.4.3 or newer.
Continuing the series on Magento Page Builder content types, this article explains all about Heading, one of the most commonly used elements on a webpage. Heading levels, ranging from H1 to H6, assist you in creating a page hierarchy for better content organization. As a result, it is easy for both users and search engines to scan your pages.
You might think using the Magento Page Builder heading content type is simple. That’s accurate, admittedly. But trust me, there will be a couple of things you don’t know until this article. So, keep it up!
But first off first, let’s look at this article’s main points:
- Where Heading is located in Magento Page Builder
- How to add a Heading in Magento Page Builder
- How to customize a Magento Page Builder heading
Table of contents
A Couple of Things You Should Know About Magento Page Builder Heading
- Remember the Content Heading field in the Content section?
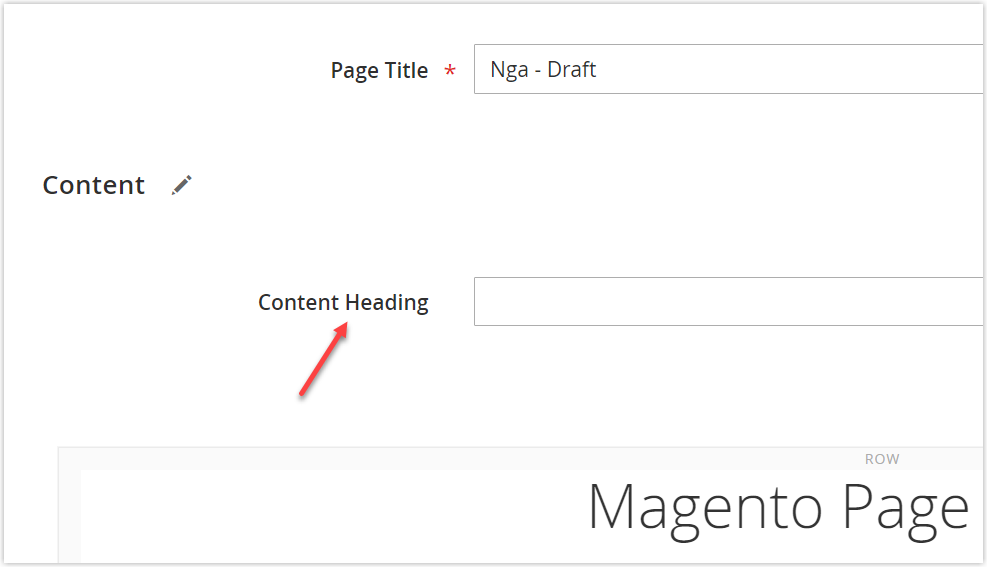
The text you add to this field acts as Heading 1, which appears at the top of the page. If you tend to use it, then our advice is don’t. Instead, utilize the Magento Page Builder Heading content type.
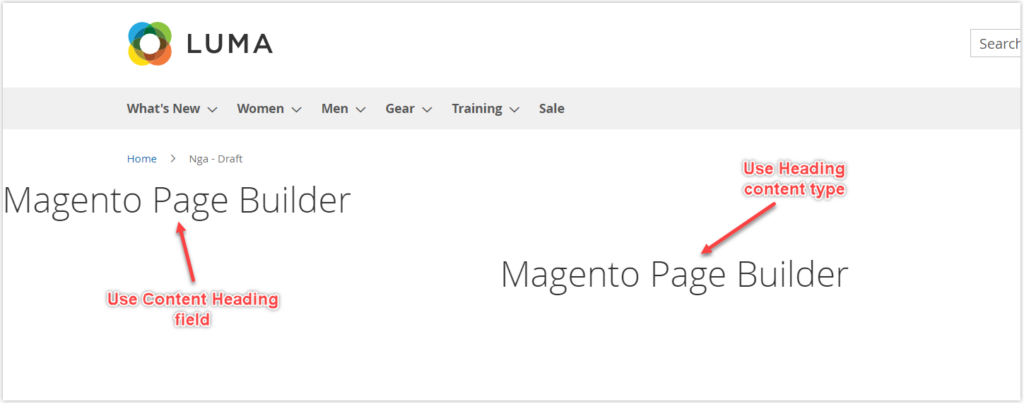
Let me explain why. The truth is that we can’t stylize the heading using Page Builder. For instance, you wouldn’t be able to align the title to the middle of the page if it were created in the Content Heading box, which is always designed to be on the page’s left border.
So what is the Content Heading field used for? You might be wondering. Before Page Builder was first introduced in Magento Commerce 2.3.1, the Content Heading field had been used from the previous versions. When you upgrade to Magento 2.3.1 or newer versions, the contents previously created with the WYSIWYG editor are still there. That’s why the Content Heading field has been retained to support those contents. This is, in a nutshell, the function of this field; it is not utilized to generate the page title.
- The heading format is determined by the style sheet of the current theme. Note that the theme used for illustration in this article is the Luma theme.
Where Is Heading Located in Magento Page Builder?
When you open Magento Page Builder workspace, you’ll see the Heading content type in the Element section on the left panel.
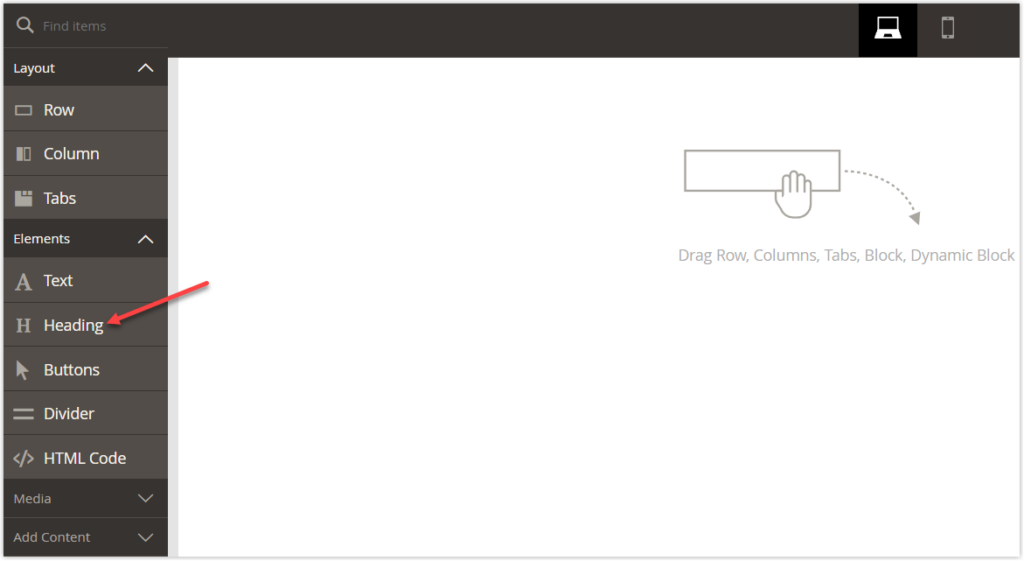
We’ll now add this content type to the workspace on the right, also known as the stage.

Try FREE Magezon Page Builder demo today.
Easily create beautiful, engaging Magento websites in any style without relying on developers or designers. Just by drag & drop.
How to Add a Magento Page Builder Heading
To add Magento Page Builder Heading content type to the stage, you must first add a Layout content type. It may be Row, Column, or Tabs first, called the heading’s parent containers.
Below are specific steps to take:
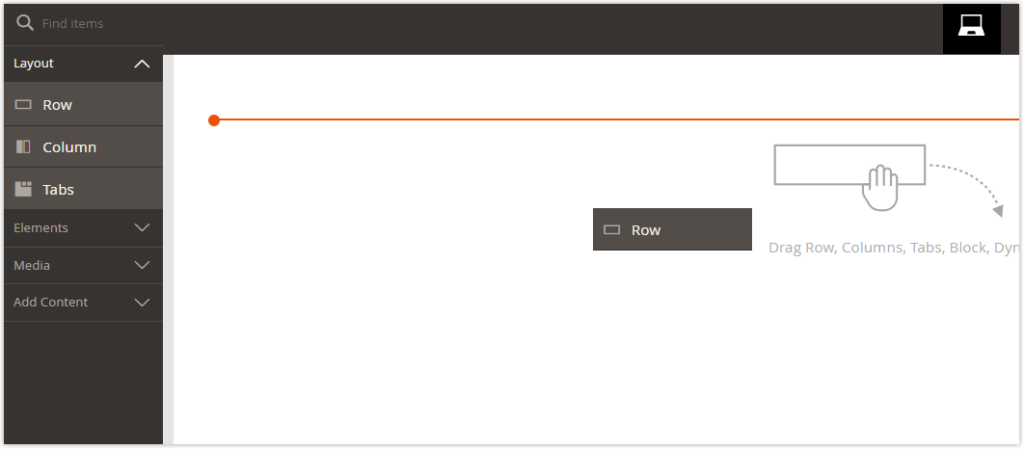
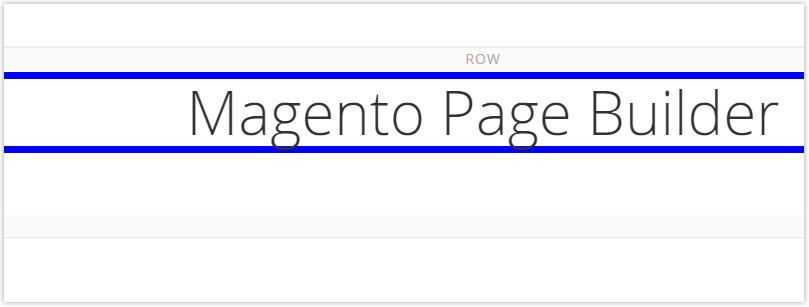
#Step 1: From the left panel under Layout, drag Row to the stage.
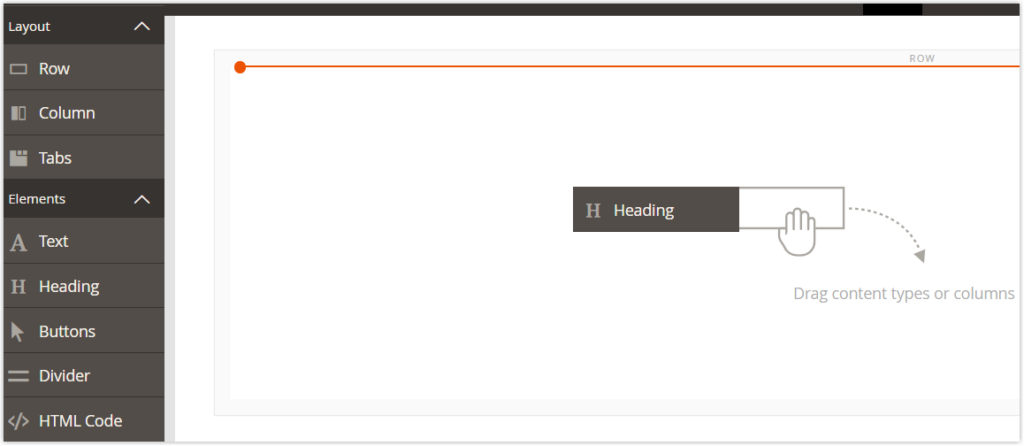
#Step 2: On the left panel, expand Elements. Then, drag the Heading content type to the row. You can drop Heading into the stage when the row container’s red guideline appears.
#Step 3: And here is how it looks after that.
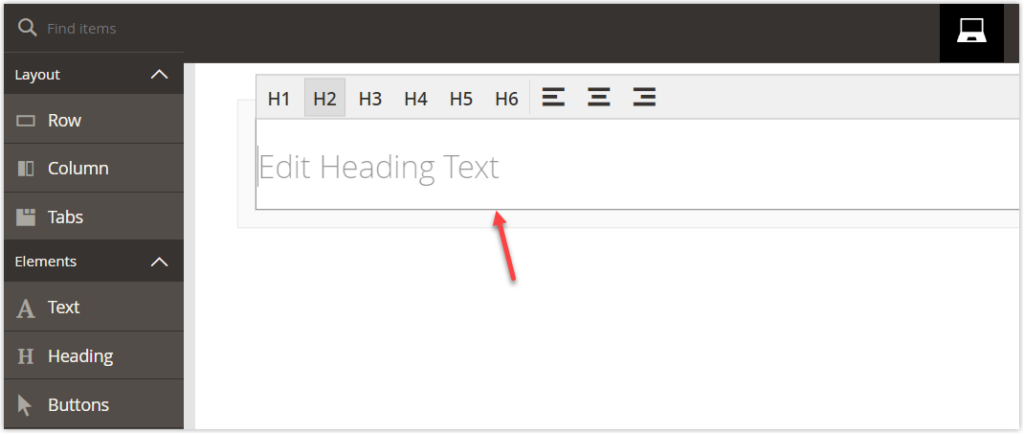
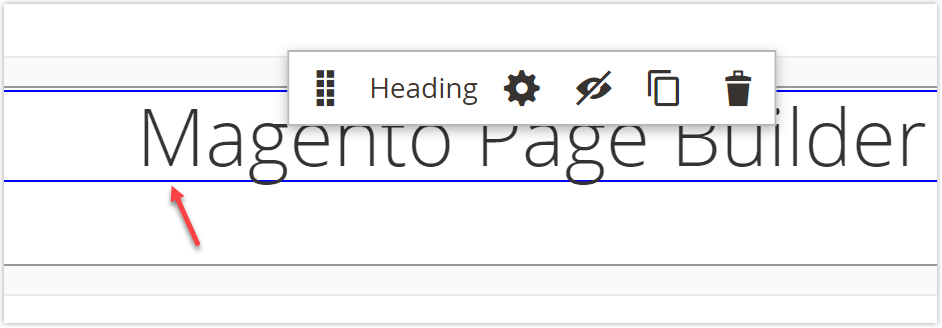
As shown in the image above, the heading editor with a simple toolbar allows you to directly:
- Enter the text
- Change the heading level (H1→ H6),
- Align the heading (Left, center, right)
You can also edit the heading using the Heading settings. This method allows you to customize the Magento Page Builder heading. So, what exactly are they? How to use it? All questions will be answered in the following section.
How to Edit a Magento Page Builder Heading
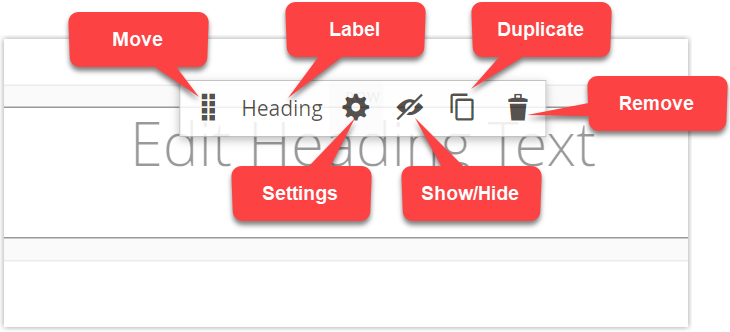
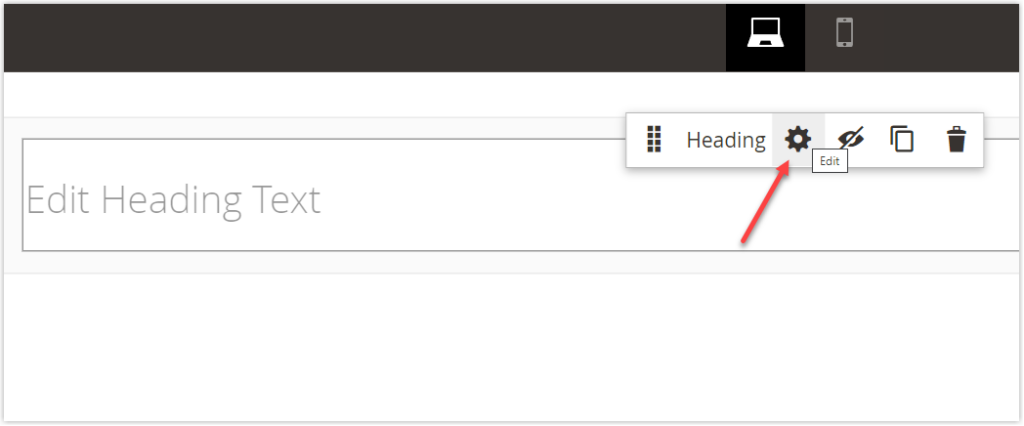
In this section, we’ll go over all the toolbox’s Heading settings and illustrate them with specific examples. To begin, hover over the Heading container to reveal its toolbox. Before we go any further, let me explain each component on the toolbox handle.
| Tool | Description |
| Move | This enables you to move the heading container to a different valid location on the page. To do so, click and hold the left mouse button while moving the heading to the desired location. |
| Label | This option defines the name of the current container. The name here is Heading. |
| Settings | This allows you to work with the Magento Page Builder heading container settings on the Edit Heading page after clicking the gear icon. |
| Hide/Show | The option lets you hide or show the heading container. |
| Duplicate | This lets you duplicate the Magento Page Builder heading container. |
| Remove | This allows deleting the Magento Page Builder heading container. |
And that’s it. We’ll now customize the Magento Page Builder heading using the Settings control. To start, open the Edit page by clicking on the gear icon.
Then we’ll be taken to a new page with all of the Magento Page Builder Heading settings.
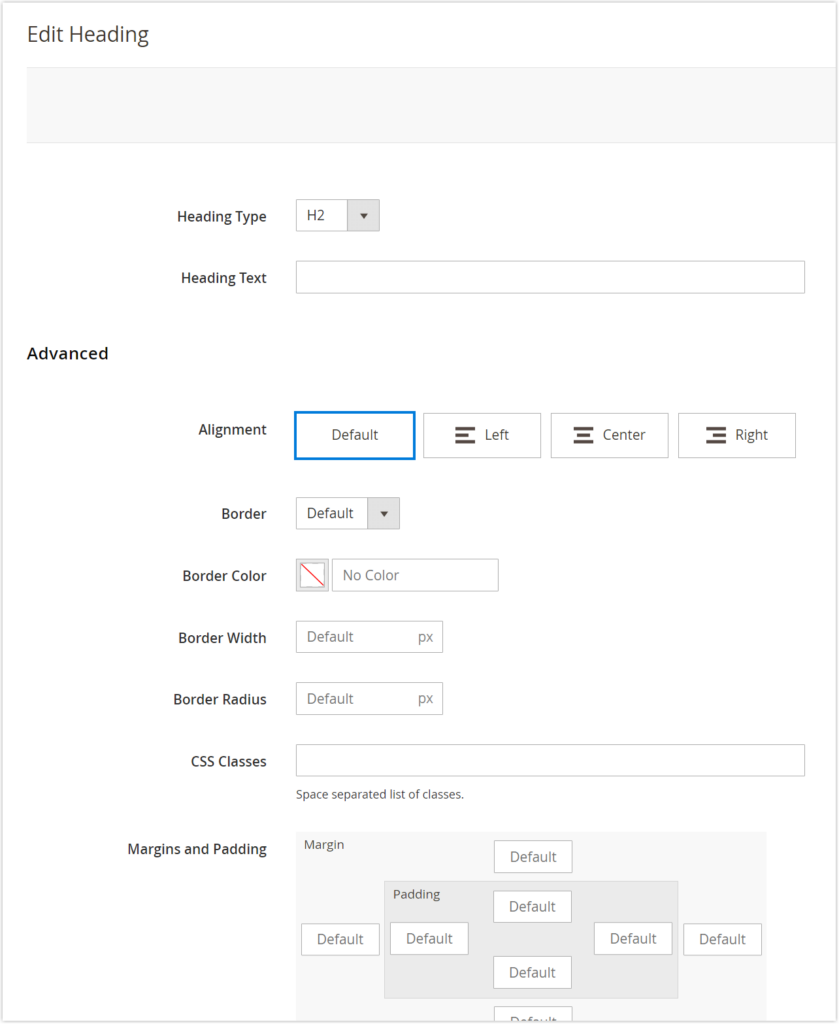
Compared to the number of the Row or Column settings, the one of Magento Page Builder Heading is quite smaller. Regarding the characteristic customization options of this content type, there are only two: Heading Type and Heading Text. This makes it difficult to customize a heading the way we wish, especially for those who don’t know how to code.
Without further ado, let’s go into more detail.
1. Basic Settings
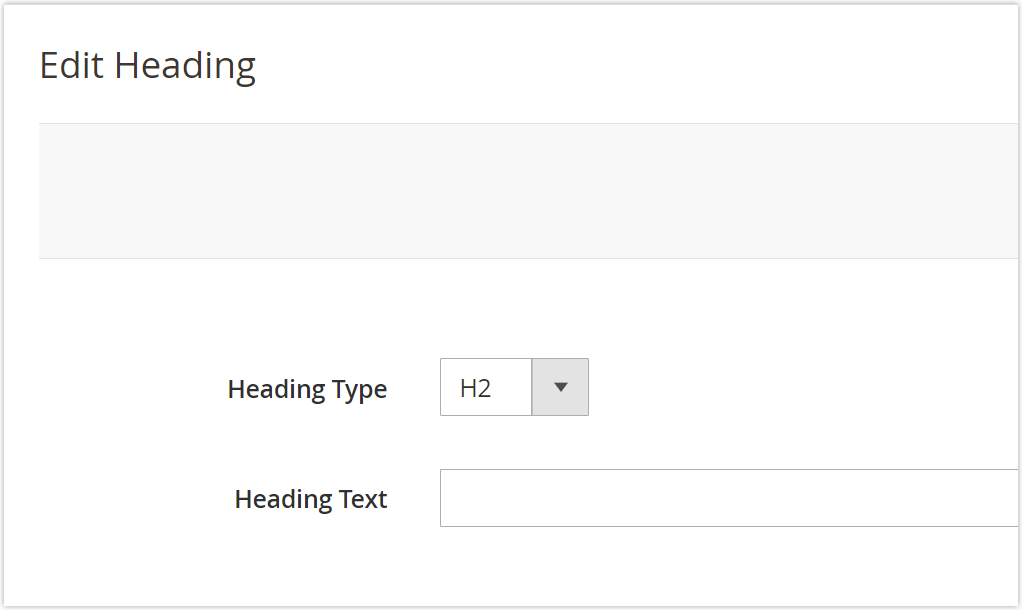
- Heading Type: Choose the level for the heading (H1, H2, H3, H4, H5, H6). By default, the Heading Type field is set to H2.
- Heading Text: Enter the text for the heading.
Note: You can update the heading text and heading type right in the heading editor.
2. Advanced Settings
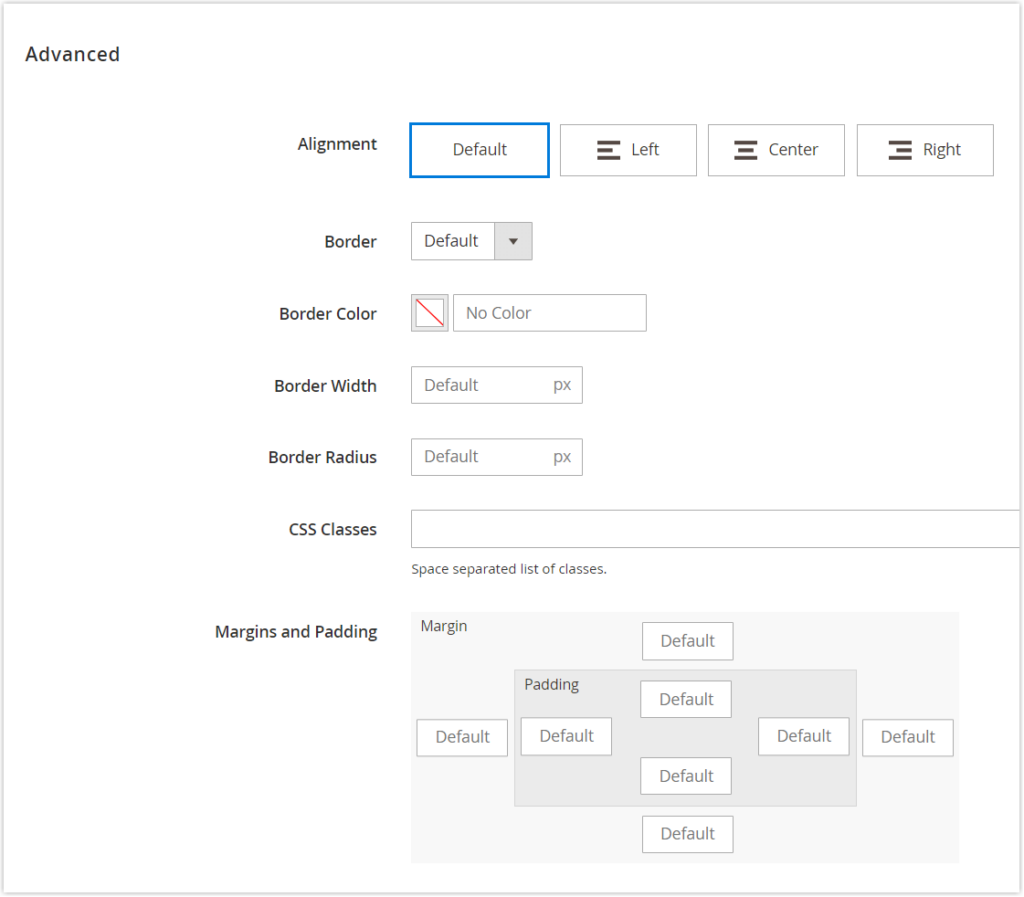
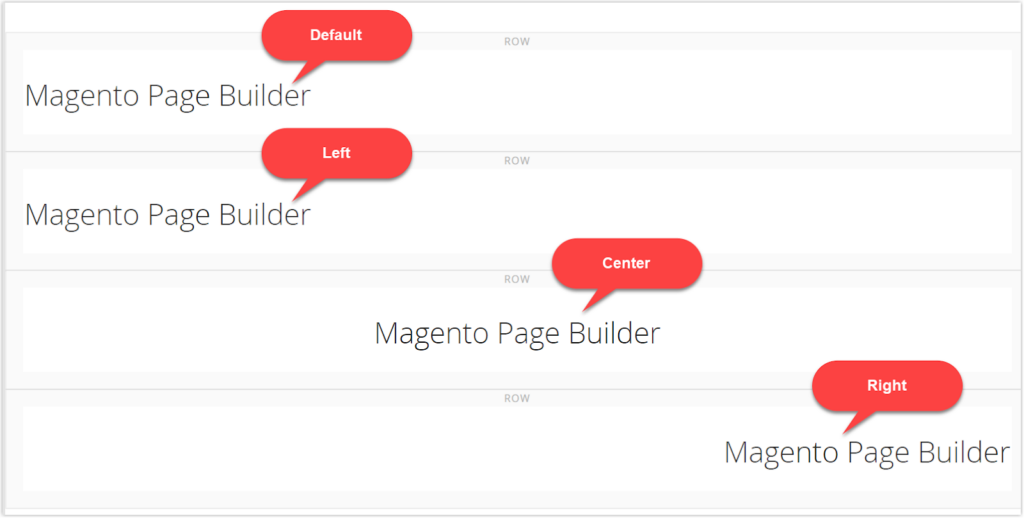
- Alignment: Align the heading to the desired position within the row container (the parent container). You have 4 options to select from.
+ Default: When you select Default, the alignment of the heading within the row container is determined by the current theme’s style sheet.
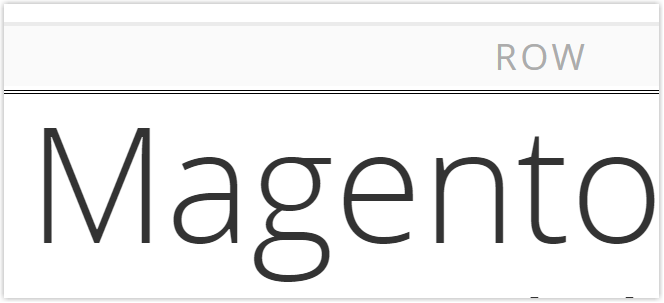
+ Left: This option lets you align the heading to the row container’s left border.
+ Center: This option lets you center the row container’s heading.
+ Right: This option lets you align the heading to the right border of the row container.
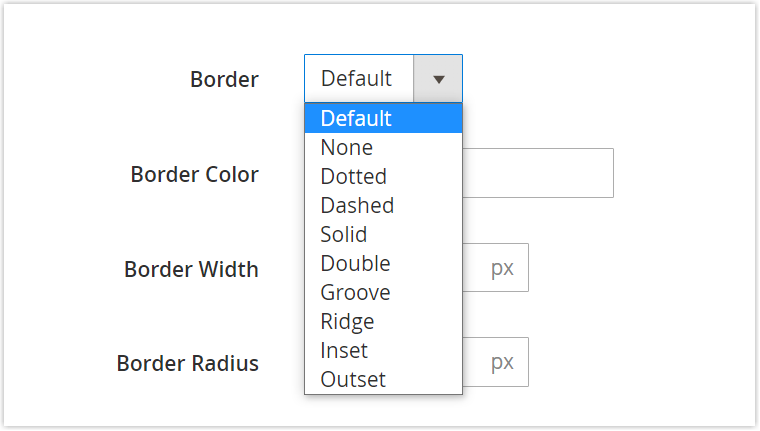
- Select the border style for Magento Page Builder, heading container’s sides.
Below is the illustration of each border style.
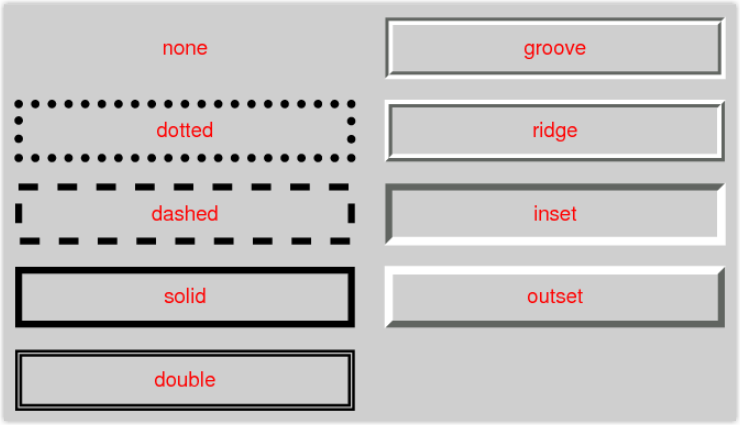
Source: W3
- Default: When you select this option, your border style is defined by the default border style of the current style sheet.
- None: When you choose None, you don’t see the heading container borders.
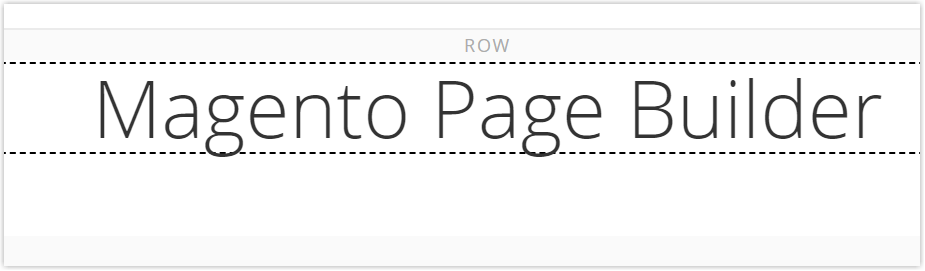
- Dotted: Set the dashed line for all borders of the heading container.
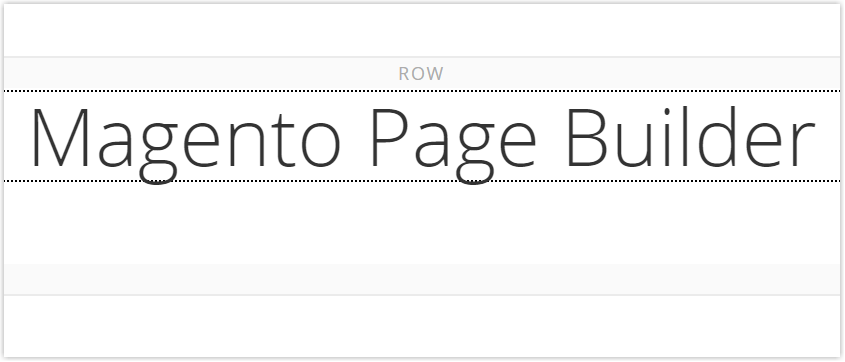
- Dashed: Set the dashed line for all borders of the heading container.
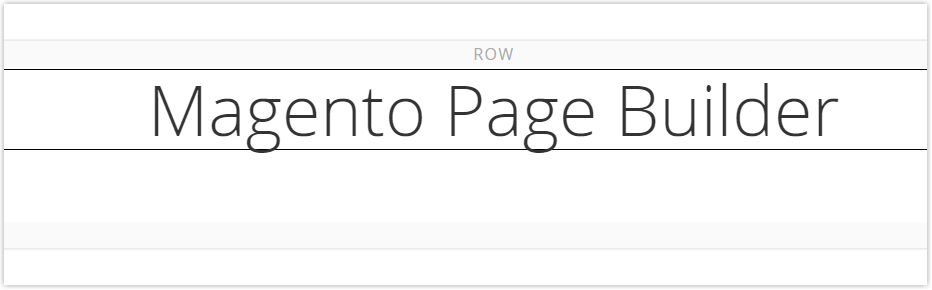
- Solid: Set the solid line for all borders of the heading container.
- Double: Set the double line for all borders of the heading container.
Note: I zoomed in the screen to 400% so you can see the double line more clearly.
The following border styles for the Magento Page Builder heading container will be 3-D, including groove, ridge, inset, and outset. There are a couple of things to keep in mind.
+ The border-color value determines the effect. For instance, if you set the border-color value to #0000 (black), you’ll hardly ever see the effect. (See images of each border style below)
+ Make sure the border is thick enough to be visible. In the examples below, I set the border width to 20px.
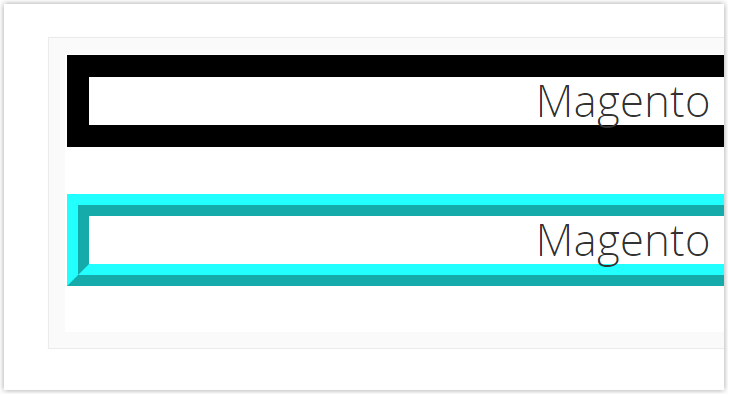
- Groove: Set a 3D groove style to four borders of the heading container.
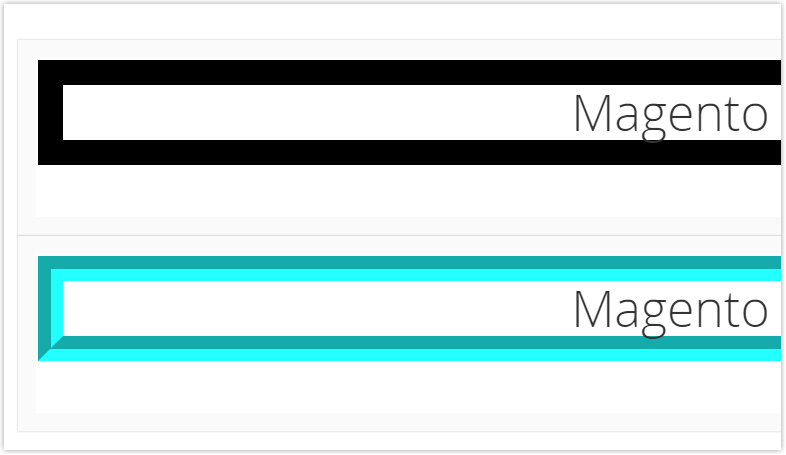
- Ridge: Set a 3D ridged style to four borders of the heading container. The border-color value determines the effect.
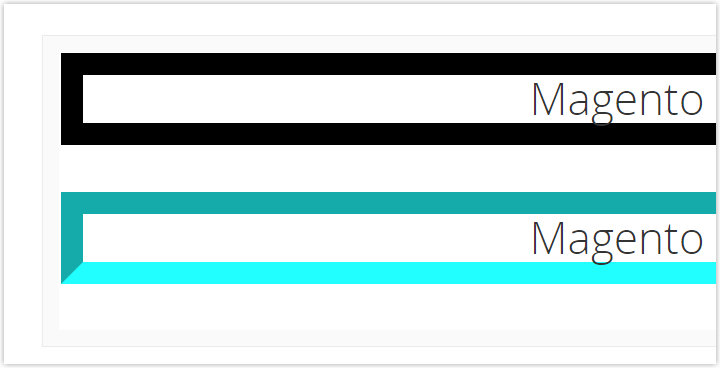
- Inset: Set a 3D inset style to four borders of the heading container. The border-color value determines the effect.
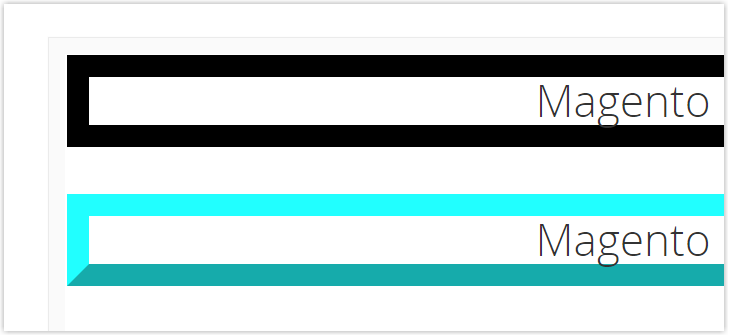
- Outset: Set a 3D outset style to four borders of the heading container. The border-color value determines the effect.
If you set None for the border style, you’ll be unable to change the border color or width due to invalid fields. If you choose other options, you can change the color and width of the border.
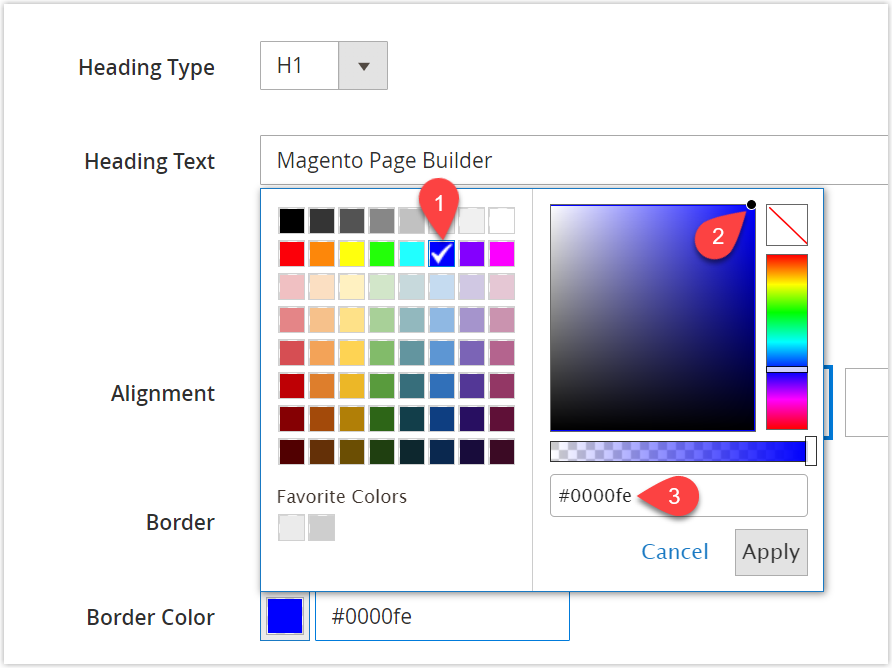
- Border Color: Use one of the following methods to set the color of the Magento Page Builder heading container borders.
+ Select your desired swatch on the color panel (1)
+ Use the color picker (2)
+ Set a color name or hexadecimal value that is valid (3)
And here is the result:
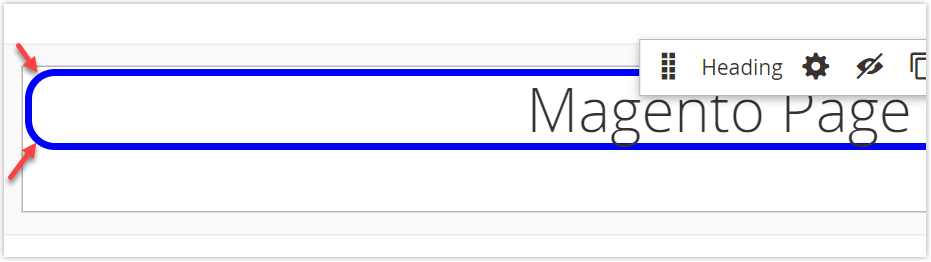
- Border Width: Set the border thickness on all sides of the heading container. In the image below, I set the border width to 5px.
- Border Radius: Add rounded corners on the heading container. (unit: px)
- CSS classes: To apply CSS classes to the heading container, enter the CSS class name in the field. If you have many CSS classes to apply, separate them with a space.
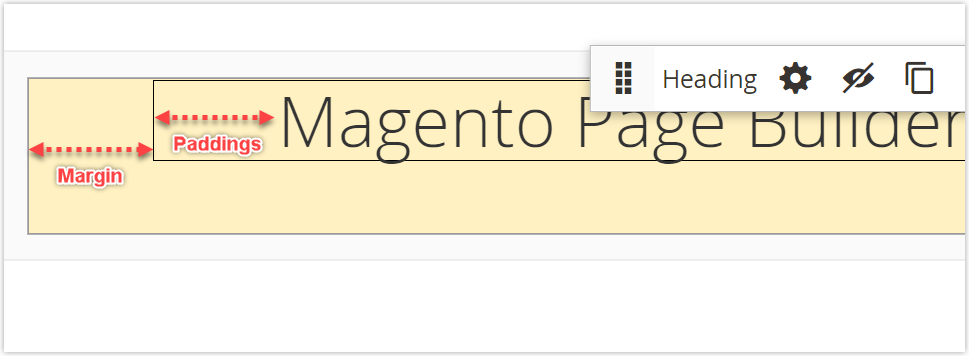
- Margins and Padding: Set the heading container’s outer margins and inner padding.
A Highly Recommended Page Builder From Magezon
As you can see above, the Magento Page Builder Heading element is limited in customizations. And this can’t satisfy store owners who want to make the headings uniquely theirs. In this case, the Magento Page Builder extension from Magezon, an advanced tool with over 50 outstanding elements, will surely do a better job of allowing users to stylize their headings the way they prefer.
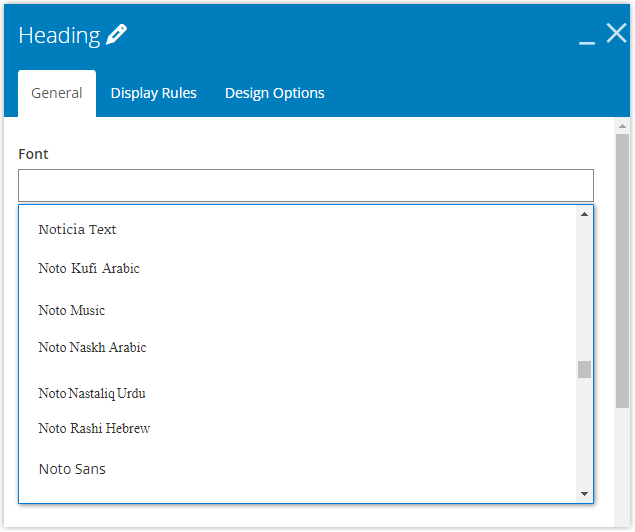
- Magezon Page Builder provides you with a host of fonts so that you can freely choose what best suits your brand personality. The good news is that the new version of Magezon Page Builder, which will be released this spring, will even give users the ability to add any font they wish.
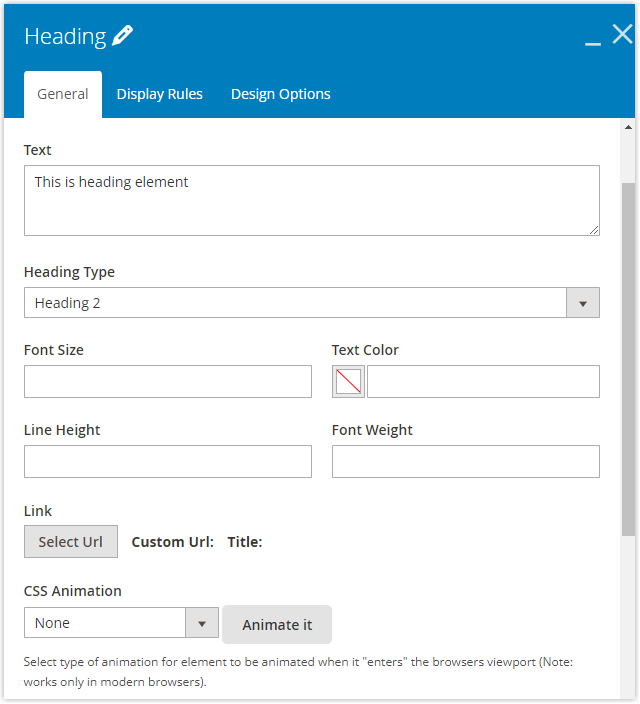
- When you use the Magezon Page Builder extension for Magento 2, customizing your headings is now easier and even more enjoyable thanks to various styling options such as font size, heading color, font weight, line height, attaching a link, and even adding animation to the headings. This effortlessly creates eye-catching lettering and typography for your message, attracting customers.
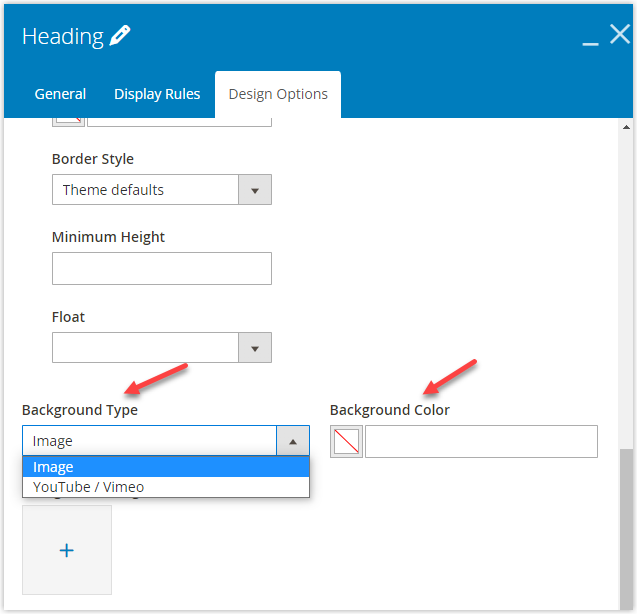
- Magezon Page Builder comes with a video background, image background, and color background, in addition to some settings that are similar to Magento Page Builder, such as margins, padding, borders, and alignment, so you can put your heading texts in an appealing background with just a few single clicks.
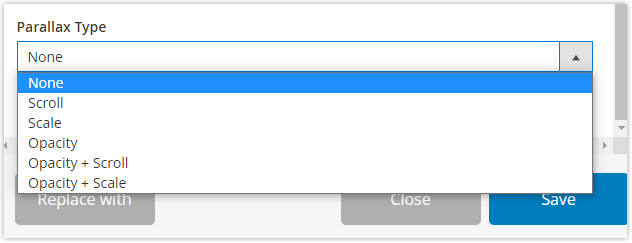
- Make your whole heading container pop using parallax effects such as Scroll, Scale, Opacity, Opacity & Scroll, Opacity & Scale.
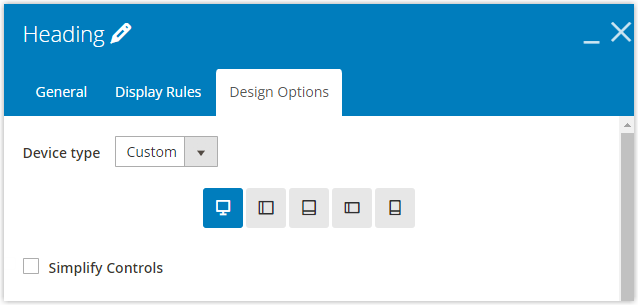
- Users of Magezon Page Builder for Magento 2 don’t have to worry about whether the parallax or other customization options in the Design Options tabs looks good on different screens. It’s because this page builder has been built to make them responsive on 5 common screens.
Good news: In early 2023, we are going to release a completely new version of Magezon Page Builder. This new page builder will give users access to various powerful features related to Builder, Design Options, and Workflow, which you can freely discover and enjoy the creation process. As a result, even if the design is not your strong suit, you can create aesthetically pleasing pages. Curious about this new version of Magezon Page Builder? If your answer is Yes, please refer to New Page Builder Sneak Peeks to see how powerful and diverse new features are. |
Get to Work
That’s all about the Magento Heading content type you need to know. If this article was helpful to you, please let us know. Leave a comment or any suggestions in case you have any questions.
Try FREE Magezon Page Builder demo today.
Easily create beautiful, engaging Magento websites in any style without relying on developers or designers. Just by drag & drop.


