 Magezon Blog Help Merchants Build Comprehensive eCommerce Websites

| * For more useful tutorials on Magento Page Builder, visit our series here. |
With the Magento Page Builder Video, embedding videos on Magento websites has never been easier. In this tutorial, you’ll learn how to use this content type step by step. Let’s begin.
Table of contents
Where to Find Video Content Type in Magento Page Builder
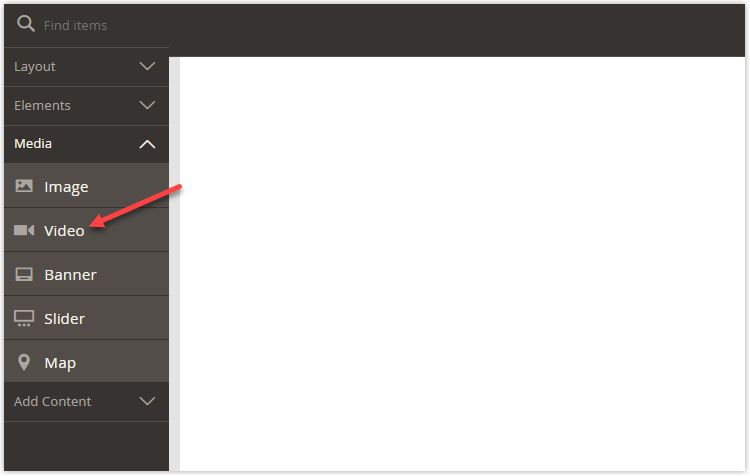
When you open the Magento Page Builder workspace, you will see the Media section in the left panel. Expand Media, and you’ll find the Video content type.
Okay, now I’ll show you how to add a video to the Magento Page Builder stage.
Try FREE Magezon Page Builder demo today
Easily create beautiful, engaging Magento website in any style whenever you want without relying on developers or designers. Just by drag & drop.
How to Add and Customize a Video to the Magento Page Builder Stage
Before adding a video to the stage, please prepare a video that you want to add to the page. Remember, this video is hosted on Vimeo or Youtube. Alternatively, you can use this following video link that we have already prepared: https://www.youtube.com/watch?v=QBT6MQ7Z5eg.
First of all, you must add any Layout content type to the stage, Row, Column or Tabs. Otherwise, it’s impossible to add Video content type to this primary workspace. In my case, I choose Row.
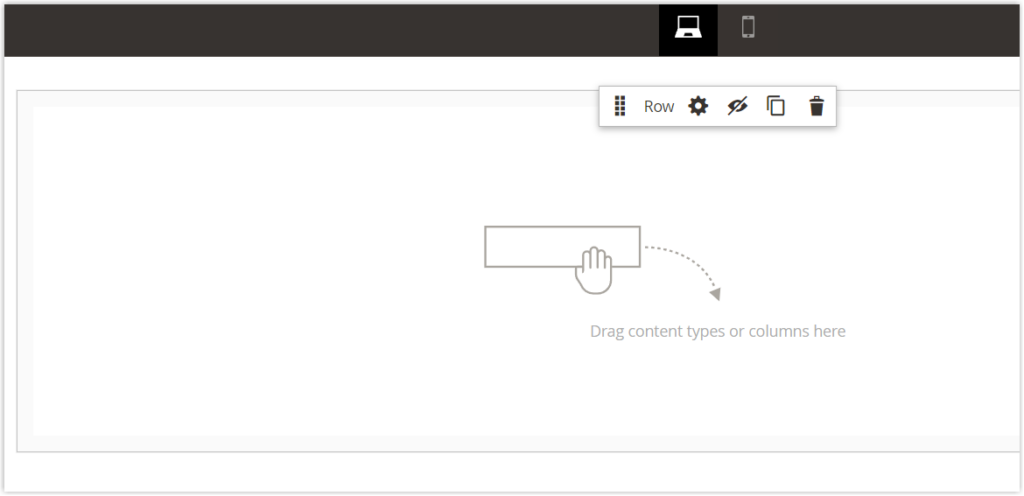
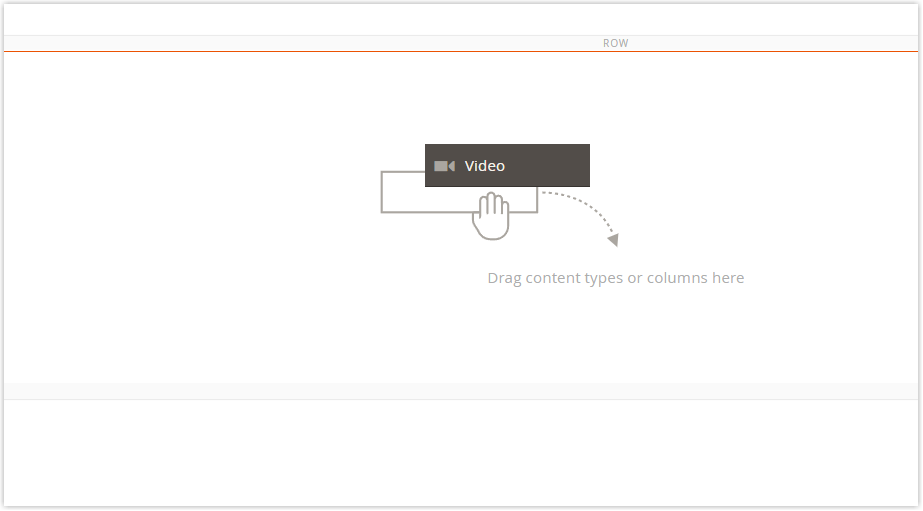
Next, drag and drop the Video placeholder to the row till the red guideline shows up.
When you hover over the video container, a toolbox with a set of controls appears.
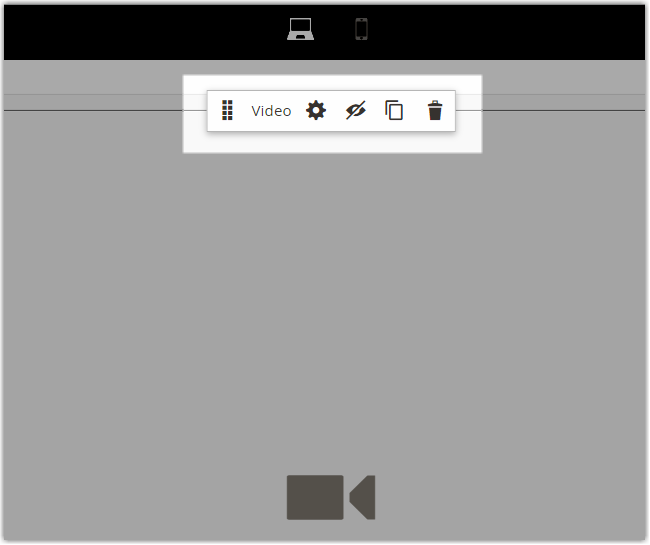
Below is the description of each component in the toolbox.
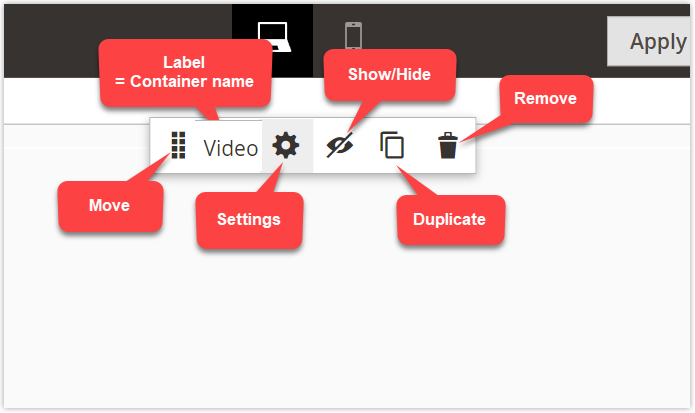
| Move | Change the video’s location by selecting and dragging the Move icon to your wanted position. |
| Label (Video) | Specify the name of the current container. |
| Settings | Open the video Edit page where you can customize the settings of the video and its container. |
| Show/Hide | Show or hide the video container. |
| Duplicate | Make a copy of the video container. |
| Remove | Delete the video container. |
Next, select the gear icon to customize the video settings. We’re landing on the Edit Video page which is divided into two sections: Basic settings and Advanced settings.
Basic settings allow you to change the settings of the video itself while the other is for customizing the video container.
Let’s start with Basic settings.
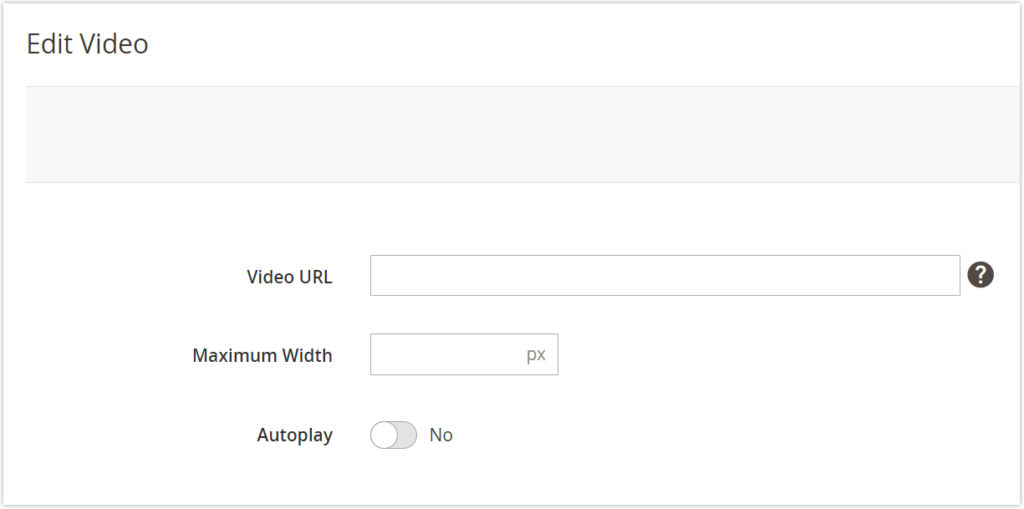
1. Basic Settings

- Video URL: Copy and paste the video URL you prepared ahead of time. If you wish to replace it with another video, make sure it’s from Youtube or Vimeo, or a valid URL is the link to valid video files (.mp4, .webm, .ogv).
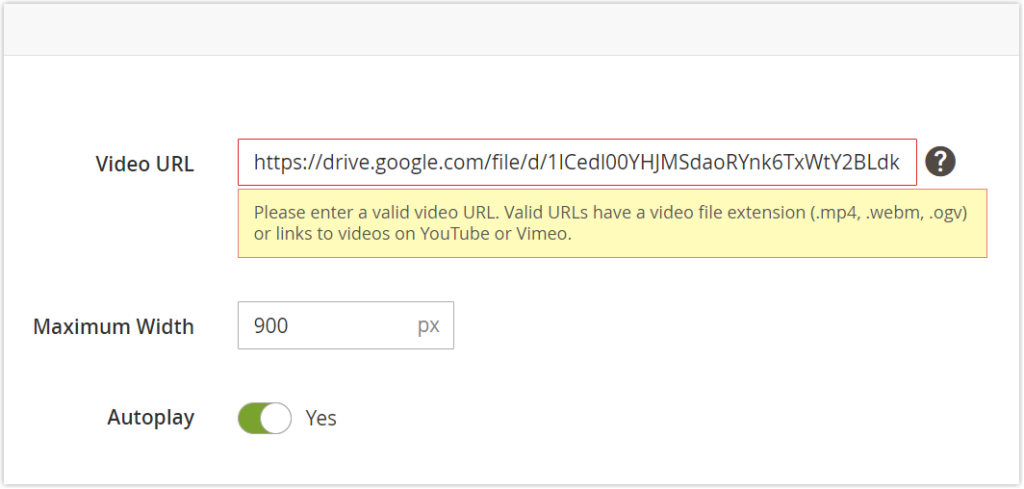
- Maximum Width: Enter the maximum width in pixels. If you leave it blank, the video almost takes up the entire screen width. In other words, there is nearly no padding or margins for the left and right sides. To give these both sides a spacious look, I set the video maximum width to 900px.
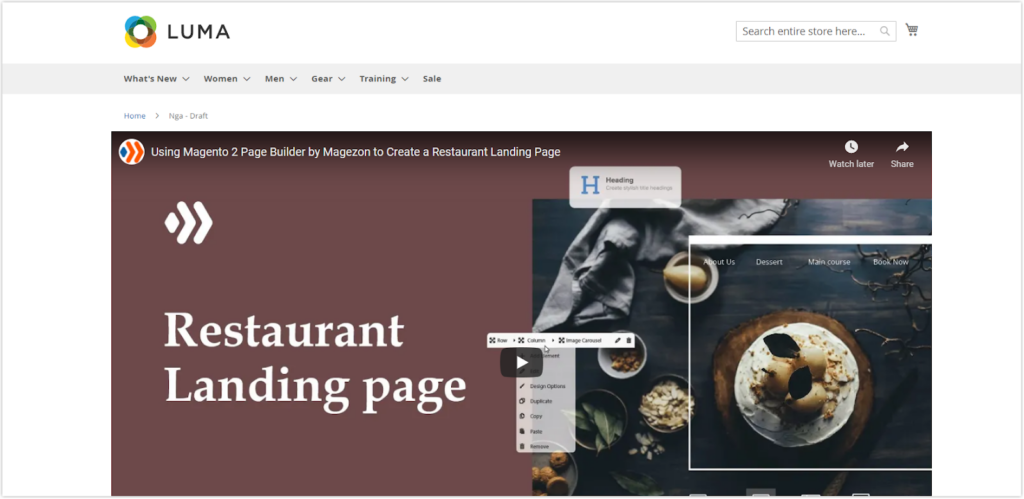
Here is what it looks before the settings:
After I’ve set the given maximum width:

- Toggle Yes so that your video file will begin playing automatically once the page loads . As per policy, the video is muted during playback when Autoplay is enabled. Remember that the video will not automatically play on mobile devices. For more information, refer to the following resources:
+ Google (Chrome/YouTube) autoplay policy
+ Local videos autoplay policy
If Autoplay is turned off, the video will start playing when users turn it on. Close the full-screen mode in the upper-right corner when you’re finished. Then, to save the change, click Save.
In the next part, Advanced Settings, I’ll show you how to change the video container settings.
Try FREE Magezon Page Builder demo today
Easily create beautiful, engaging Magento website in any style whenever you want without relying on developers or designers. Just by drag & drop.
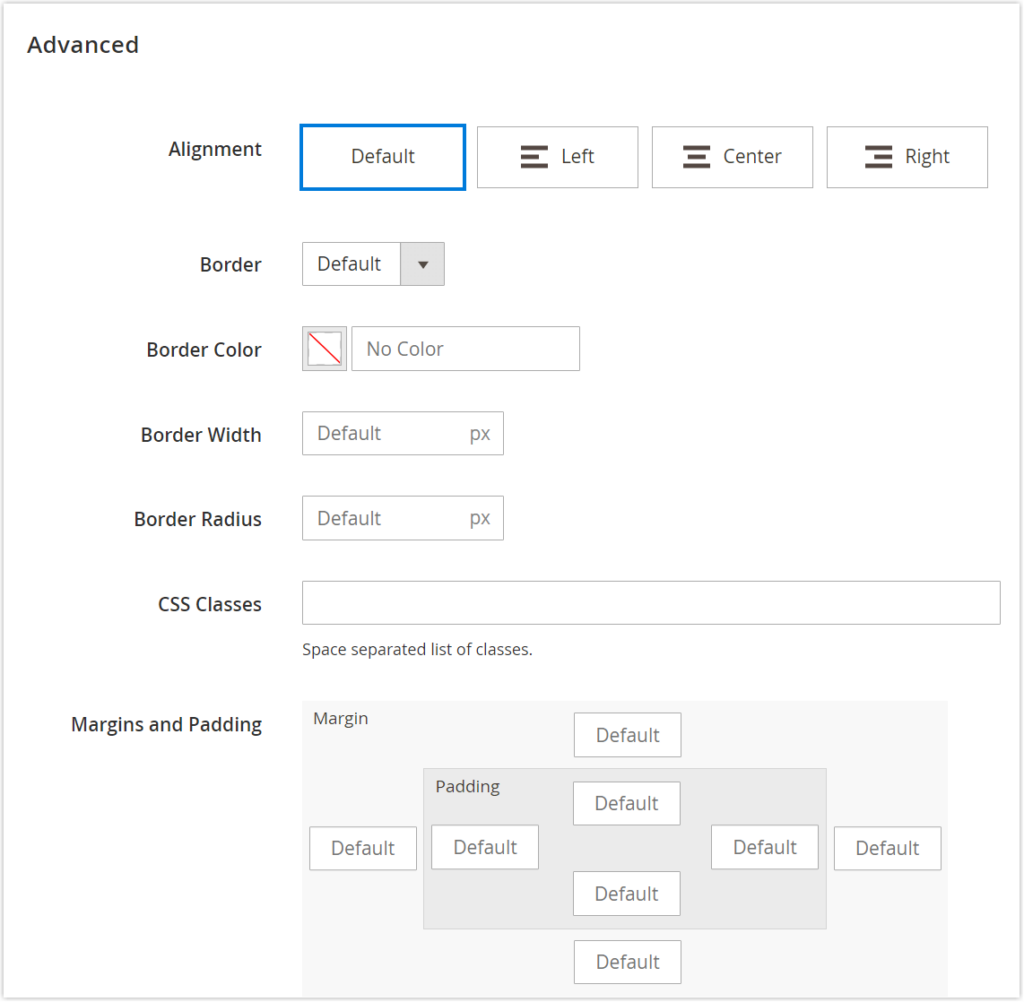
2. Advanced Settings
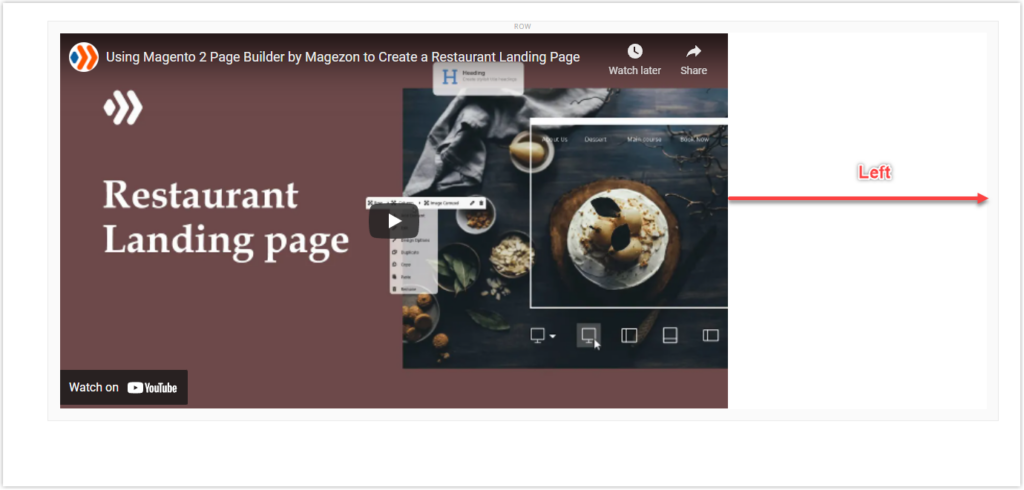
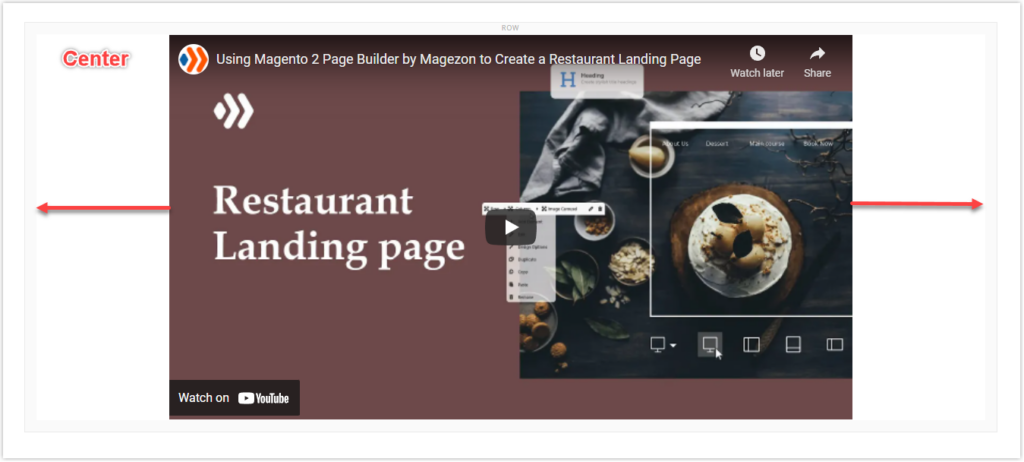
- Alignment: Align the video to the left, middle, or right sides of its container. If you ignore it, the alignment is set to Left, which is determined by the default alignment settings of the current theme (Luma). These alignment settings are depicted below.
+ Default:
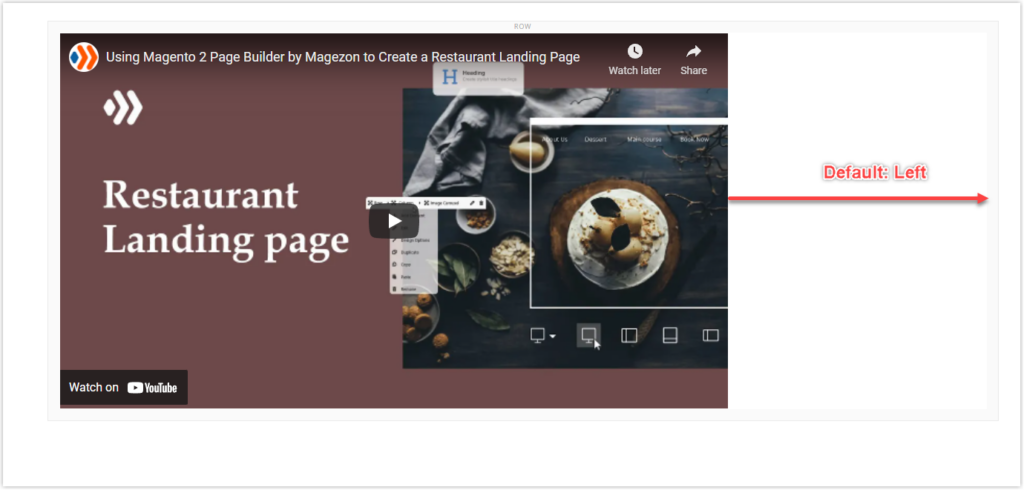
+ Left:
+ Center:
+ Right:

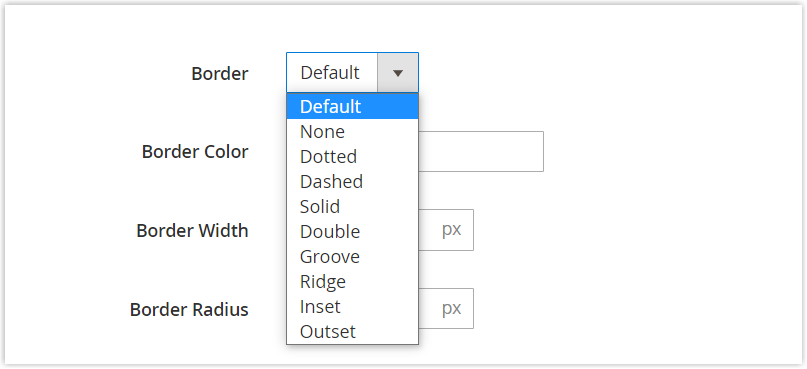
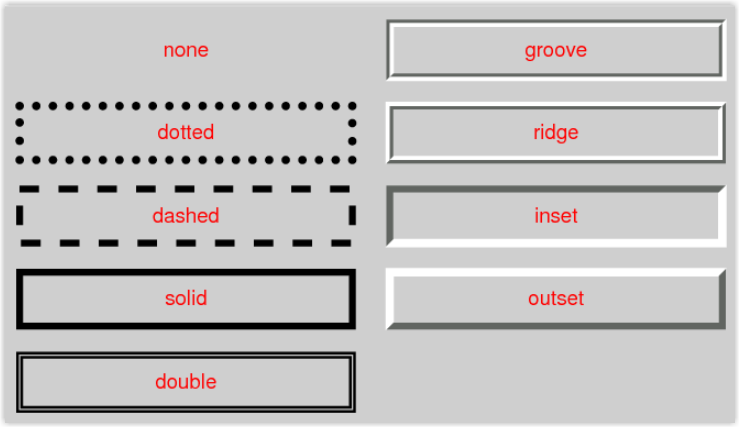
- Border: Choose a border style for the video container.
Have a look at the illustration below to see how each borderline appears. (Source: W3)
Further, you can find more detailsin the blog post “Magento Page Builder Heading content type.”
When you select None for Border, the Border Color and Border Width fields become invalid. If you apply other options to Border, you can work with these fields.
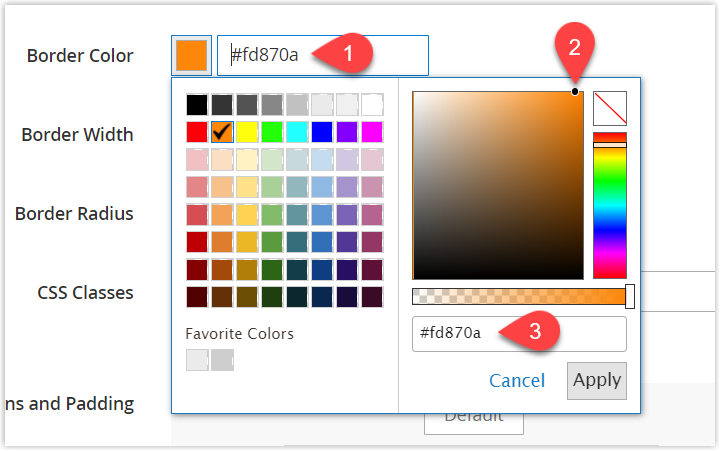
- Border Color: Pick a color for the video container’s border. There are three options:
(1) Choose a swatch from the panel.
(2) Drag the color picker over your desired color.
(3) Enter the desired color name or hexadecimal value.
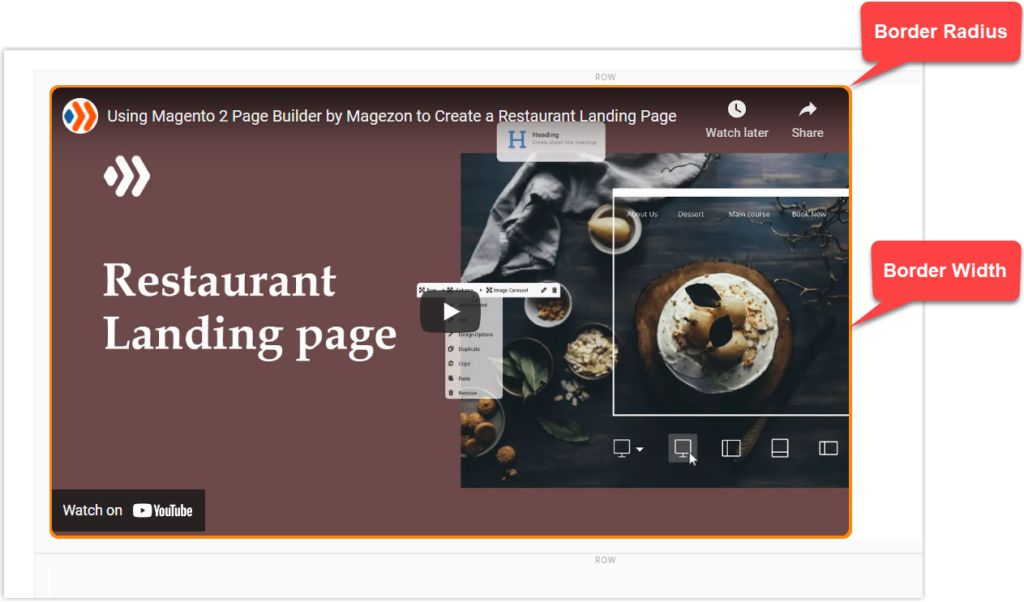
- Border Width: Set the border width of the video container (Unit: px).
- Border Radius: Set the border radius of the video container (Unit: px).
- CSS Classes: This is optional. Enter the names of CSS classes to apply to the video container. In the case of many class names, use a space to separate them.
- Margins and Padding: Add the video container’s inner padding and outer margins.
To demonstrate what they are, I’ve set the left margin and padding to 100px. I set the left margin and padding to 100px and left-align the video within its container. However, the result is not what I hoped for. The left margin should have been the amount of space between the video container edge and the row container edge, but in reality, it’s not visible at all. Meanwhile, we only see its left padding which is 200px. The illustration below demonstrates what I mean.
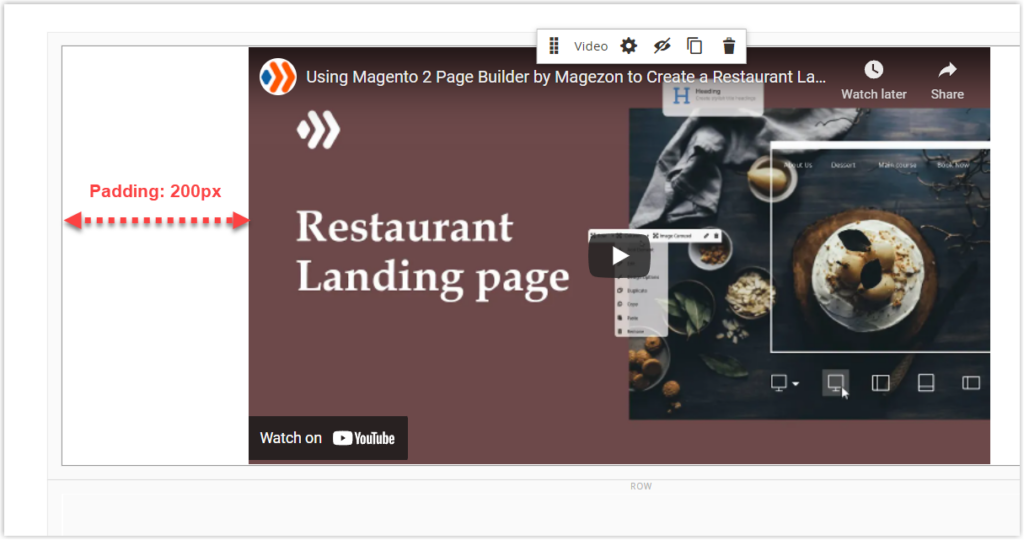
When I check it on the front end, I only see the video container’s left padding. So, make a note of it,
And that’s it! You have successfully added a video to your web pages. Hope you now understand how to use the Video content type in Magento Page Builder. If you need further clarification, don’t hesitate to leave a comment below.
An Alternative Page Builder With the Impressive Functionality
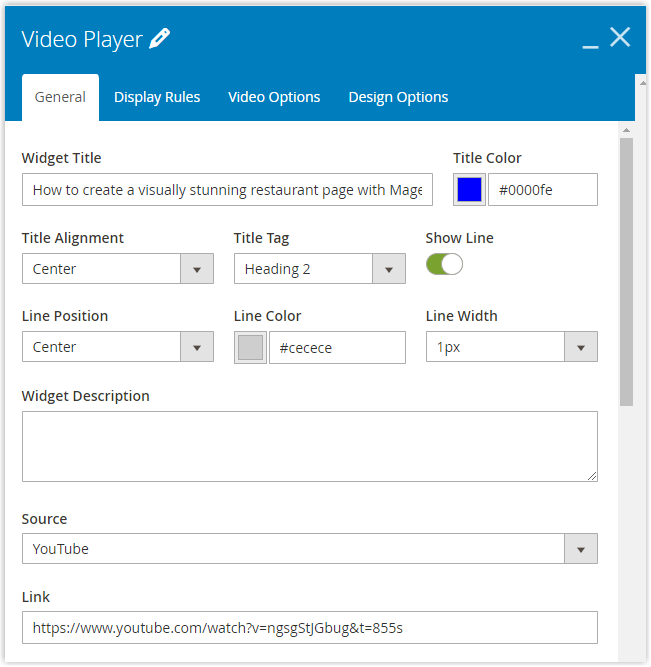
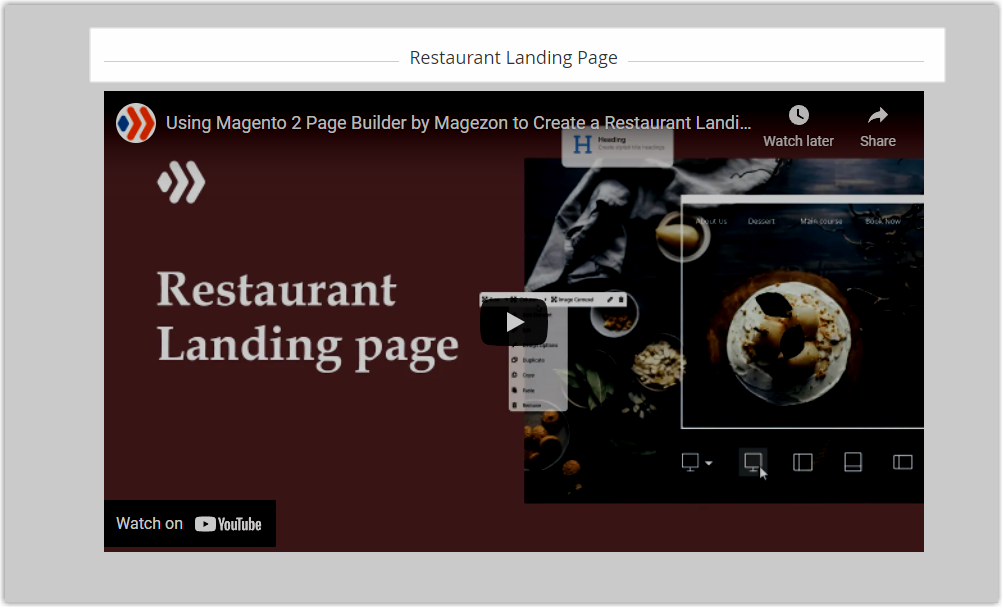
You’ll probably agree that Magento Page Builder Video is quite basic after the tutorial above. If the functionality of this content type satisfies your current needs, there is no reason not to stick to it. However, if it falls short of your expectations, you should consider the Video Player element of our Magezon Page Builder.
This element boasts various advanced features that you can’t find in Magento Page Builder. Let me show you.
- You can not only add the title to the video widget but also customize it the way you wish.
- Apart from the same customization options like Autoplay and Mute, the Video Player element of Magezon Page Builder comes with a plenty of customization options such as:
+ Choosing the appropriate aspect ratio for video display
+ Setting the start and end time
+ Looping the video
+ Showing the related videos so that interested audience can see other videos of yours.
+ Using the preview image for videos.
+ Others
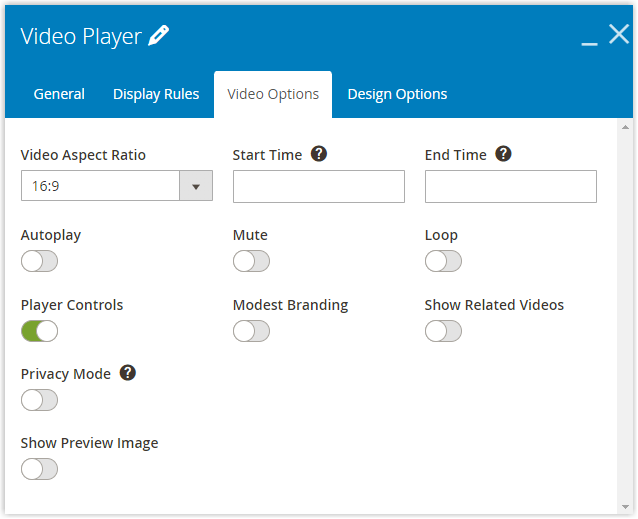
- Like other elements in Magezon Page Builder, Video Player has design options that enable you to customize the Video container to your liking. However, having Magezon Page Builder makes it possible to customize all of these design options on different five screens, use image/color/video background, and add your preferred type of parallax effect, and so on.
Conclusion
Magento Page Builder Video is quite easy and straightforward. So, if you plan to stick to Magento Page Builder at least in the early stage, it’s good enough. When you’ve used it for a while and you need more than that, Magezon Page Builder is worth consideration.
Try FREE Magezon Page Builder demo today
Easily create beautiful, engaging Magento website in any style whenever you want without relying on developers or designers. Just by drag & drop.


