In the previous sneak peeks, you had an insight into some upcoming features regarding control over the layout. Today, we’re excited to introduce to you other amazing new features related to control over styling.
It will be a massive improvement for you to easily design stunning pages with various effects and animations—no need to use graphic design tools. You will be able to customize any kind of effect or animation and apply them to any element right on the page with a single click. Scroll down to explore what they are and how they benefit you!
Table of contents
Scroll Effects
The scroll effects occur when visitors scroll up or down through the page. It gives you the power to customize the speed and direction of animation by adjusting different values for the top, middle, and bottom viewports. You can use the combination of horizontal & vertical scroll, fade, scale, rotation, and blur effects to animate any element.
To have a visual look at how scroll effects work, you can access the demo we’ve created and experience it.
1. Vertical Scroll
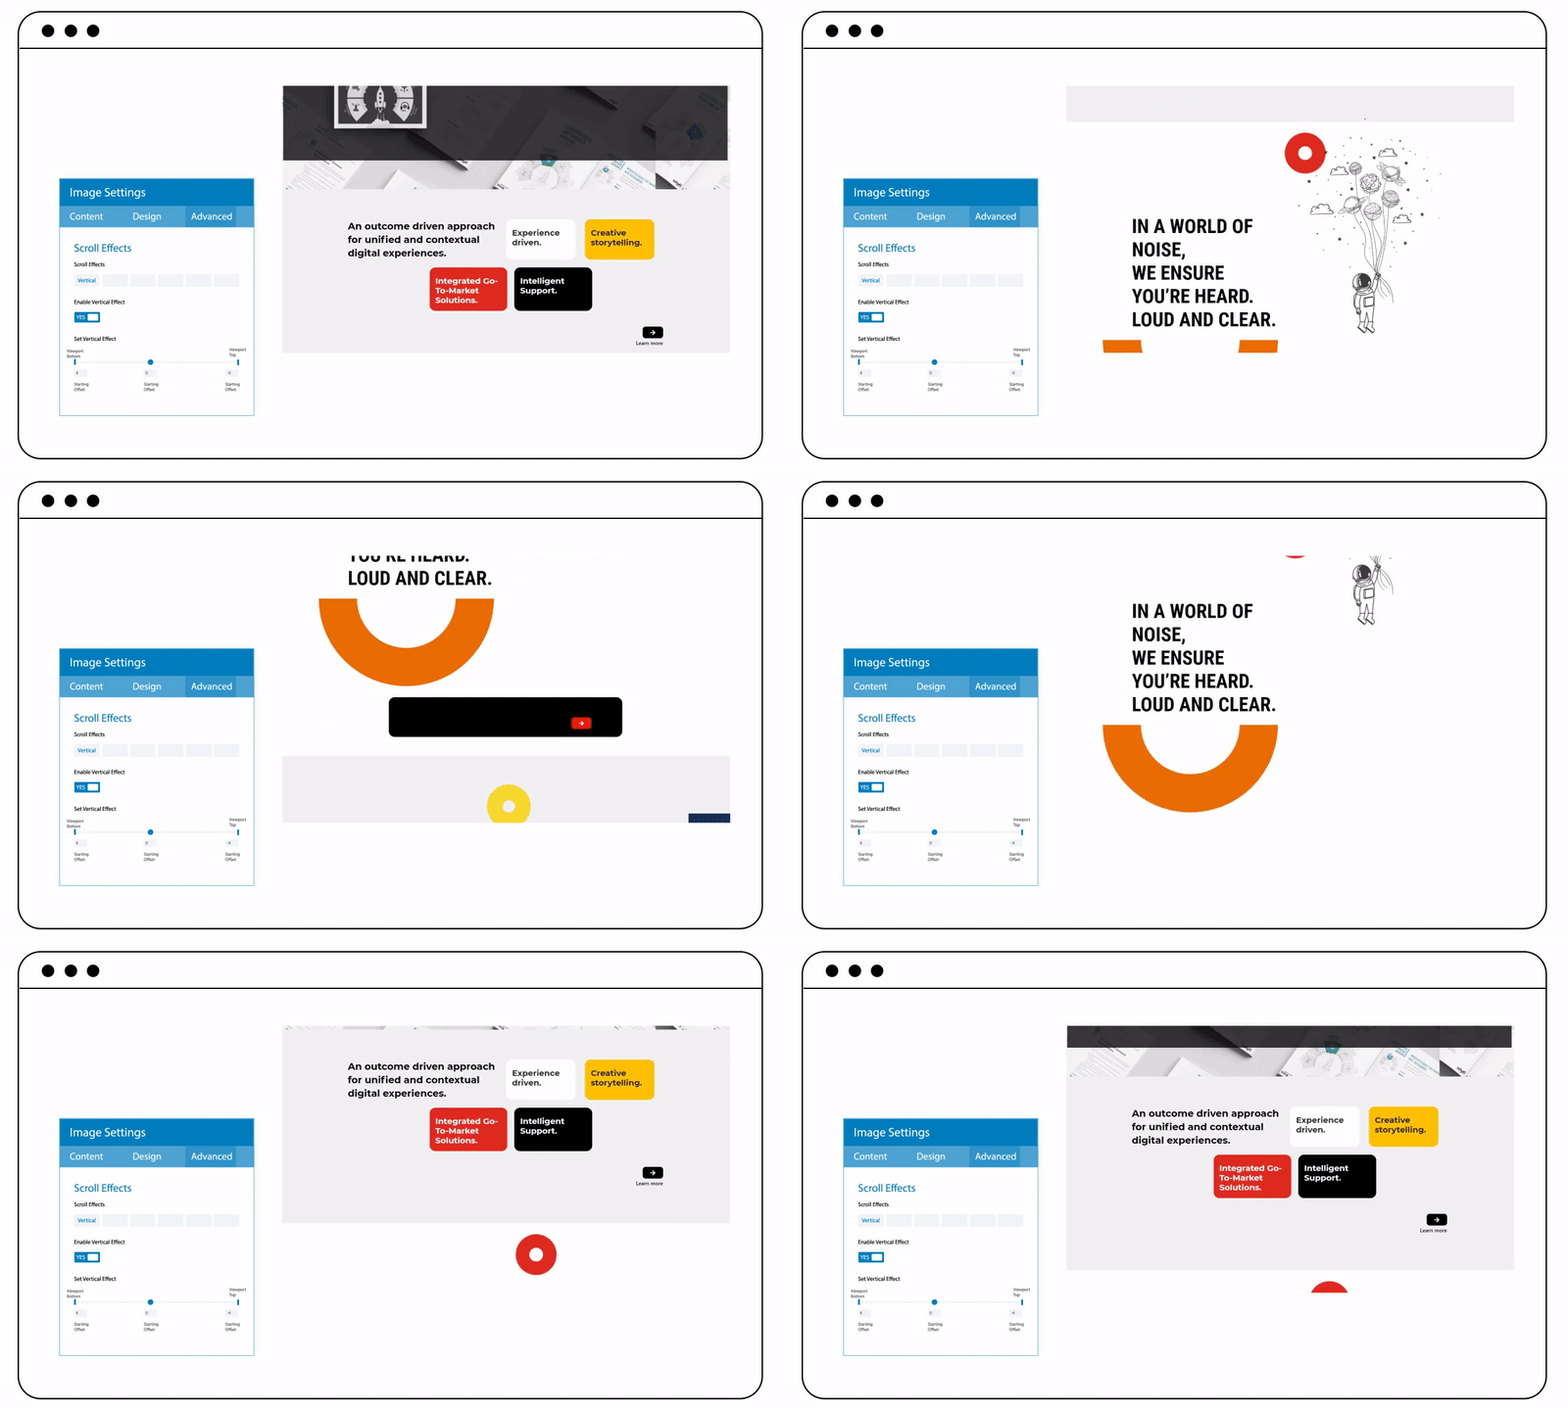
The vertical effect makes elements move up and down the page based on the speed and direction the visitor is scrolling. It is also considered a classic parallax effect. What’s more, you can even use a vertical scroll effect with parallax background images together to create an incredible design.
2. Horizontal Scroll
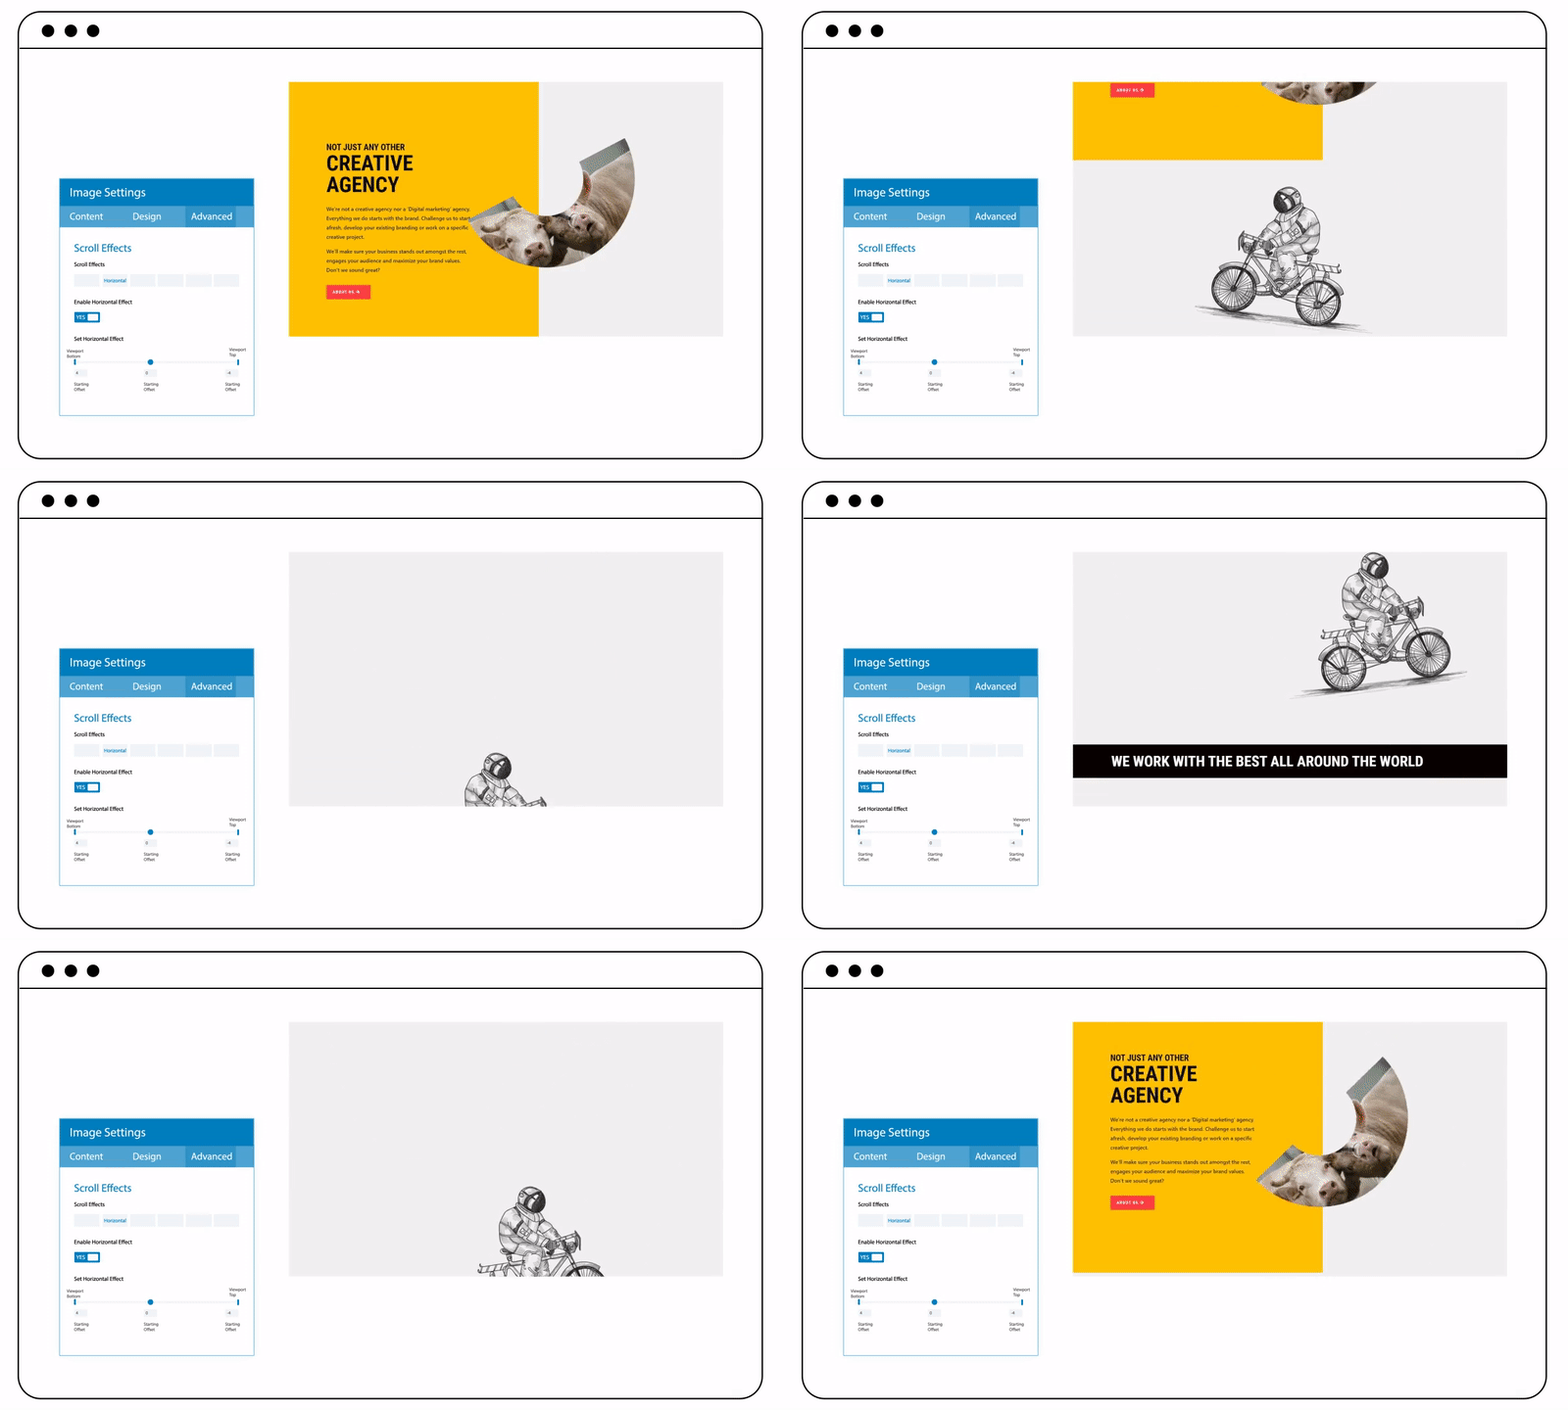
You can experience the horizontal scroll effect like vertical motion, except it moves elements to the left and right across the screen. Furthermore, you have full control over combining vertical and horizontal scroll effects to modify the element’s movement.
3. Fade
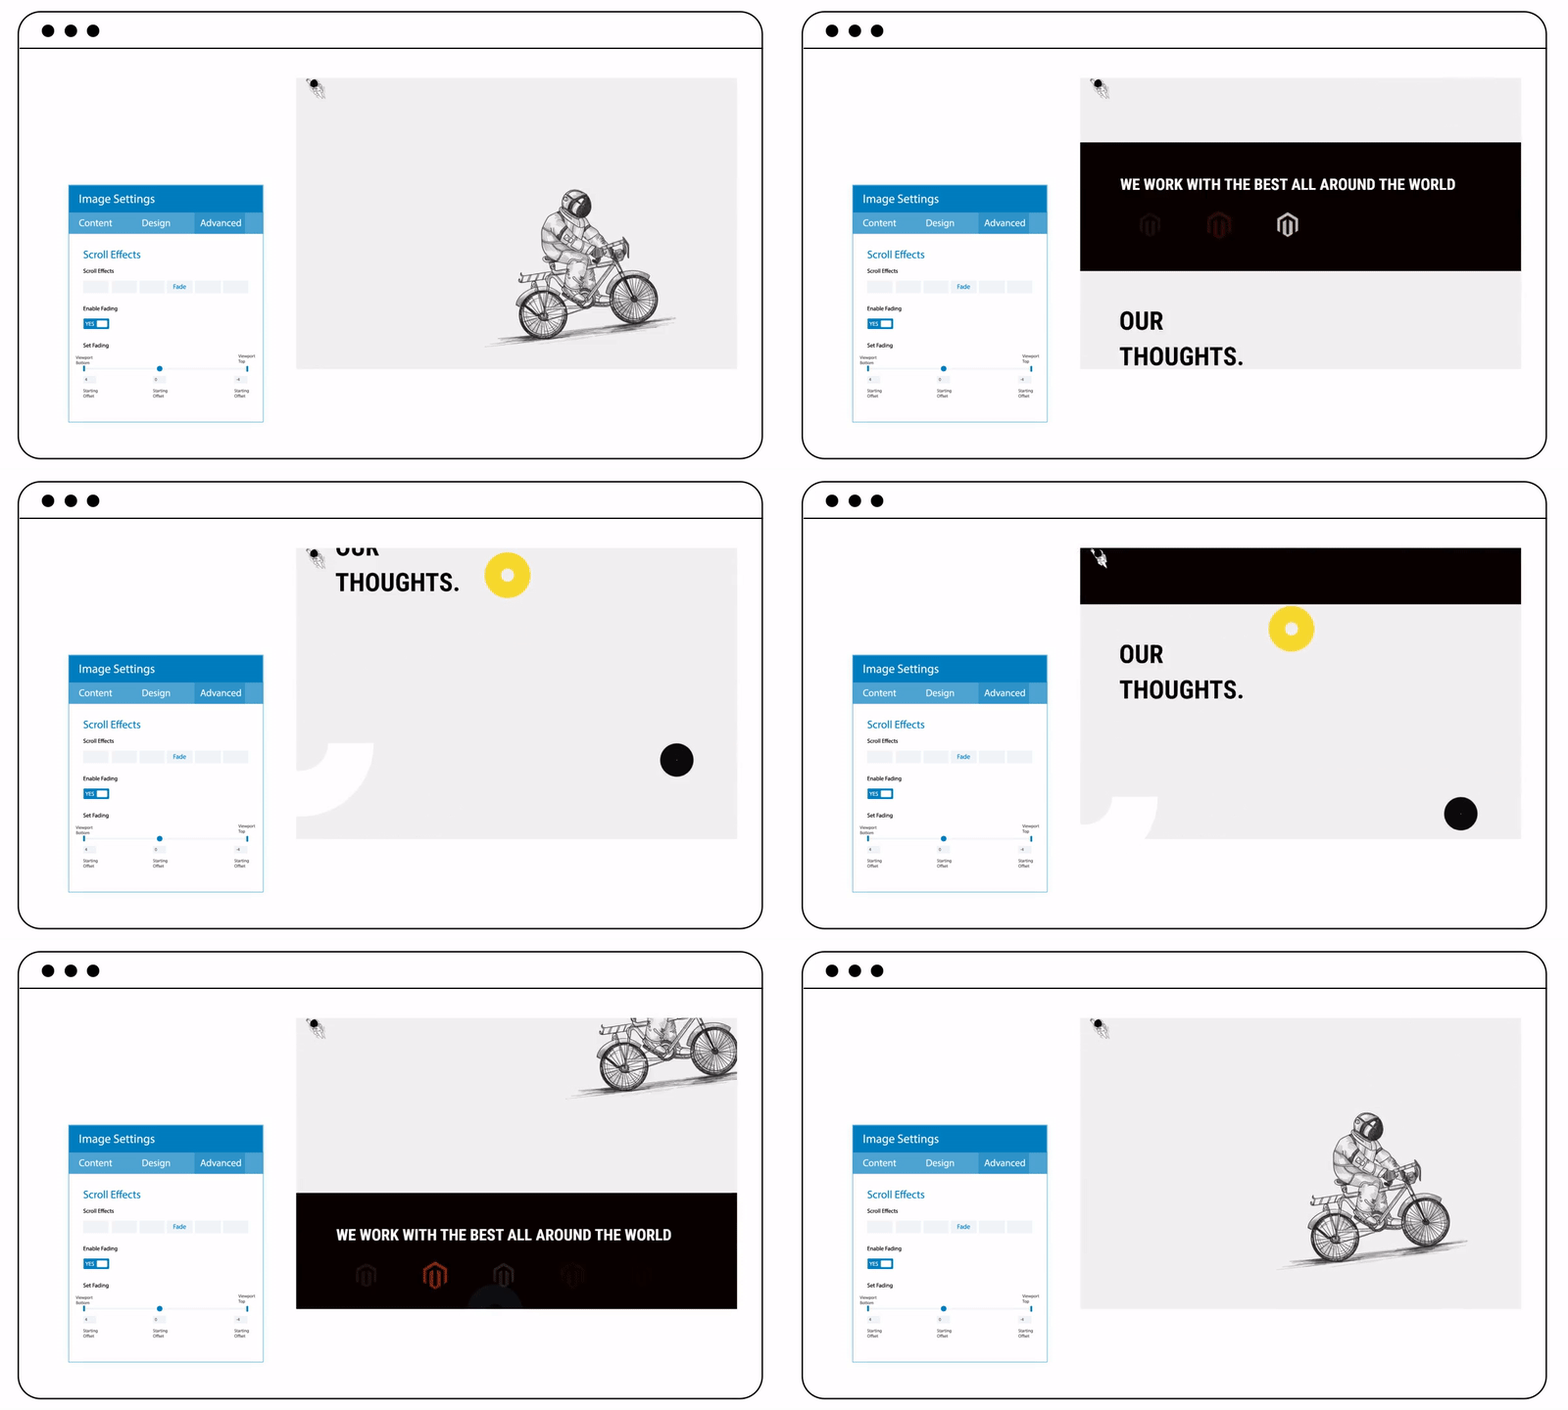
You can fade elements in, out, or both, and according to the visitor’s scrolling speed and direction, the element will react to the settings you set. Of course, you can combine this effect with other effects such as scale and rotation effect to make the element’s motion more exciting.
4. Scale
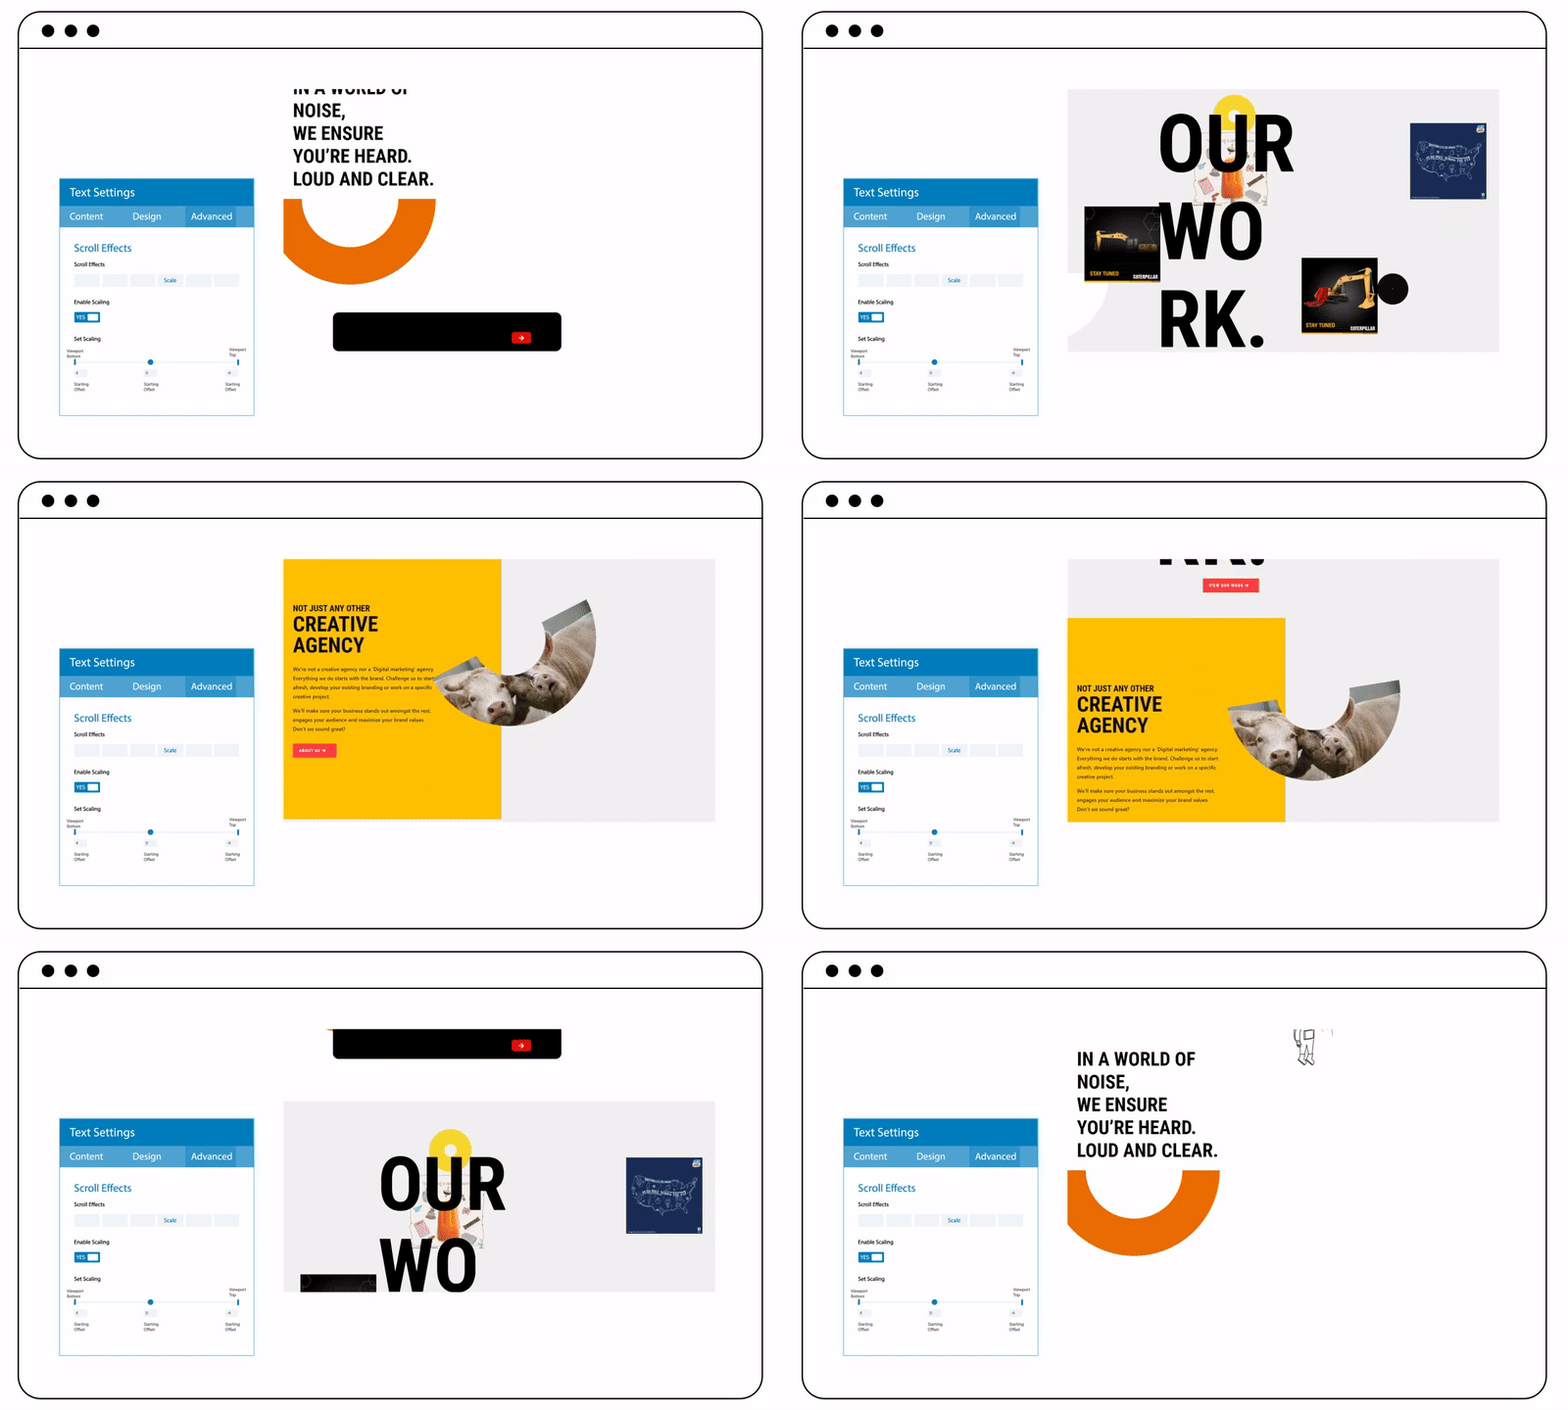
According to the visitor’s scrolling behavior, the scale effect will expand or reduce the size of elements to attract visitors and focus attention on significant parts.
5. Blur
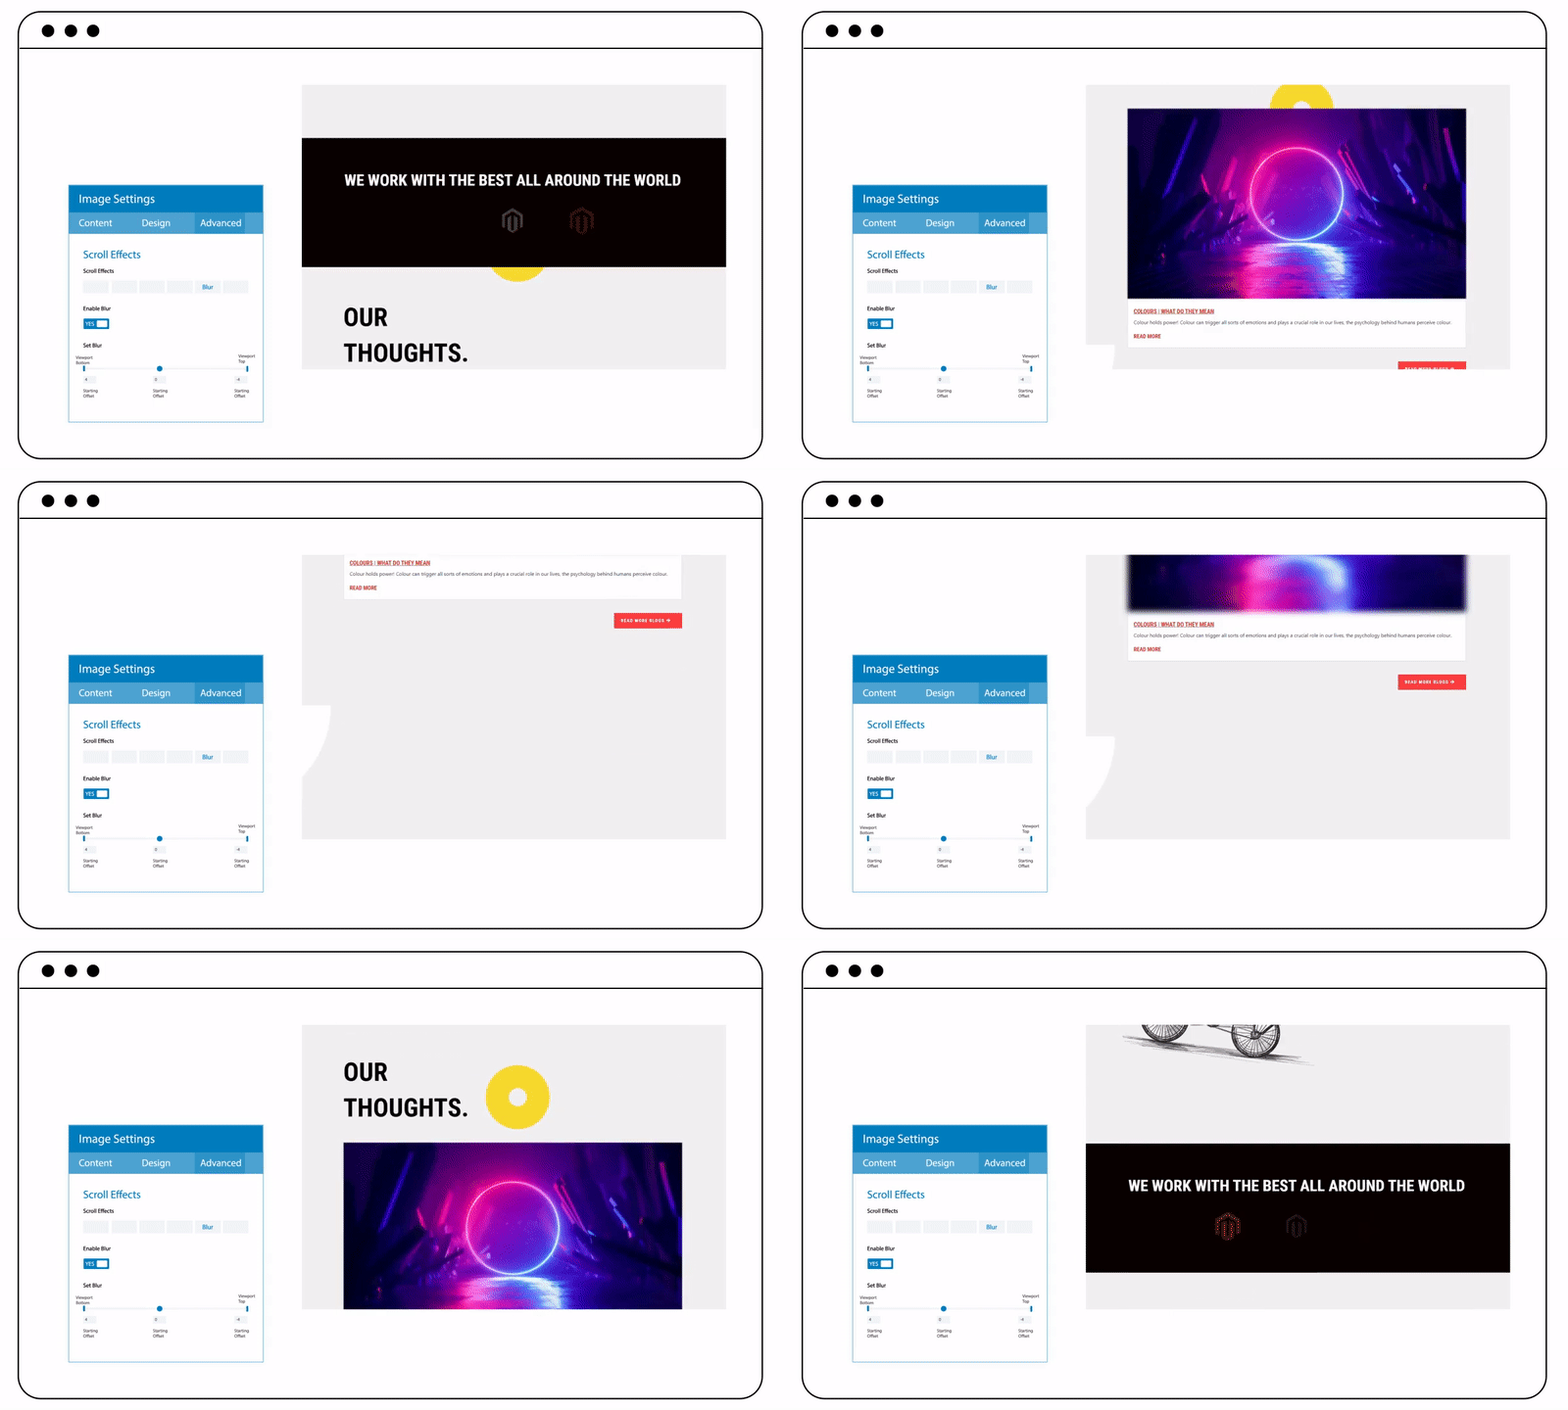
This effect lets you blur elements in or out based on the visitor’s scrolling speed and direction. Using the blur effect is an excellent way to highlight essential information.
6. Rotate
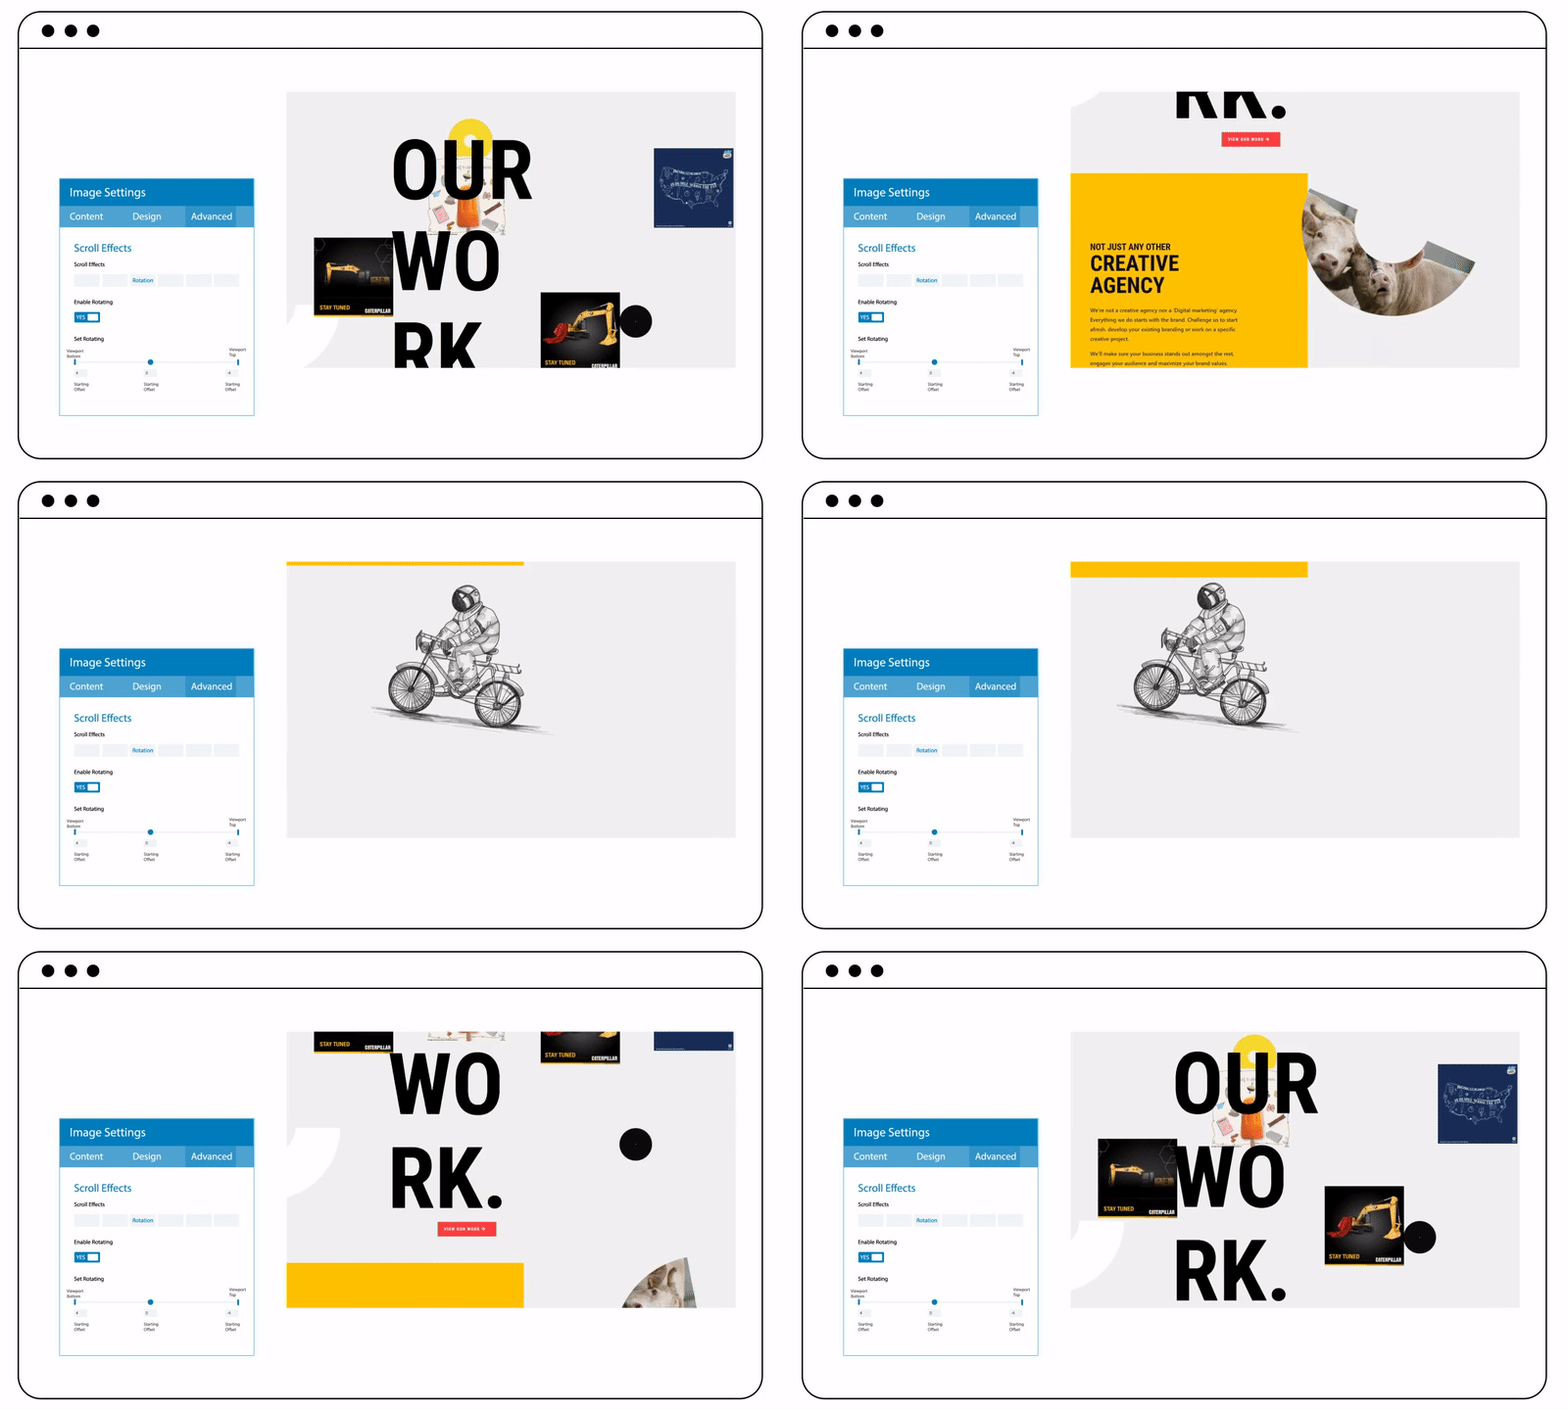
Elements will be rotated depending on the visitor’s scrolling behavior. Thus, you can use it together with other effects to bring your designs to life.
Box Shadow
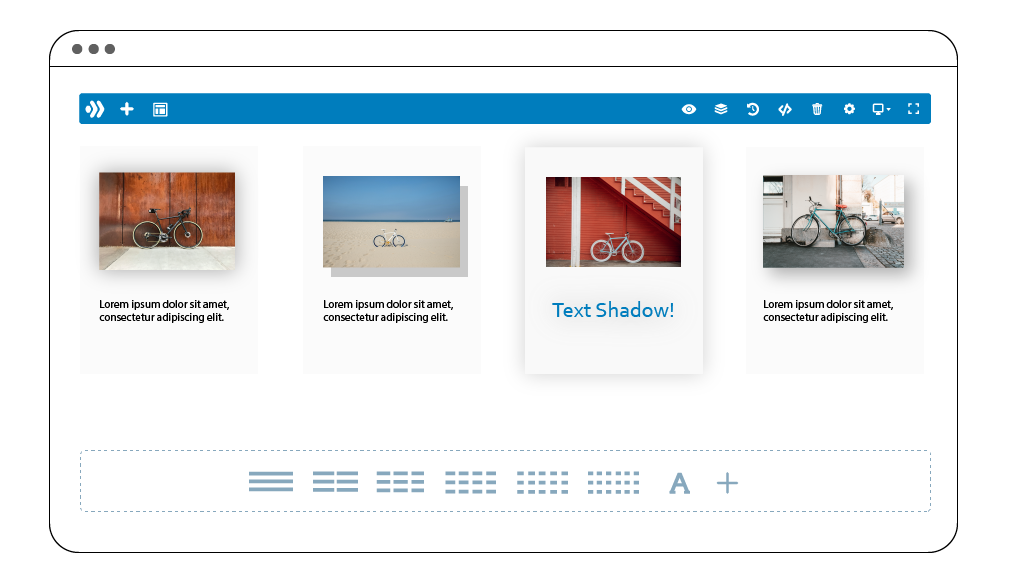
The box-shadow feature is a powerful design tool that can make your page stand out by adding shadow to it. You’re able to add shadow to any element, e.g., columns, rows, images, and more. Especially, you can further create stunning effects for text by adding shadow to it.
What’s more, you have full control over customizing every aspect of shadows such as colors, spread, transparency, and positions to make them unique and meet your preferences.
Sticky Options
The sticky options allow you to stick elements to the top or bottom of the browser viewport when visitors scroll up and down across the page. It plays a vital role in keeping important information in sight. Besides, you can also determine when and where the elements become sticky based on the visitor’s scrolling behavior.
1. Stick to Top
The element will stick to the top of the screen when it reaches the top of the browser viewport. Then it will stay there as visitors scroll down the page.
2. Stick to Bottom
Once the bottom of the element reaches the bottom of the screen, it will stick to the bottom of the browser viewport and stay there as visitors scroll upward.
3. Create Sticky Boundary
You can also limit the sticky area by setting a sticky boundary for the sticky element. When this element goes outside the sticky border, it will no longer be in view. For example, you set a heading to be sticky only within its parent container. It means that when the heading hits the top of the screen, it will become sticky until the visitors scroll to the end of its parent section.
4. Adjust Sticky Style & Transition
You can further customize unique styles for sticky elements. When the element becomes sticky, its standard style will automatically change to its sticky style.
Animations
In the new version, you’re empowered to customize animation style in any way you want by adjusting its type, speed, and direction to fit your site’s aesthetic.
In addition, you have complete control over how fast your animation activates, animation’s delay time, and more. As a result, applying appealing animations to the site will help you boost customer engagement as well as bring them an exciting experience.
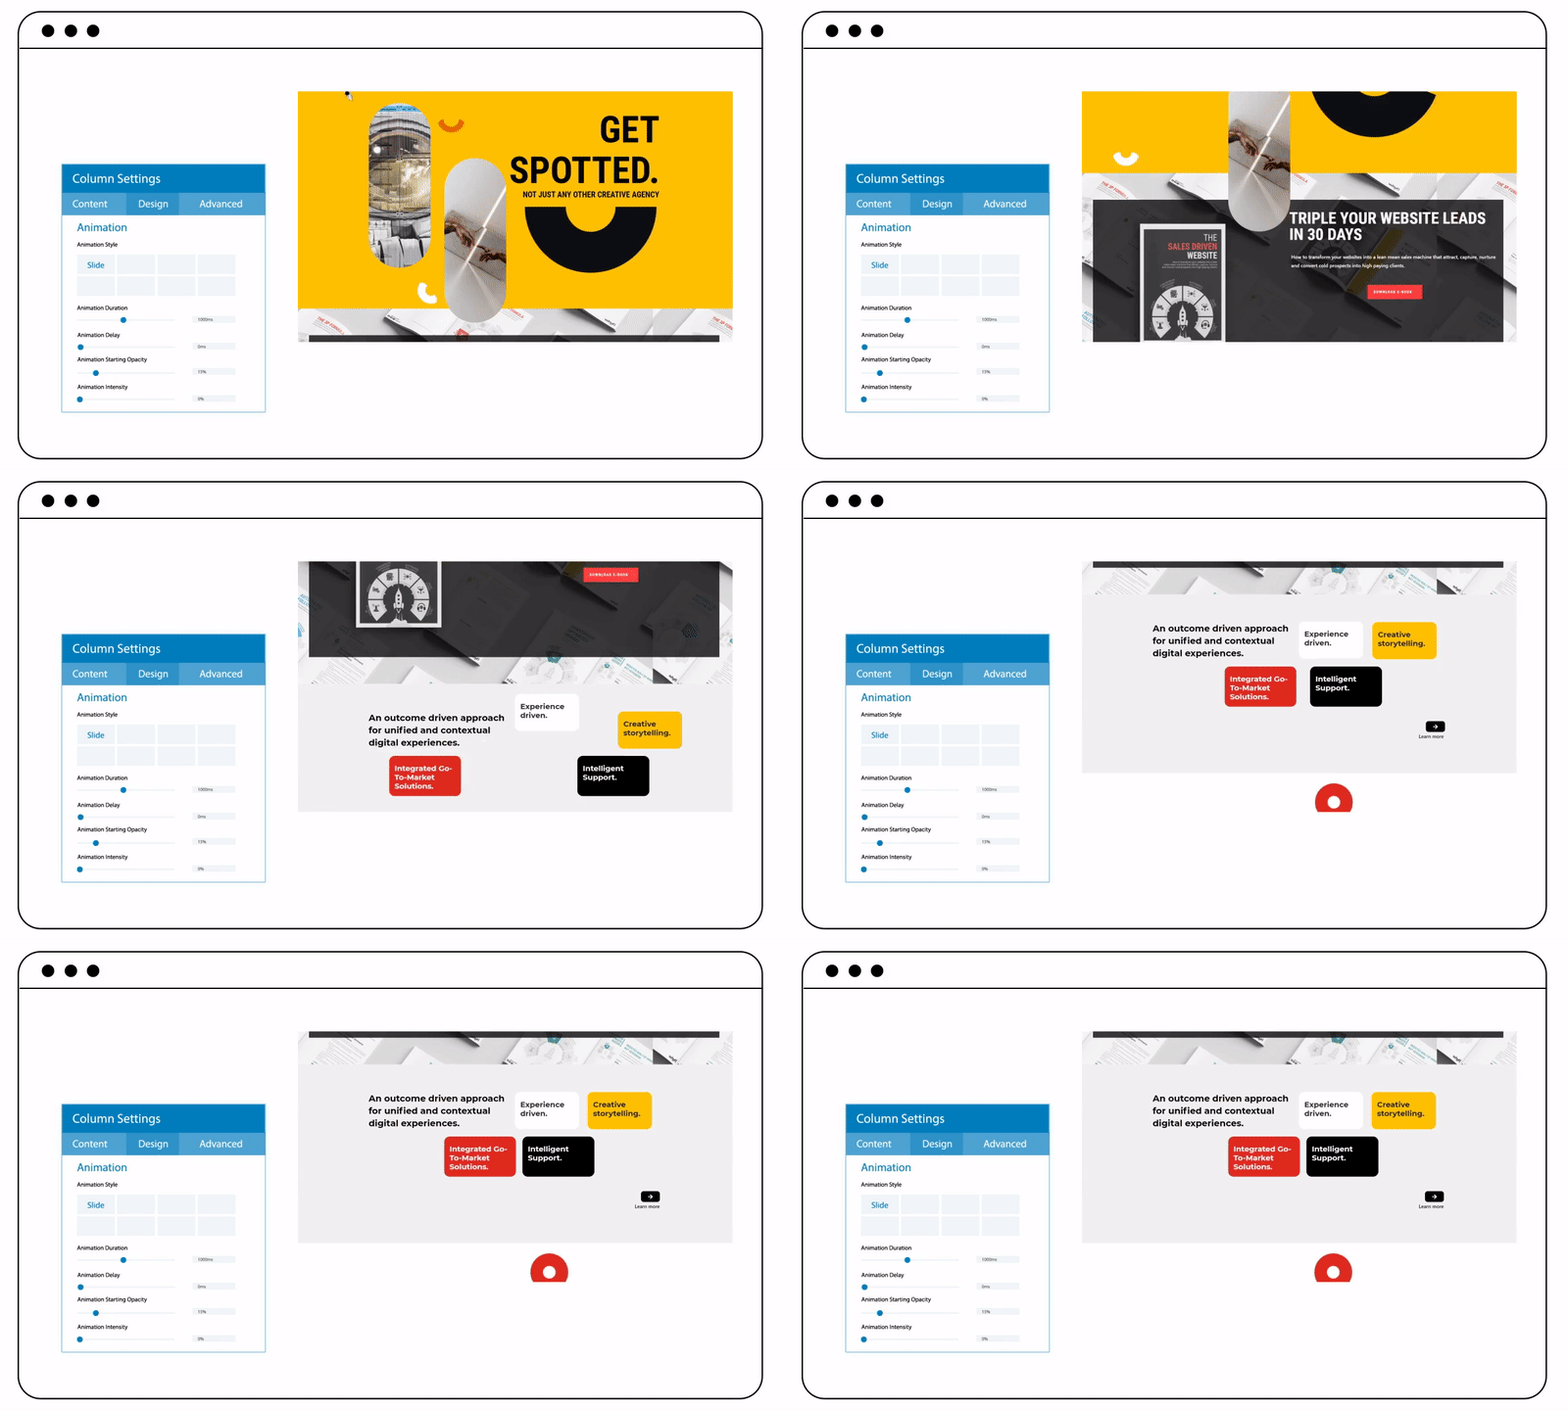
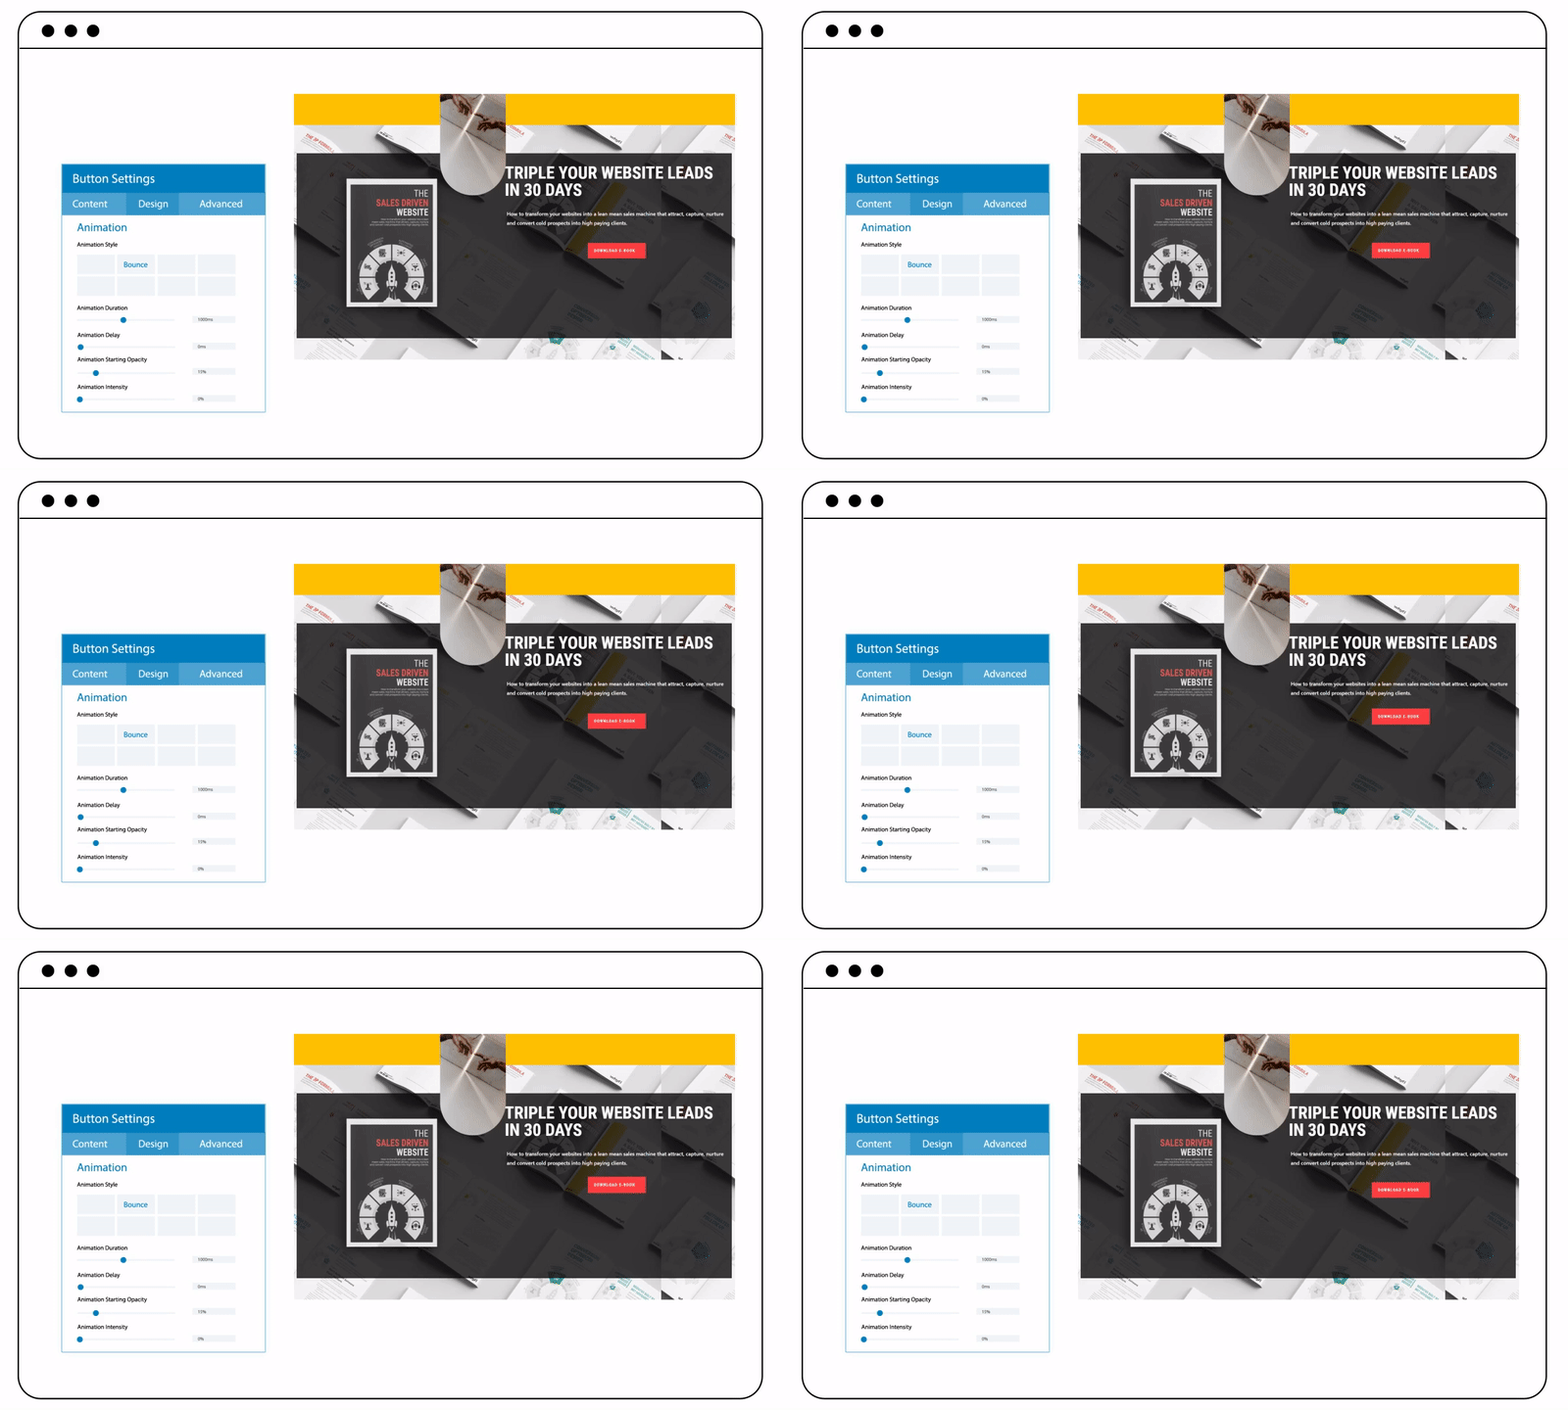
Let’s take a look at some animation demos we have created:
Slide Animation
Bounce Animation
Note: What you see in the sneak peek’s illustration images doesn’t reflect our final Page Builder that will be published. As the extension is still in development, any change may happen.
In Short
That’s all for a sneak peek in this week. We hope you’re also excited about these upcoming design features. Stay tuned for the next week’s updates because we will continue to give you insight into more amazing features regarding control over styling. And of course, leave comments below to let us know what you think about these new features, and any contributed ideas for the new version are always welcomed. We really appreciate your feedback.
Also, join our Facebook community for more exciting product updates and deals.
 Magezon Blog Help Merchants Build Comprehensive eCommerce Websites

