 Magezon Blog Help Merchants Build Comprehensive eCommerce Websites

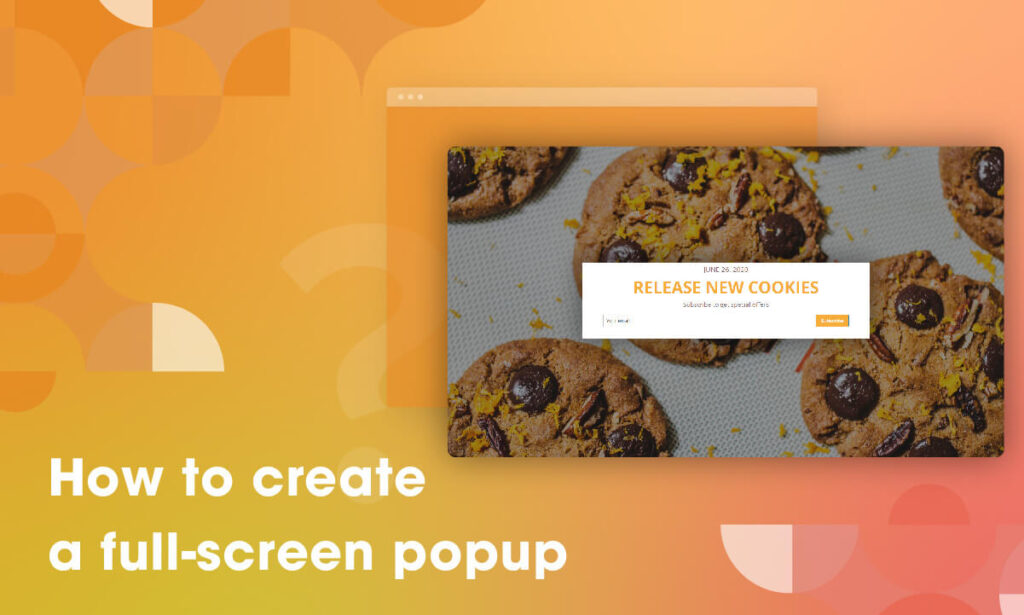
With Magezon Popup Builder you can easily create a full-screen popup in minutes without code. It allows you to build popup with custom content and you can customize the popup display by configuring various settings.
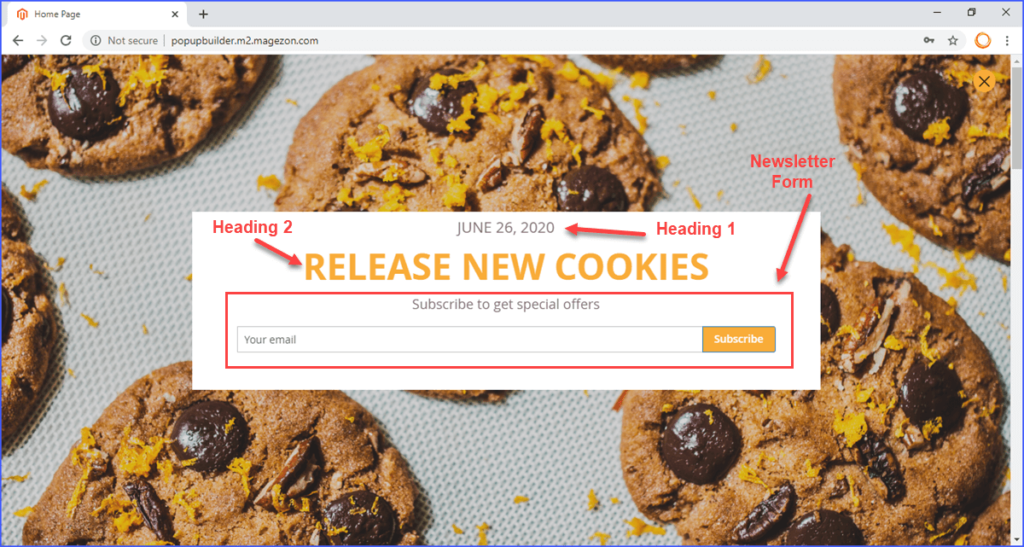
Here is the example of a full-screen popup we’ll build in this guide!
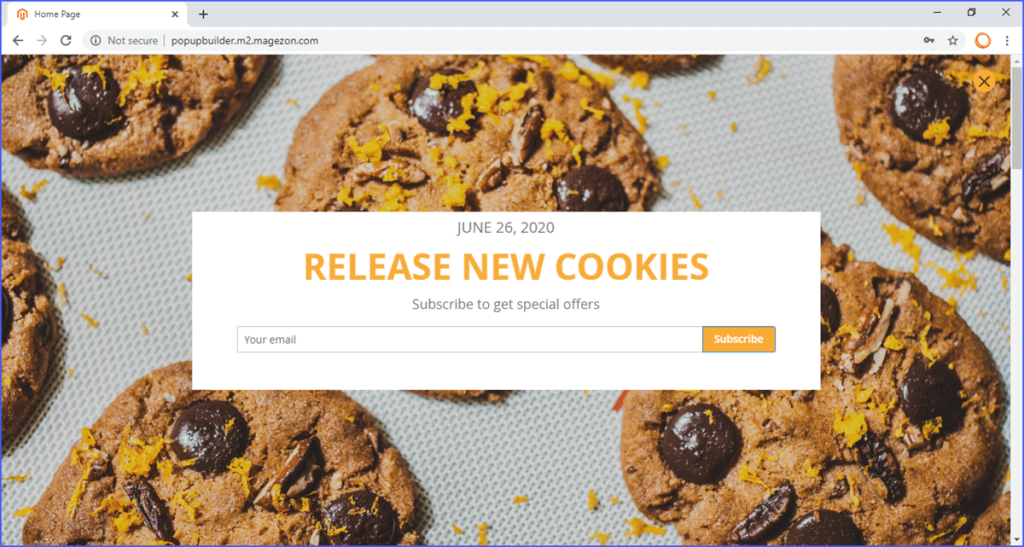
Table of contents
Step 1: Add new popup
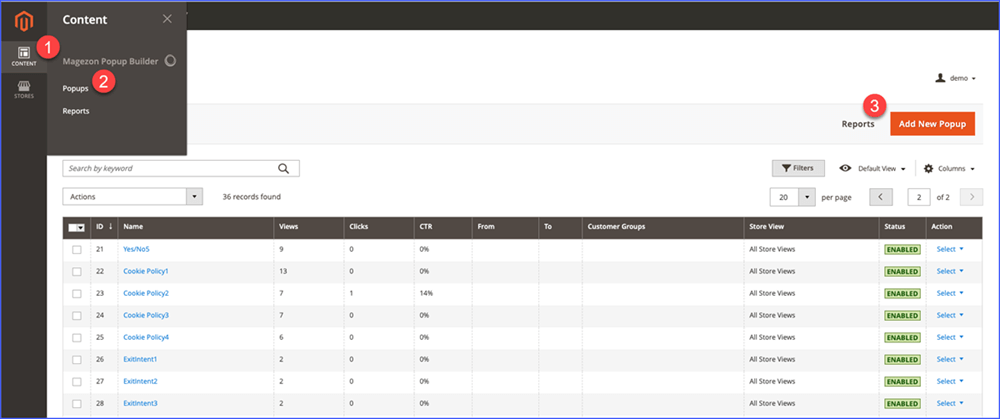
In the Magento dashboard, navigate to Content → Popups → Add New Popup.
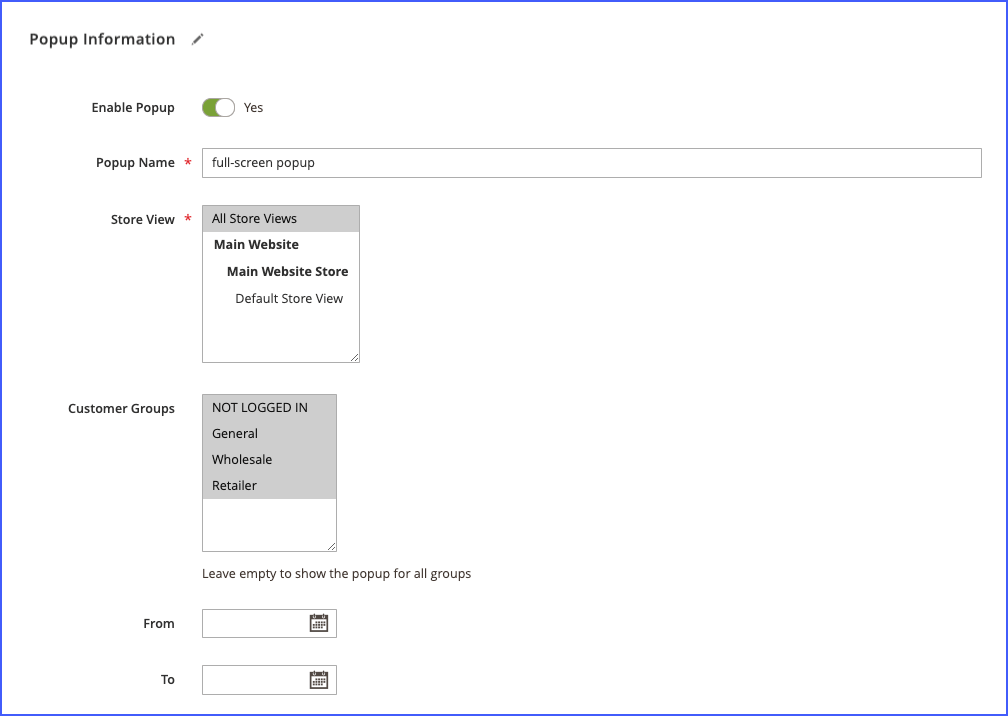
Then set its information in the Information tab:
- Give a name for your popup and choose the Store views where pop up displays.
- Select the customer groups that can view the popup and set a date range to show popup according to your intention (optional).
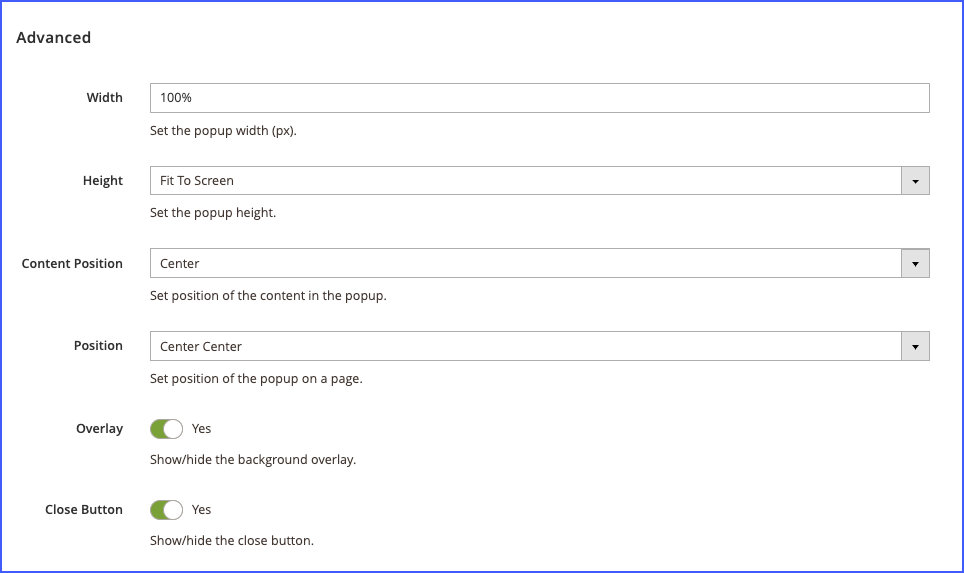
Step 2: Set the width & height of the popup
It is the most important step when you build the full-screen popup. In the Advanced tab, you must set the width of the popup to 100%, and the height as “Fit to Screen”. About its position, choose your desired option.
Step 3: Build the inside of the full-screen popup
3.1: Create the popup content
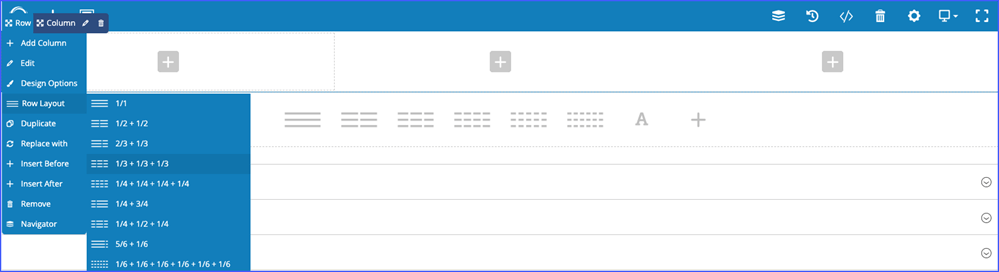
First, go to the What to display tab, and add a row. Then, divide it into 3 columns.
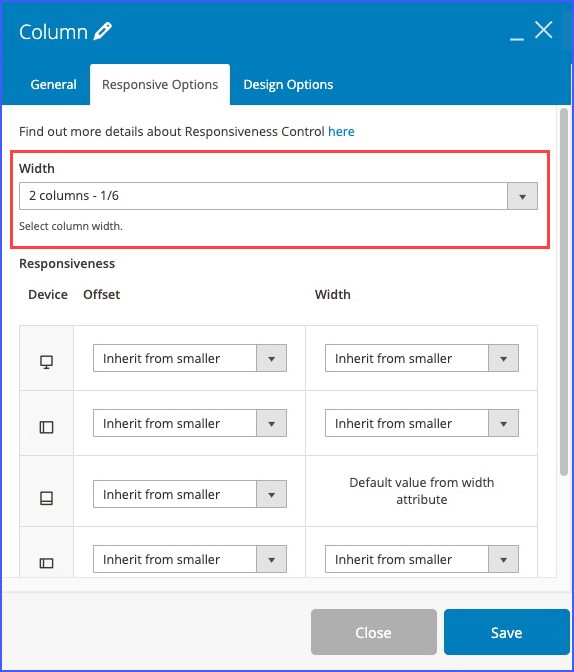
Then, edit the Responsive Options of each column. Set width with 8 columns – 2/3 for the middle column, and 2 columns – 1/6 for the left and right columns.

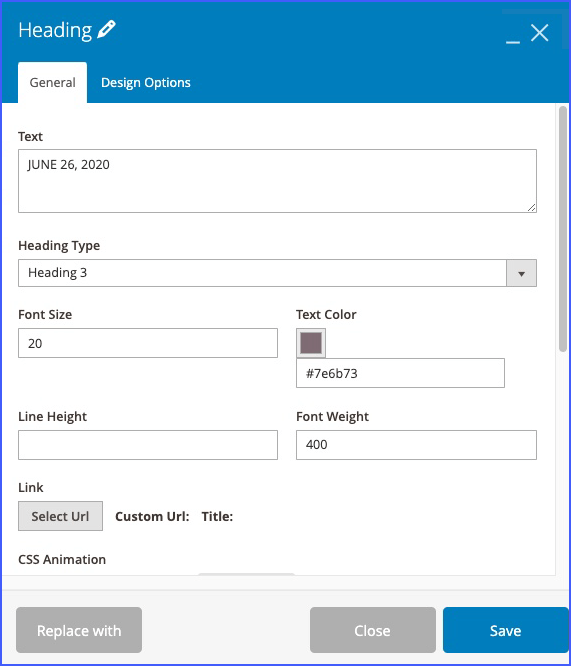
Next, in the middle column, add the heading element and edit its heading style, font size, text color, and font weight.

Next, add the newsletter form element below the heading element. Same to the heading, you can also edit the newsletter form’s title color, title font size, title font weight, and its layout.
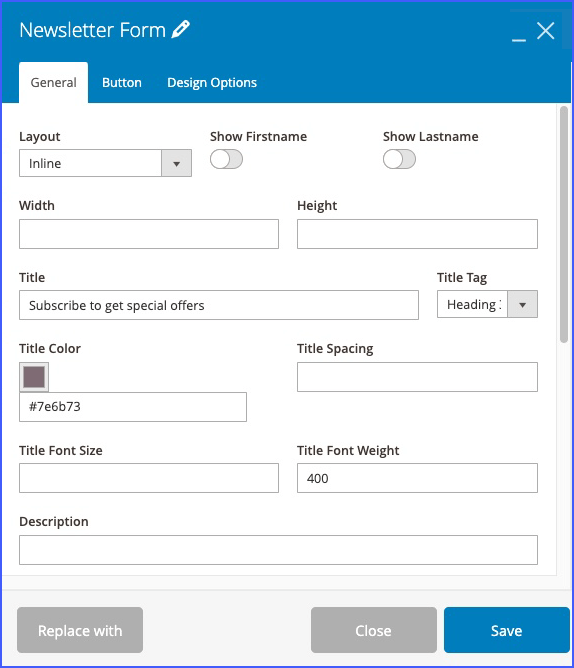
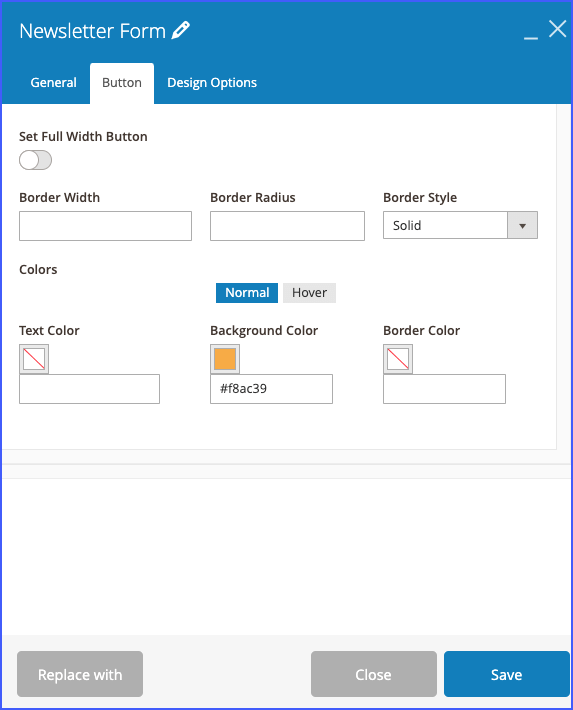
Also, the button of the newsletter form can be edited. You are free to customize its text color, background color or border color, etc.
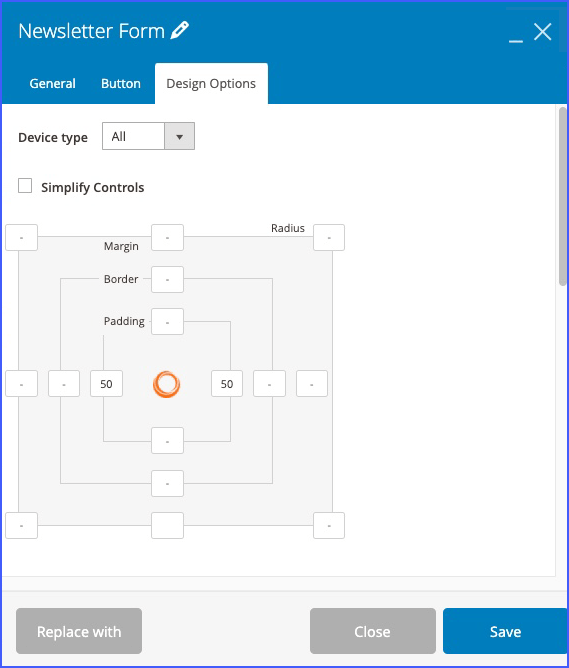
Next, in the Design Options tab, set the padding for the newsletter form.
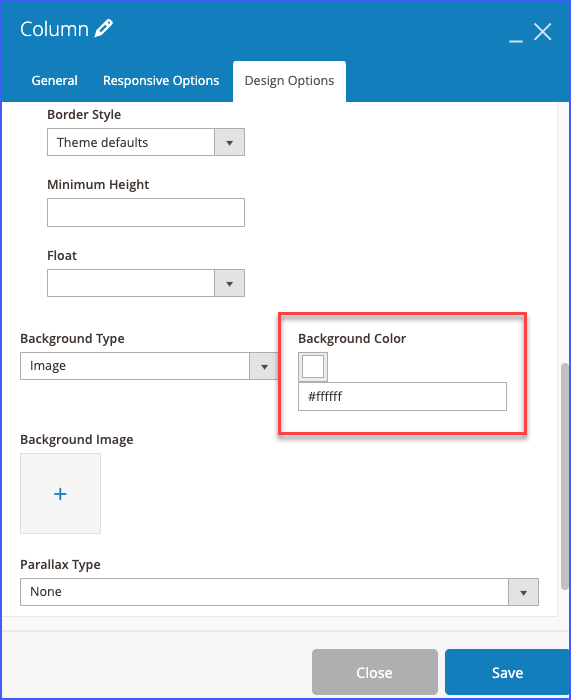
After adding these two elements in the middle column, choose the background color for this column in the Design Options tab.
Let’s see the result!
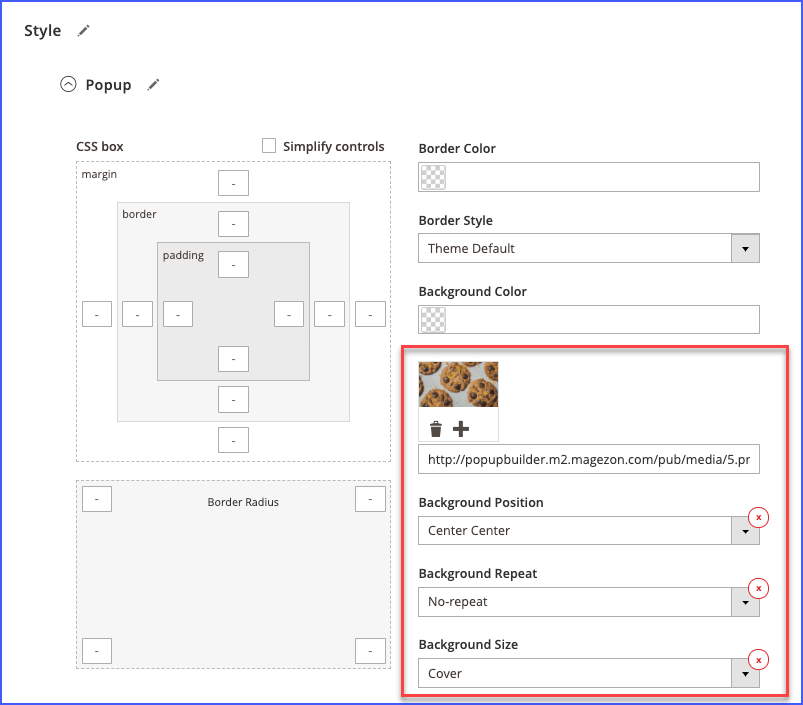
3.2: Add background image for the popup
Go to the Style tab to add a background image for the popup. Then set its position, repeat, and size.
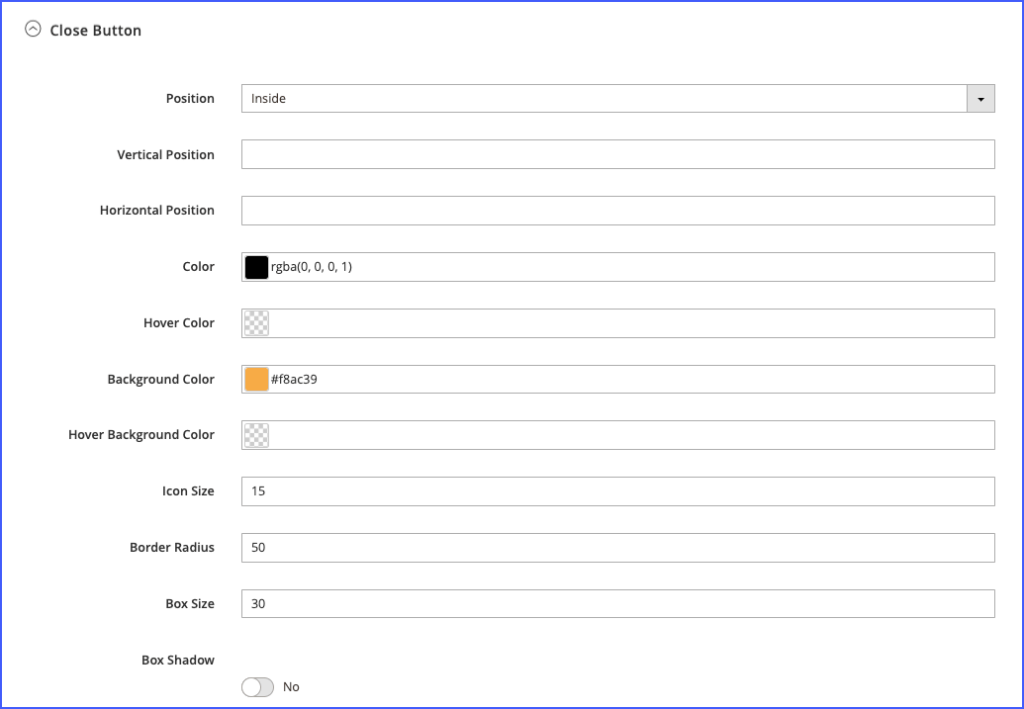
3.3: Design the close button of the popup
Next, open the Close button tab to customize it. With this option, you can edit its color, background color. Set icon size, border radius, and box size for it. Besides, you can set the vertical and horizontal position for the close button.
Once you have finished all the steps above, you will get the result like the example!
Step 4: Set display conditions for the popup
After you’ve finished designing your full-screen popup, go to the Display Conditions tab to open the Conditions, Triggers, and Advanced Rules.
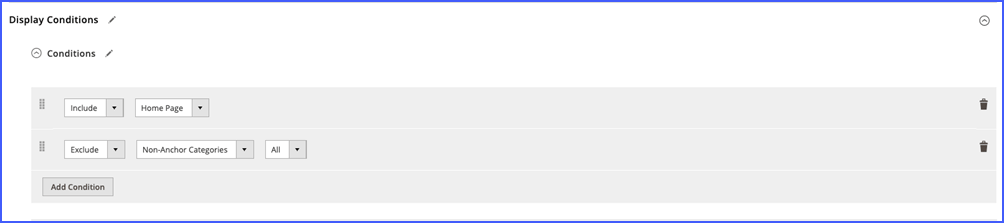
4.1: Set conditions
First, use the Conditions tab to target your popup to the pages you want it to display.
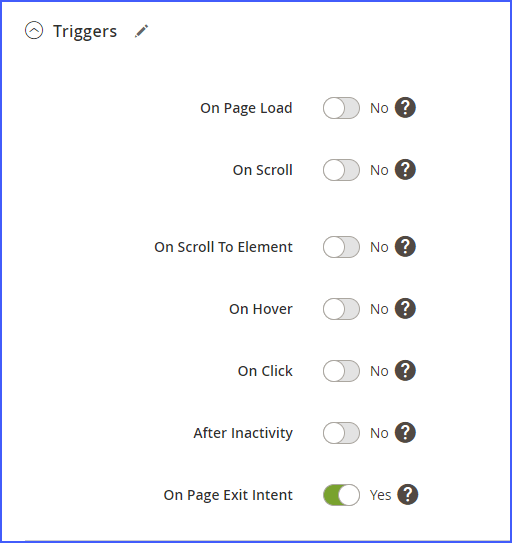
4.2: Set triggers
Then, go to the Triggers tab and enable the On Page Exit Intent trigger. It means that the popup will appear when the cursor moves outside the upper page boundary.
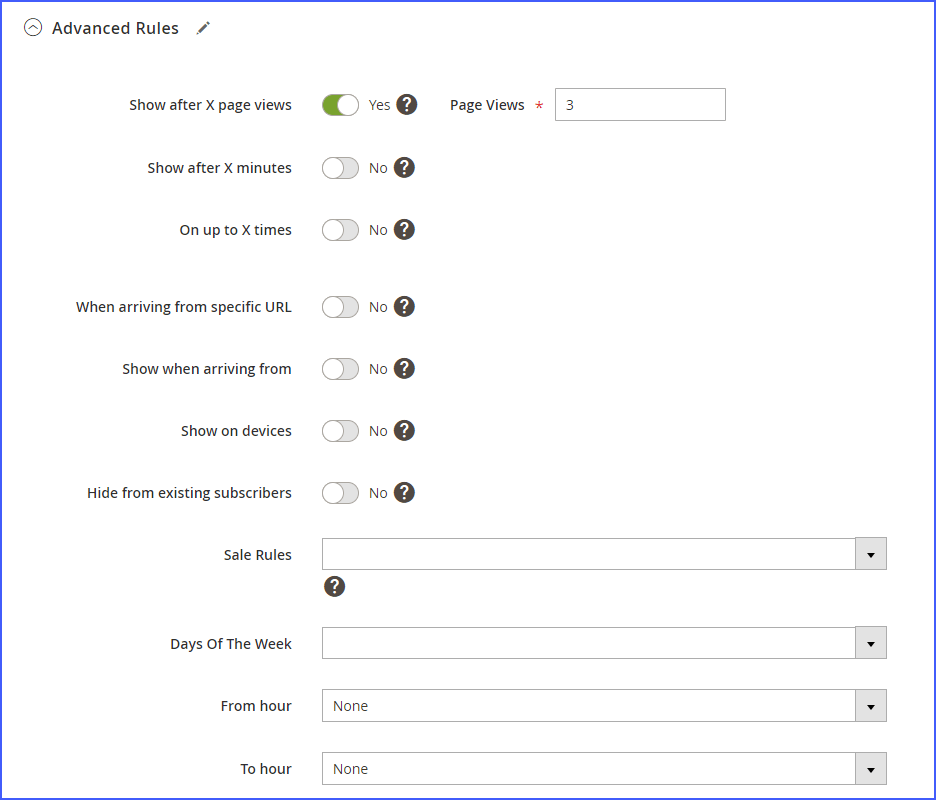
4.3: Set advanced rules
Finally, in the Advanced Rules tab, enable the Show after X pages view button and fill in the blank field the number of page views before the popup is triggered.
Conclusion
Above are all the steps we would like to suggest for you to create a full-screen popup. We hope that this guide will give you a full understanding of creating the full-screen popup with Magezon Popup Builder. Feel free to contact us if you have any questions.

Optimize Your Magento Store With Powerful Extensions
Looking for fast, efficient and well-coded extensions to build or optimize your Magento stores for sales boosting? Then visit Magezon website and grab necessary add-ons for yours today!

