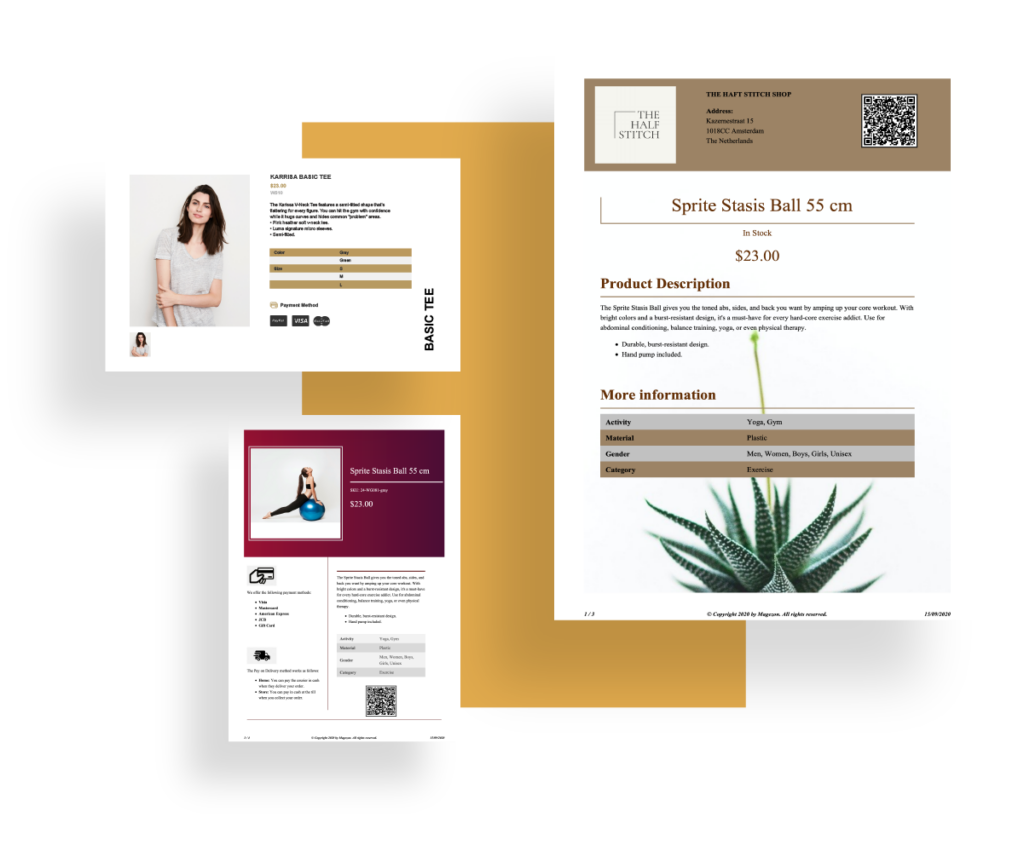
Last time, we gave you an in-depth insight into 20+ amazing elements in Magento 2 Product Page PDF Builder. This blog will walk you through how to build a PDF version of the product page using this extension.
Table of contents
Why You Need PDF of Product Pages?
When your customers browse through your web store and filter a lot of their favorite products, they tend to add the bookmark to these product pages. However, it’s not that convenient for customers to view the product information when they are offline. In this case, a PDF version of detailed product information ready for download is really necessary for your website. This helps enhance customer experience and satisfaction accordingly.
Besides, a professional PDF template with a logo and your brand name is a good way to make your brand more familiar with customers. Then, when they have to choose between you and your competitor, they are more likely to buy from you.
Our advice is, you should equip your website with a tool that enables you to make it happen. Magento 2 Product Page PDF Builder is the exact one you are looking for. Read on to know more about this amazing Magento extension as well as how to create a PDF version of the product page with it.
Introduce a Tool to Do the Job – Magento 2 Product Page Builder
Being released last September, Magento 2 Product Page PDF Builder is a Magezon builder extension that lets online store owners build a professional and eye-catching PDF version of the product page right on that page.
With just a single click on the download button, customers can easily download and print a cop with full information about the product. Now, they can view even when they are offline. Super convenient, right?
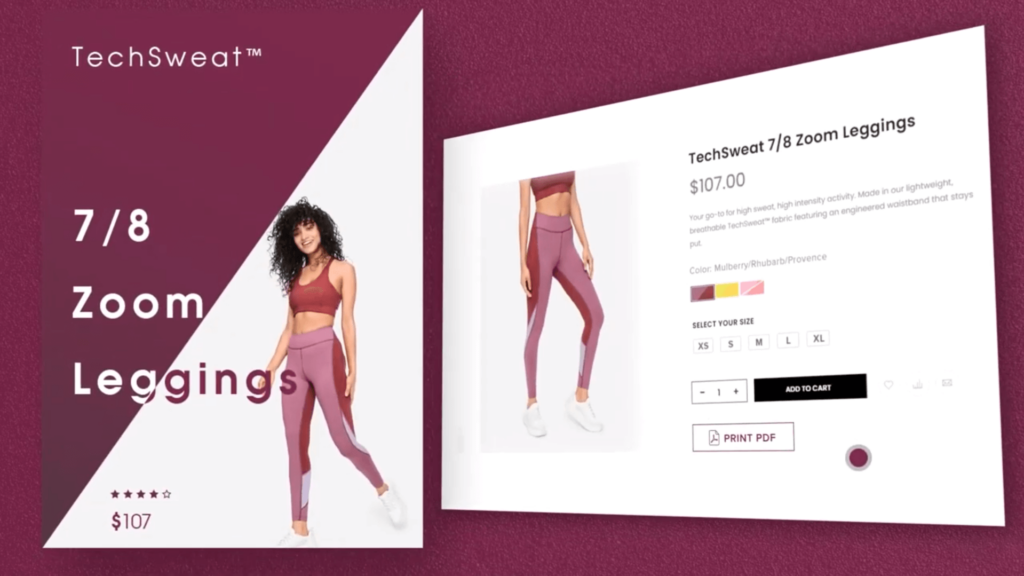
How to create an eye-catching PDF version
For how to configure and add a new template profile, please refer to Magento 2 Product Page PDF Builder User Guide for more details. In this blog post, we only focus on how to build a product page PDF template right in the drag-and-drop interface.
Bear in mind, you need to choose a color palette for the PDF that fits your business/brand before creating a new one. Below is the template example:
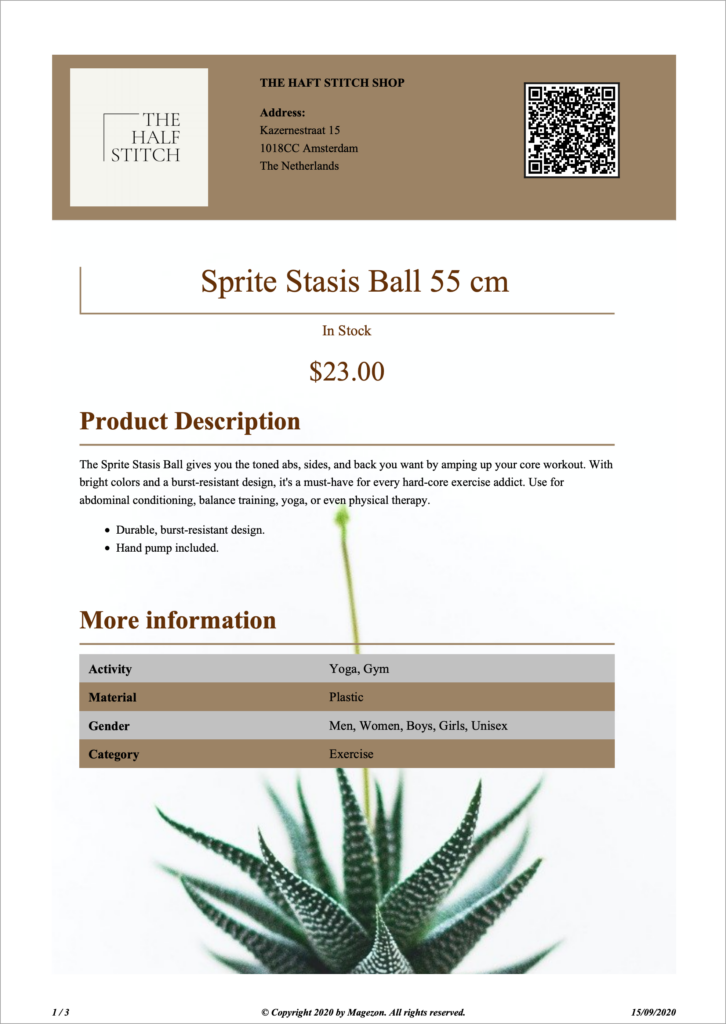
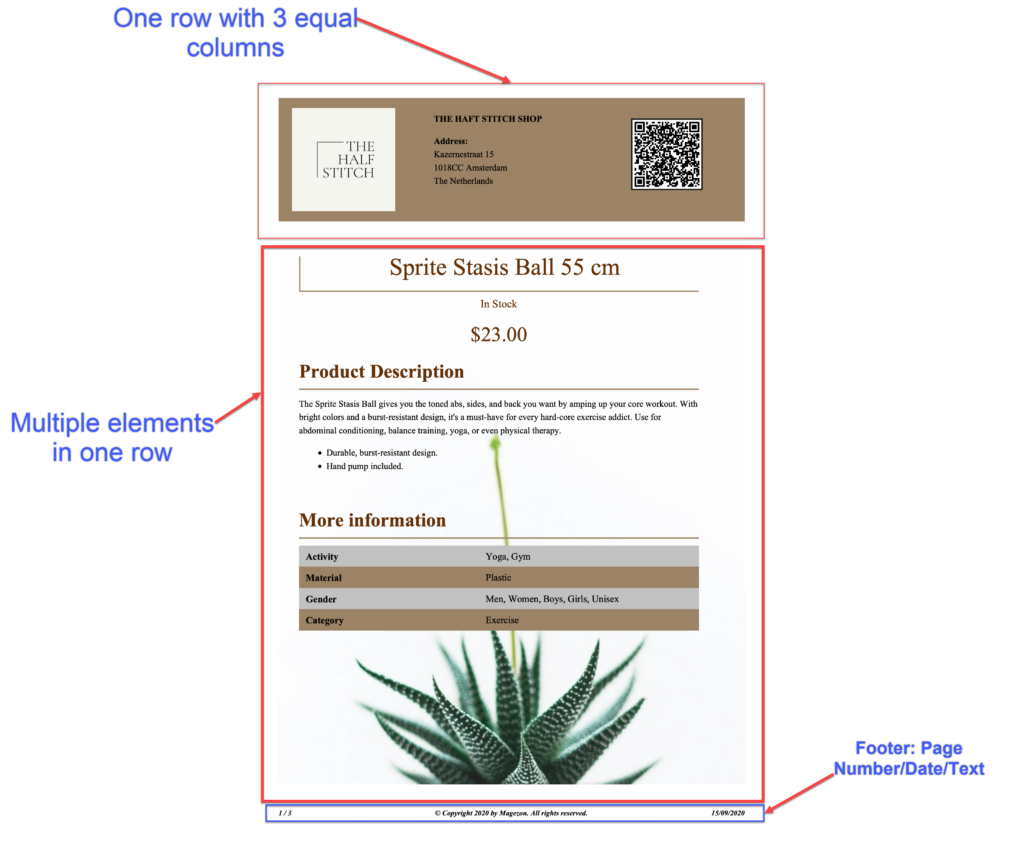
According to the parent row, we divide this template into 3 parts so that you can find it easy to follow:
- Row with 3 equal columns
- Row with multiple elements
- Pre-built footer with page number, date, text (Not mention)
Let me show you how.
Section 1

You can make use of this beginning section to show your customer the important information of your store and product.
- Logo: Help raise customer’s awareness of your brand
- Store Information: Help customers easily find your store
- QR Code: Customers can quickly check the product
So, how to create this section?
First, add the row by clicking icon “one row with three column”:

Set image size as you want. And don’t forget to adjust its padding.
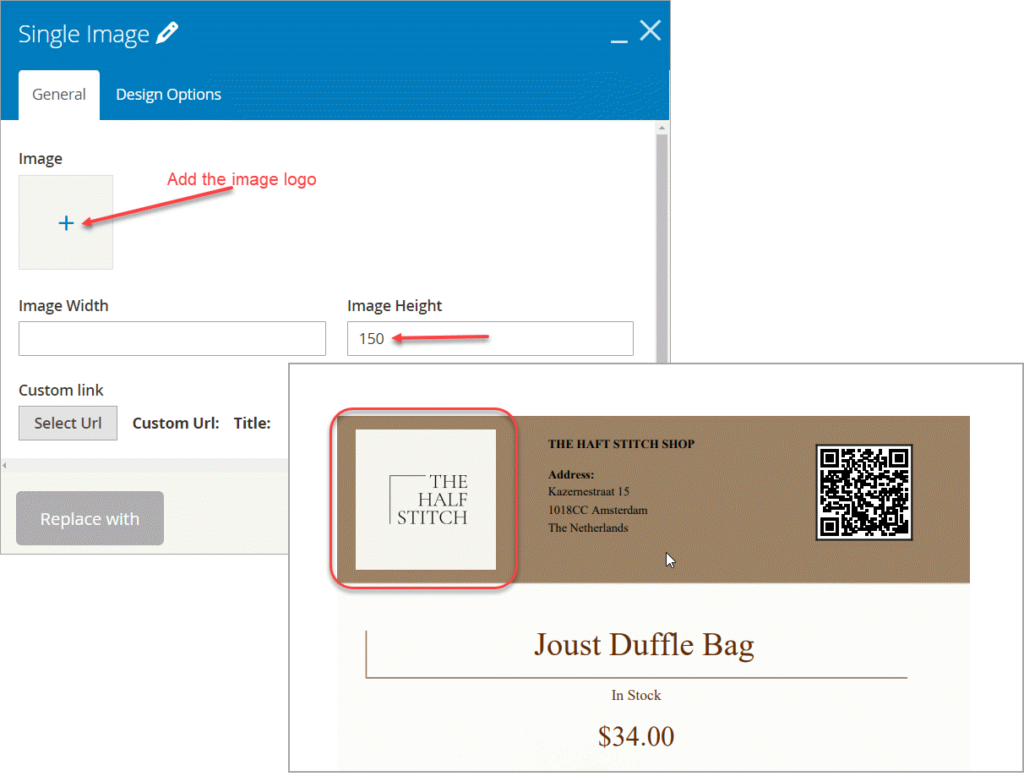
Add Text Block for store address with the following setting:
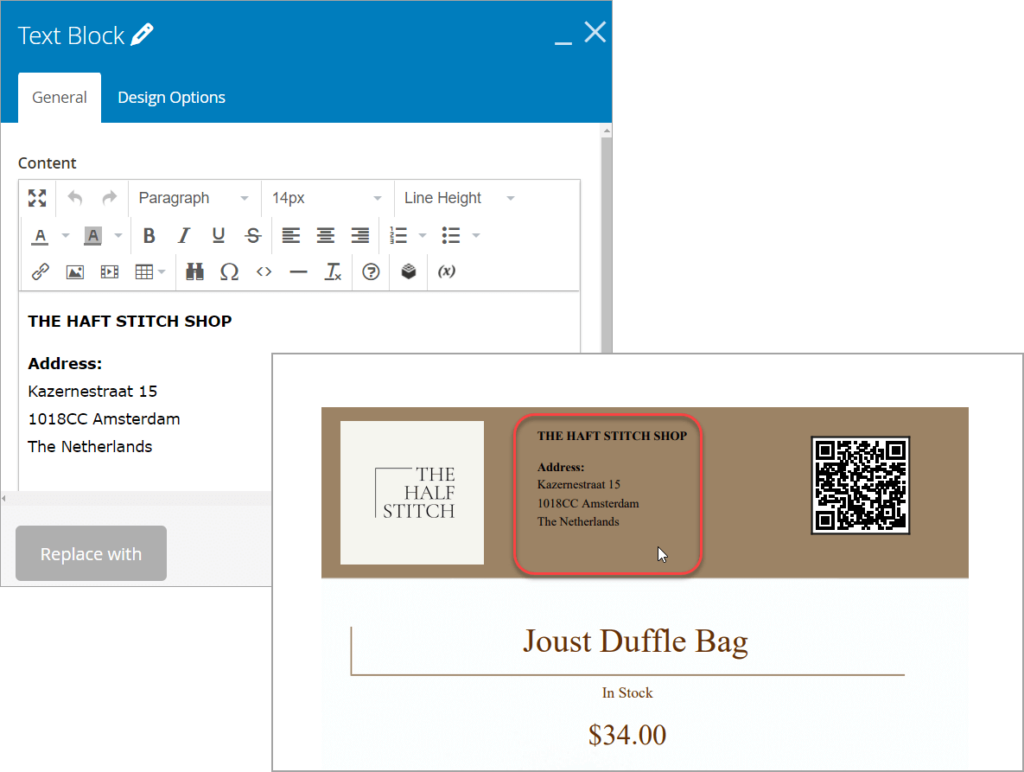
Besides, you can show more information about your store in the PDF template such as phone number, Facebook account, e-mail address, etc. This case, use bullet points for easy reference.
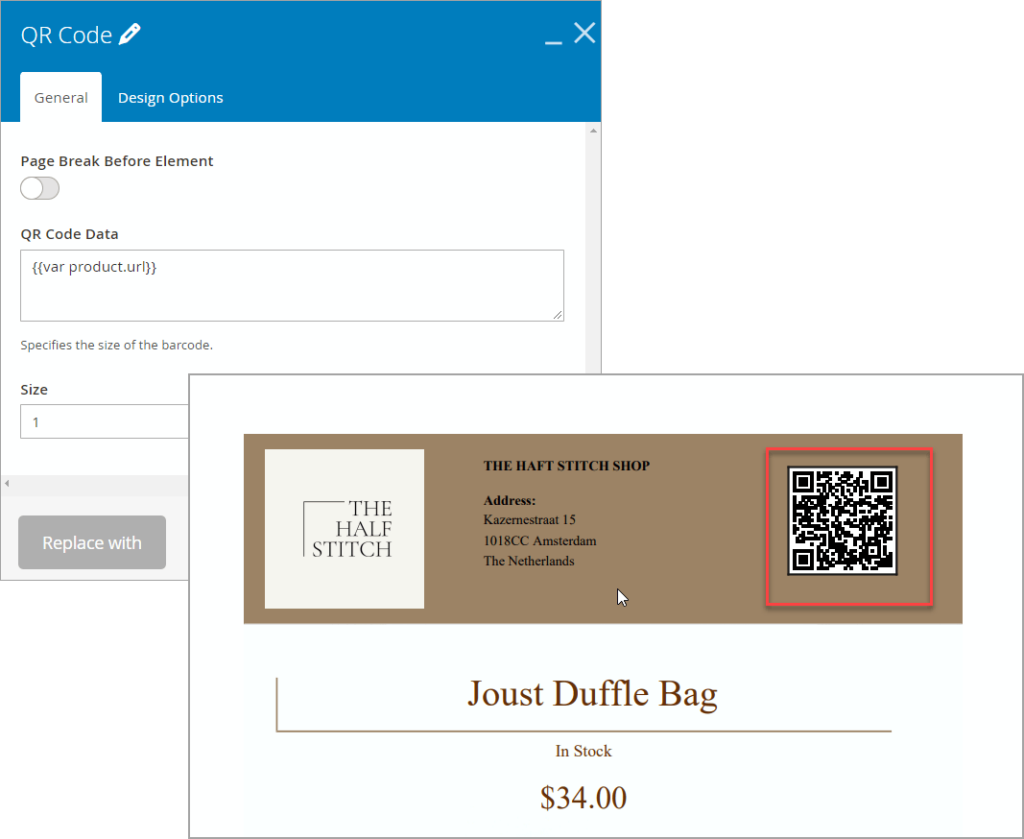
Set QR Code like below:
Section 2
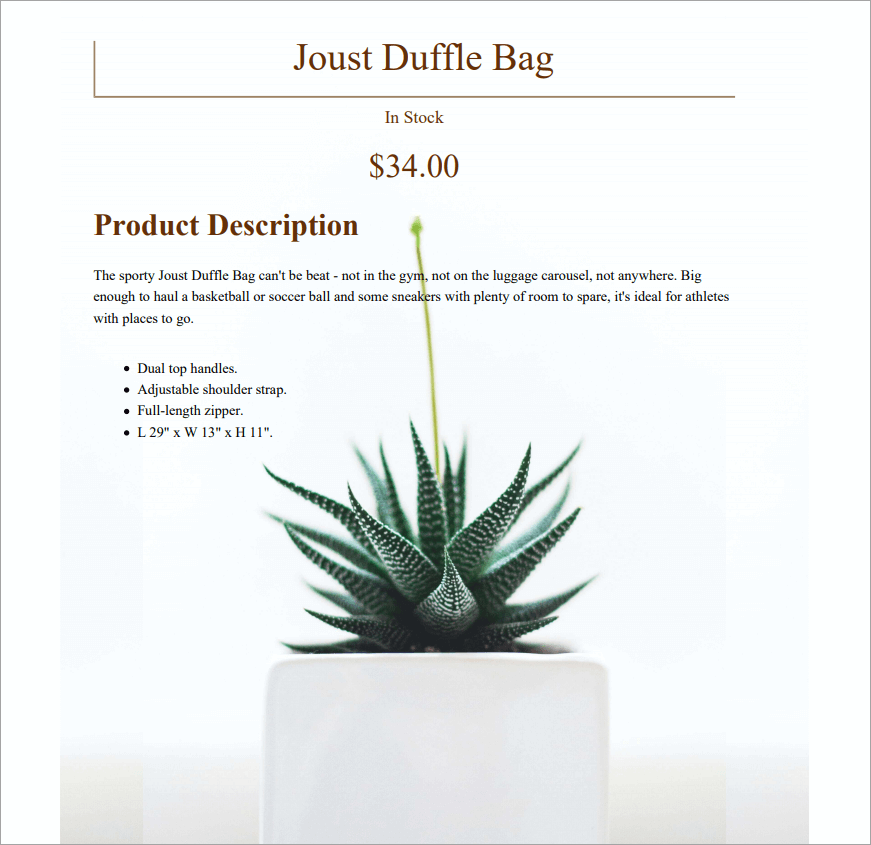
This whole section includes:
- Product Name
- Stock Status
- Product Price
- Product Description
- Additional Information
- Product Gallery
All of these elements lie within a row called “parent row”. The purpose is to put the background image for the whole part to have a visually impressive look. You can download the stock photo for free at Unplash.com.
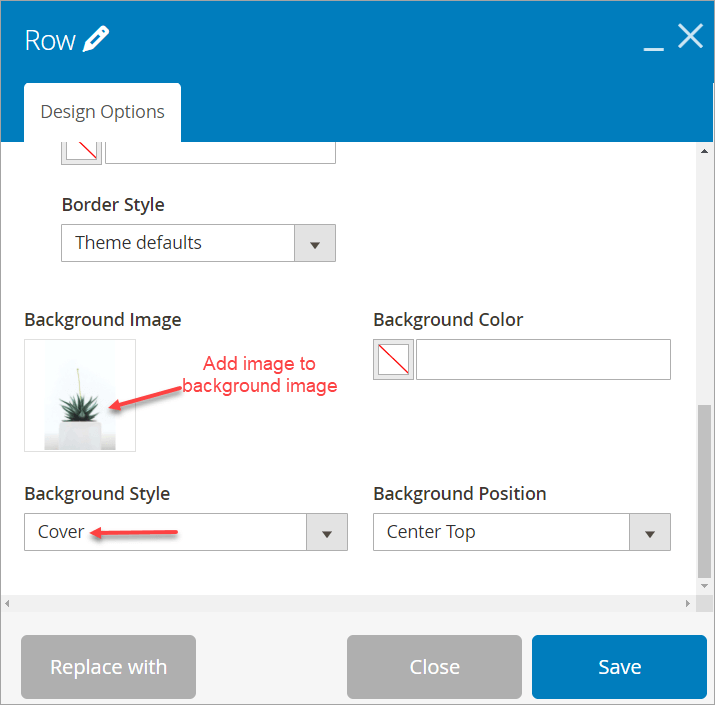
First, add the parent row. Then, set the upper and lower paddings as wanted. Add image to Background Image in Cover style that makes Background Image appear in the PDF template. You can upload the image from your device or select one from your media gallery.
If you do not change the default background style (Auto), the background image will doesn’t appear or appear only when setting upper and lower paddings.
- Product Name
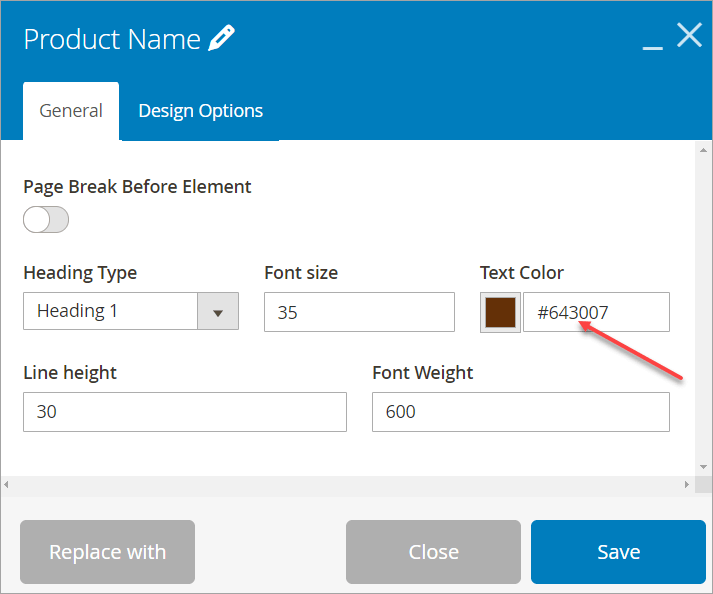
In General tab, set fields of Product Name like below:
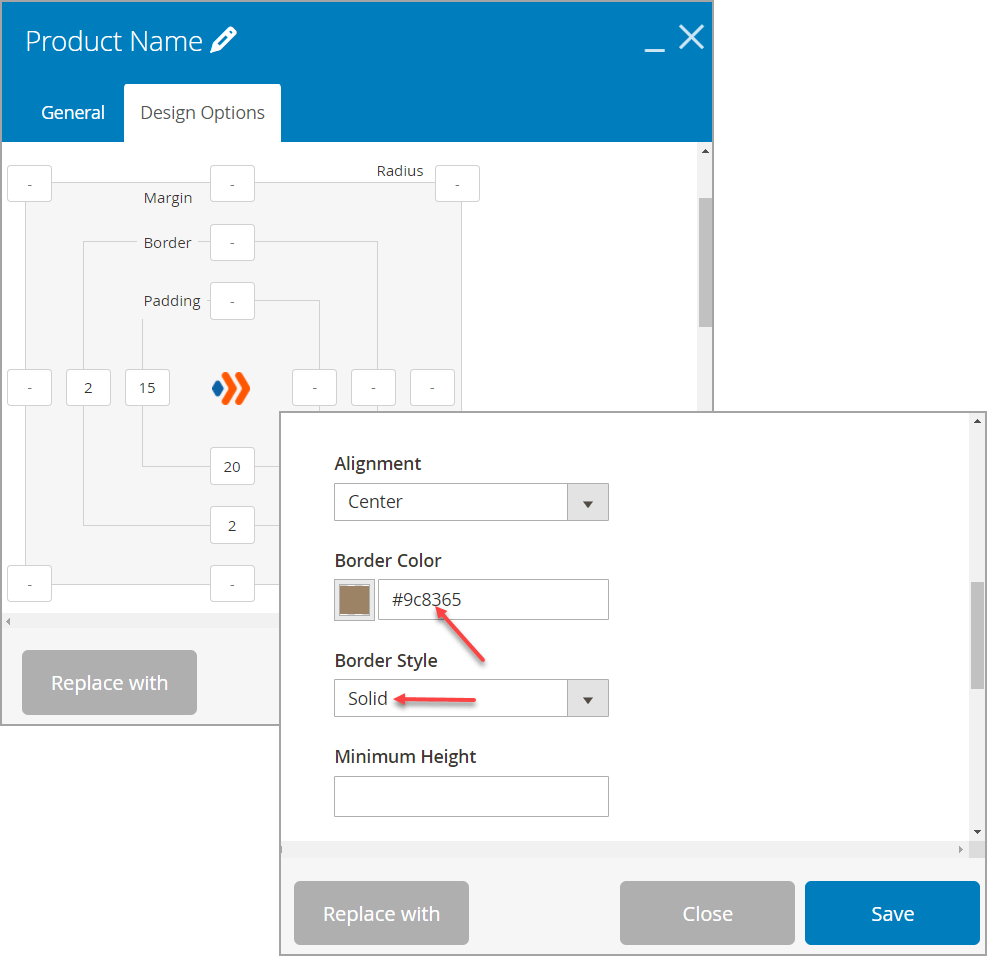
In Design Tab, adjust paddings of these 2 sides.
Set the border of the left and the lower side to Product Name.
Choose the color for the border. Select Solid as Border Style.
And here is the result:
2. Stock Status
For Stock Status, set its fields like below:
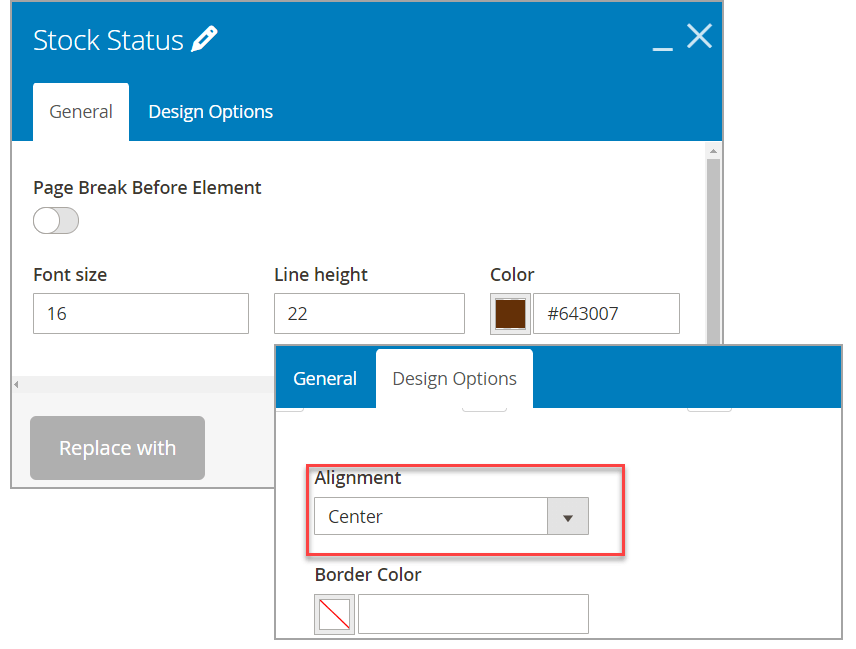
And here is the front-end:
3. Product Price
Set its fields like below:
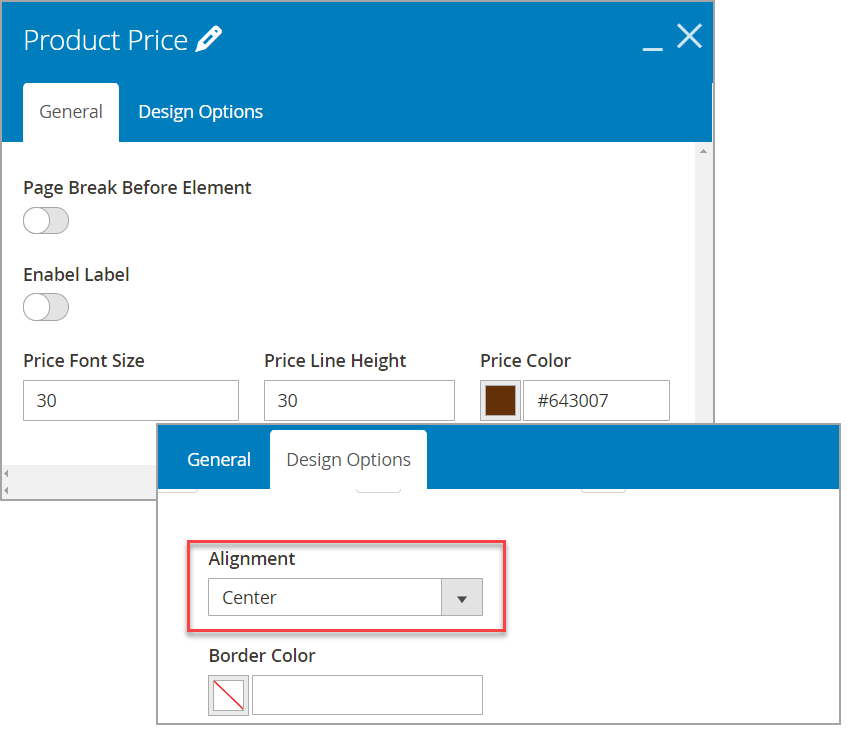
And we get the final result:
4. Product Description
Ensure that the setting is like below:
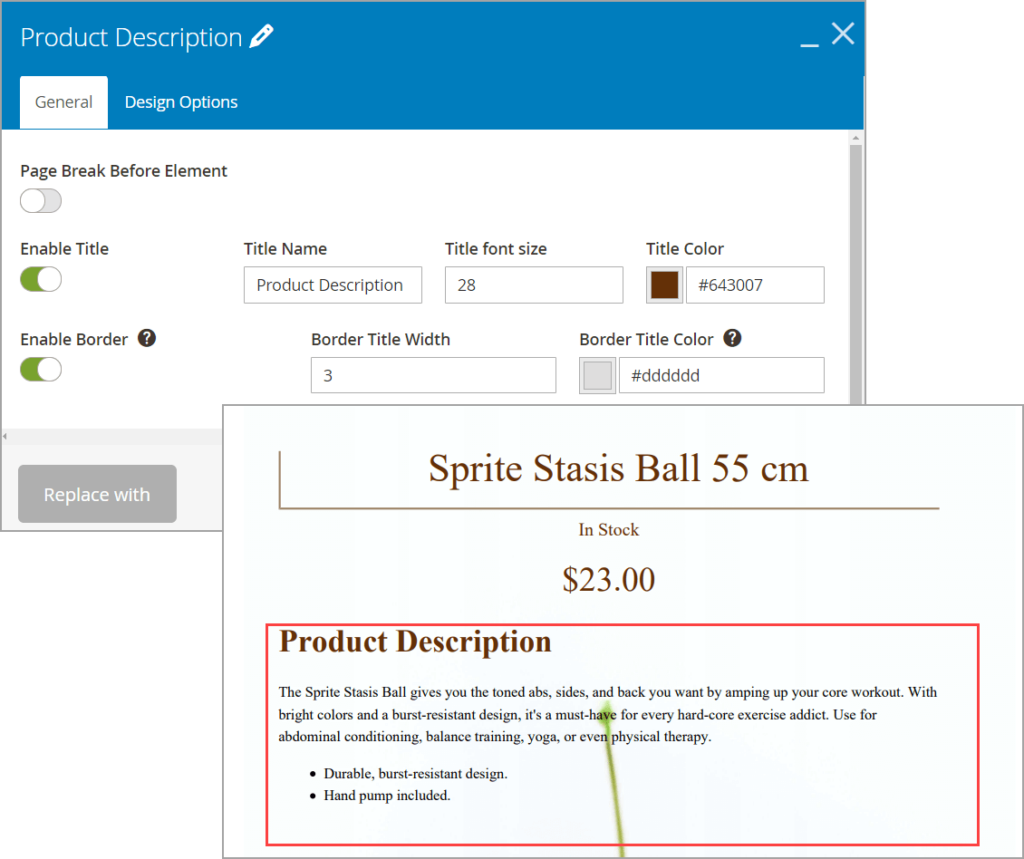
5. Additional Information
The setting for Additional Information will be:
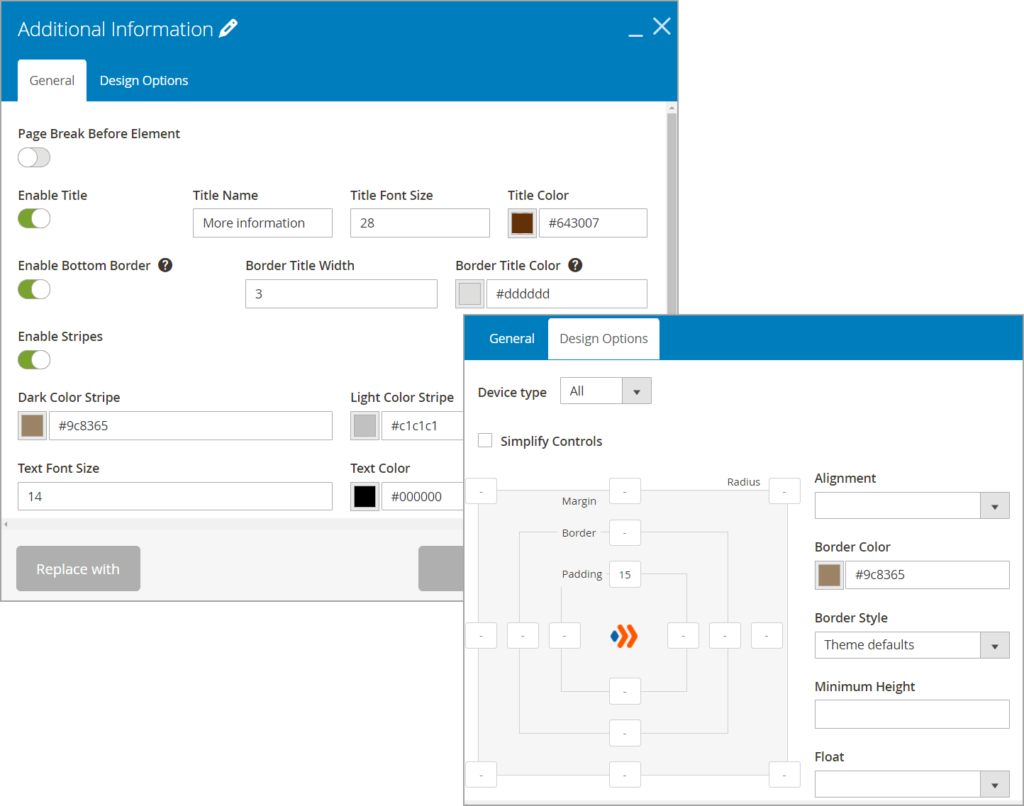
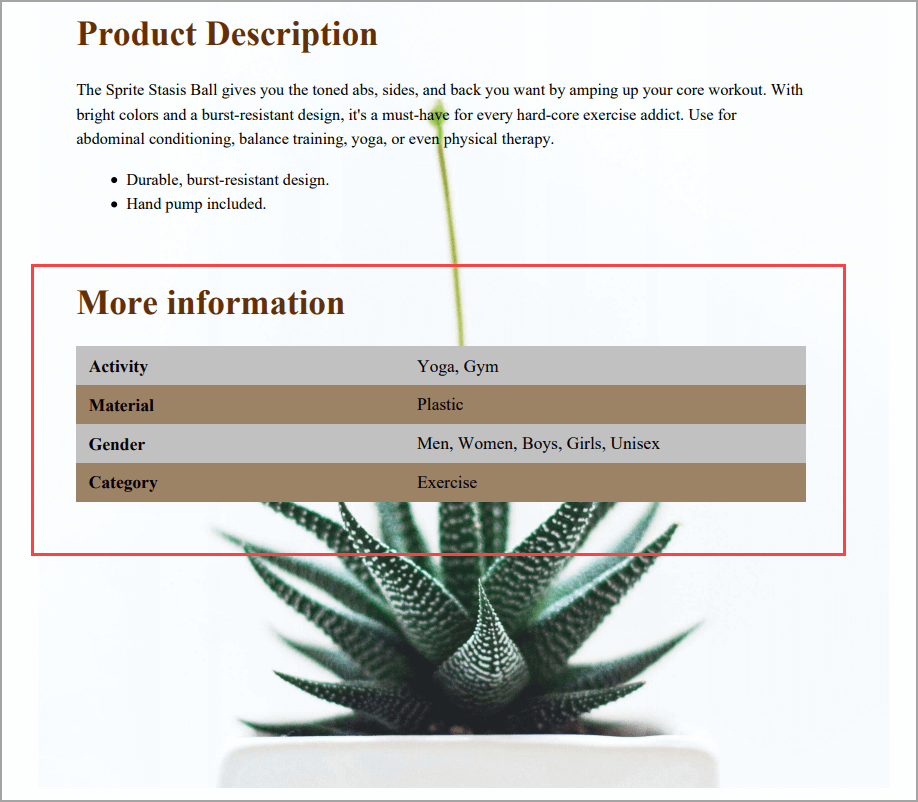
And here is the front-end:
6. Product Gallery
Put the setting like below:
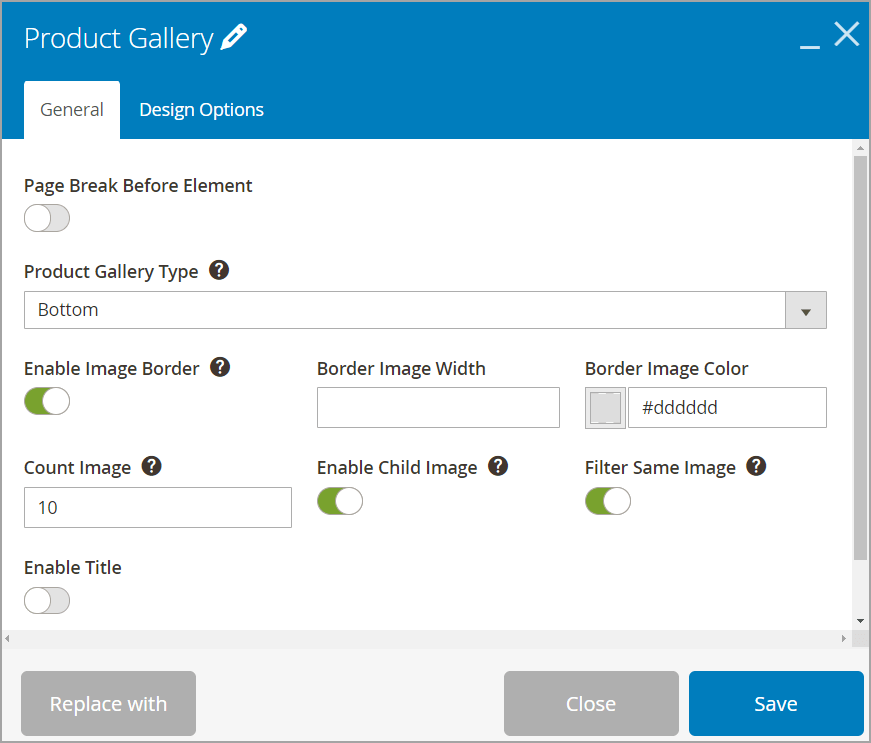
For Image Type, select the type to display the product image gallery. In this case, Bottom is selected. Besides, there are 5 other types to choose from.
– Right /Left/Bottom: Display thumbnail images on the right, left and bottom of the base image.
– One Row/Two Rows: Display product images in one row (Each product image is displayed in a row) or two rows (All product images are displayed in two rows).
Final Words
Above are quick steps to create an informative and eye-catching product page PDF template with Magento 2 Product Page PDF Builder. We really hope you will put this guide into practice as soon as possible. Follow Magezon blog to read more about Magento knowledge.
If you’re seeking more fast, efficient Magento extensions, visit Magezon.com.

Optimize Your Magento Store With Powerful Extensions
Looking for fast, efficient and well-coded extensions to build or optimize your Magento stores for sales boosting? Then visit Magezon website and grab necessary add-ons for yours today!
 Magezon Blog Help Merchants Build Comprehensive eCommerce Websites


