You have planned to start a restaurant business, but you are stuck in…restaurant landing page. There are tons of options, and you don’t know what and how you should get started. It’s not a big deal. This blog today will guide you on how to create a food landing page with Magezon Page Builder. Definitely, you will be completely able to make a beautiful one by your own.
Watch this video to learn how to build step by step:
Table of contents
Use Magezon Page Builder to build landing pages for diverse industries
Coffee Shop Landing Page: Easy to Build with Magezon Page Builder
How to Create a Magento Wedding Website
Make an Event Planning Landing Page With Magezon Page Builder
1. A Sample Restaurant Landing Page Made With Magezon Page Builder
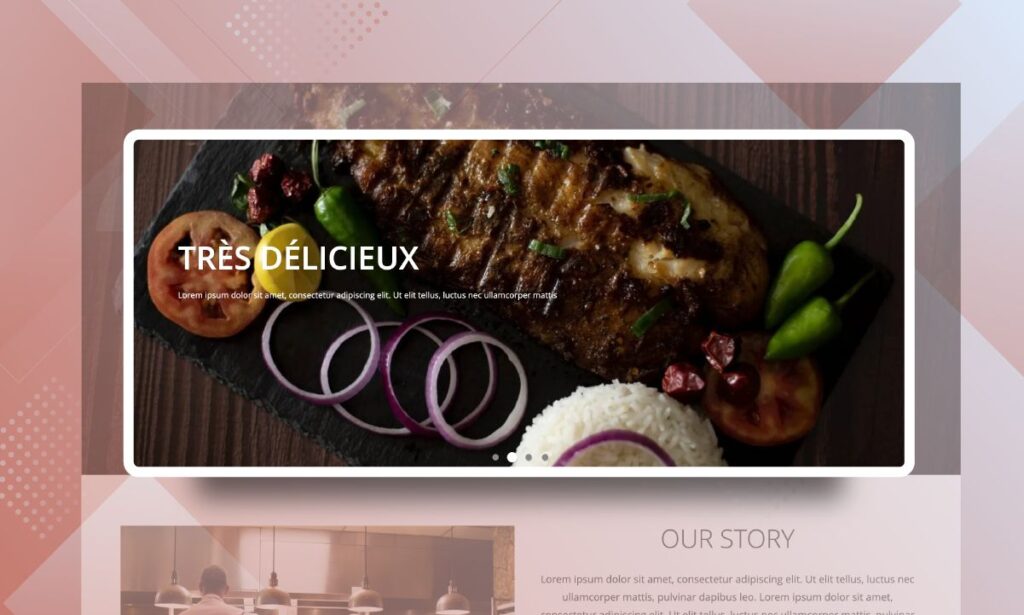
Below is one of our landing page for the restaurant. Please check it for better understanding before moving on to the main part. Like other restaurant landing pages, this one also has the same main sections. Here they are:
- Banner
- Our story
- Our ingredients
- Restaurant Menu
- What they say
- Special dish
- Reservation
These sections above are made by many different elements in Magezon Page Builder. Please remember, this landing page is all about a fancy restaurant. Therefore, we have to…
- Select high-quality and elegant dish images that are relevant to the business.
- Use not-too-many elements and say “no” with animations, to make the landing page more “expensive”.
- Put the setting on a row with Image Background at Full-Width Row to create a visually better look.
- set margin to make the “breathing room” between the section and elements.
Hope some tips will help you to make your restaurant landing page design effective. OK, now let’s dig deeper!
II. Build Restaurant Landing Page With Magezon Page Builder
1. Banner
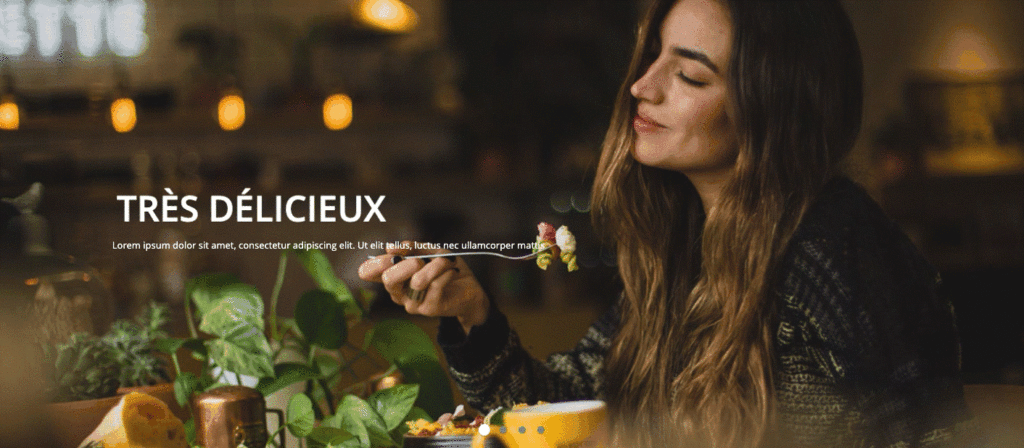
A picture can paint a thousand words, indeed. An amazing banner for the first section of the page will always be a perfect choice if you want to draw your customers’ attention at first sight. Thus, we choose the Slider element to take that important role. In the tutorial of kid clothing landing page, we walked you through the detailed instruction on this element. You can read to get a good grasp of it. One thing you need to take note of is Slider Height. Set 625 not to get a king-size image on display.
2. Our Story
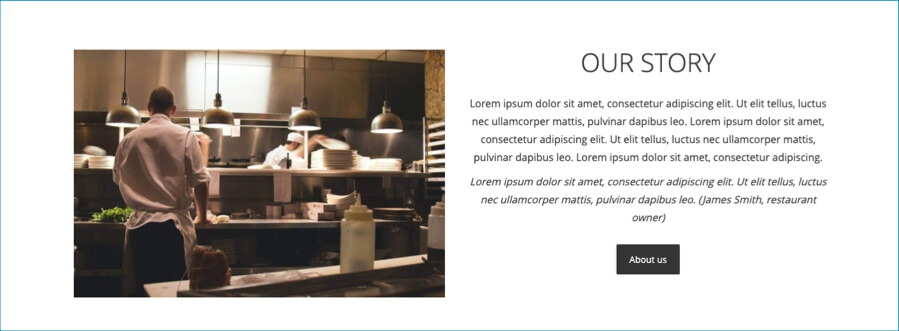
This section has 2 columns in a row. One is using Single Image and the other is using Heading, Text Block and Button. Just remember, make space between elements on the “Our story” column” by setting their border for a clear look.
3. Our Ingredients
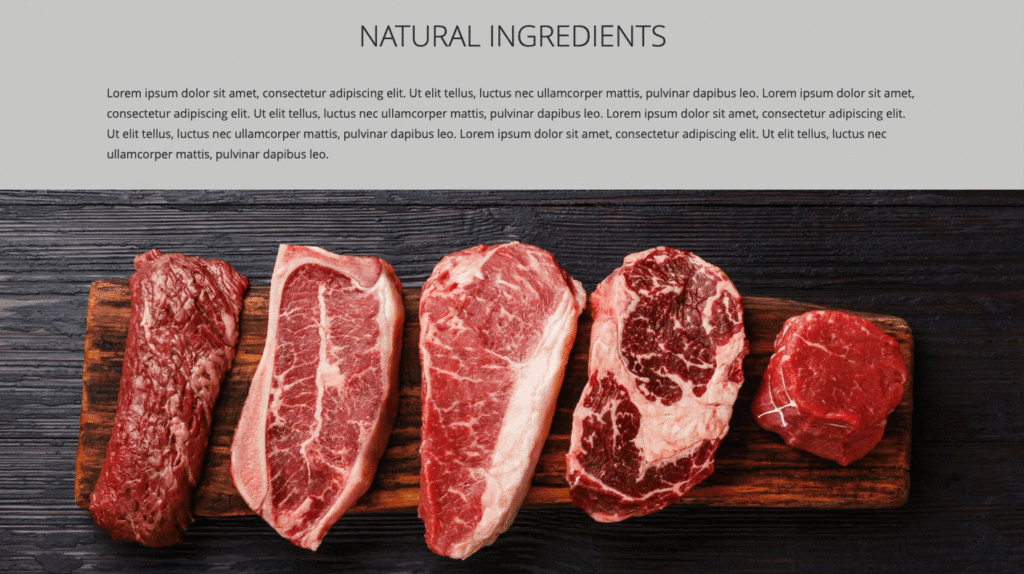
For “Our ingredients”, there are 3 full-width child rows in the main row. We will show you each row as follow:
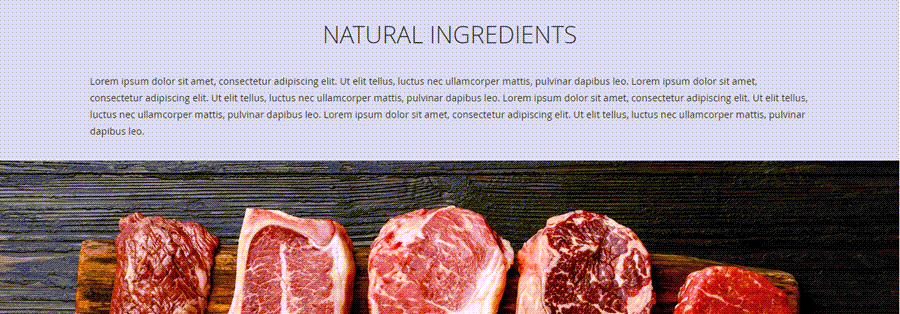
- Row 1: Heading & Text Block
There is nothing to say about this row if it doesn’t consist of something special. And it is… the margin of Text Block. Think a second, if you create a text block for a full-width row, the result you get is the full-width block accordingly. A row is full of text with no alignment, right?
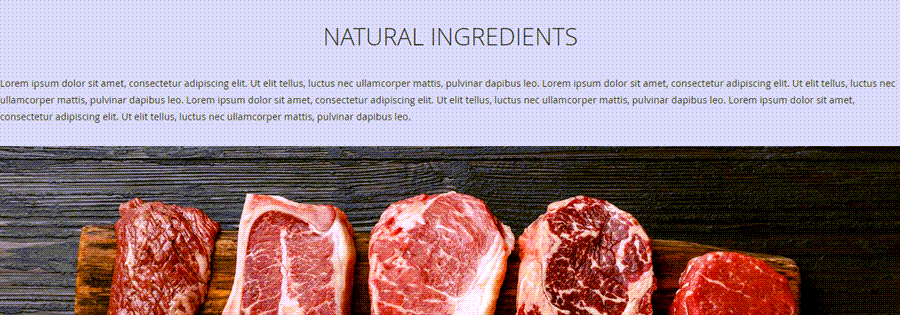
To make it look better, set the margin for both sides at 150. And here is the result:
- Row 2 and row 3 are both using full-width rows with an image background.
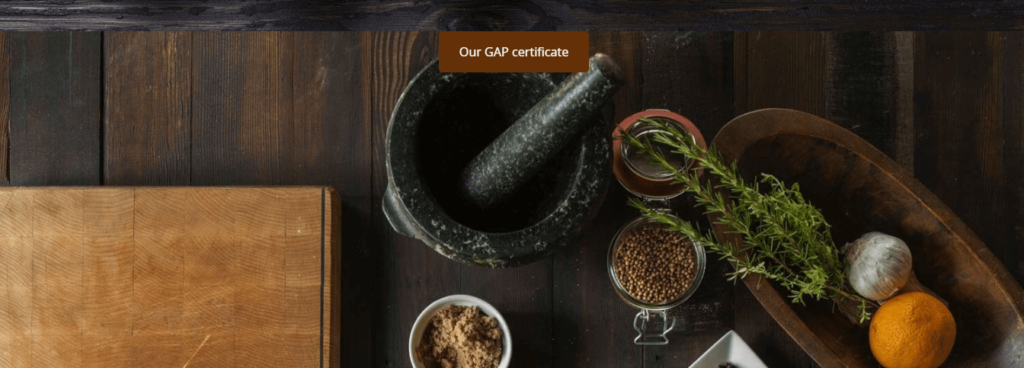
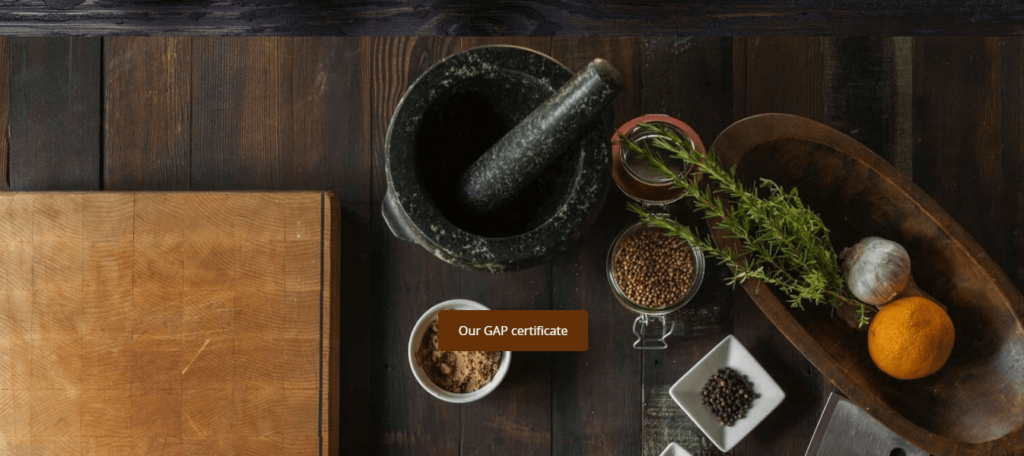
Especially in row 3, we take advantage of the Scroll parallax effect. If anyone who has no idea about it, parallax scrolling is an effect that helps create an illusion of depth with a 3D effect, thanks to it, your sites are more lively and grab visitors’ attention. To get to know more about how to add a parallax background, read this parallax blog.
The button is another element in row 3. A piece of cake to create this button, isn’t it? Don’t forget to set 400px at Margin so that Button is in the middle of the image.
Let’s take a look at Before and After to see which one is better:
Note: For the last section “Reservation”, you can apply the same as the one of row 3 (Image Background and button with margin setting).
4. Restaurant Menu
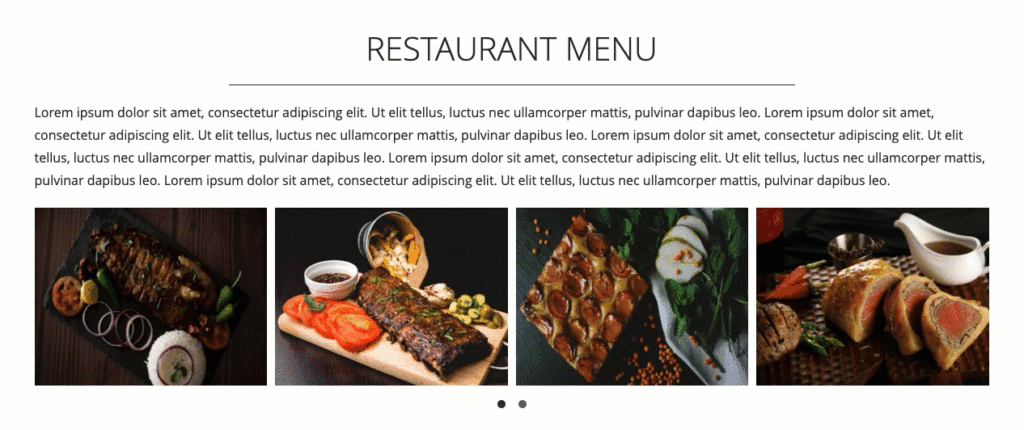
Restaurant Menu is the part that shows many delicious dishes in your restaurant. So you need to find ways to display images in a large number. In this case, the Image Carousel is our choice. This element allows you to show many of your dishes in autoplay mode. Besides, each image has its name and price that only appears when your customers hover on it. Visit the Image Carousel tutorial to know how to create a stunning product slider. Besides, Heading, Text Block, and Separator are elements utilized in this section.
5. What They Say
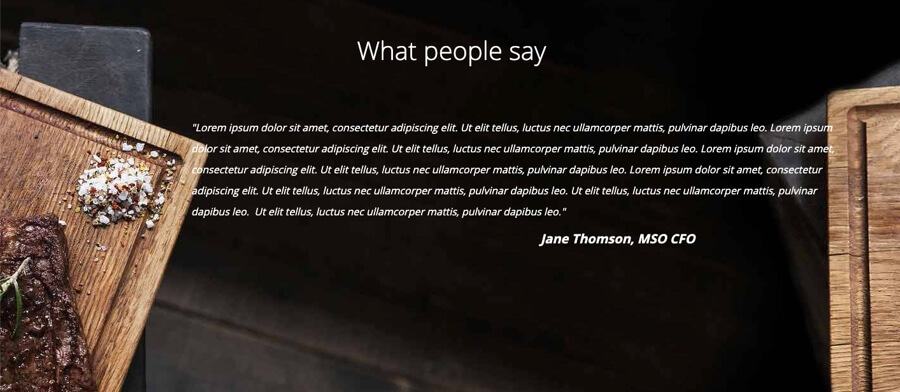
This section is similar to Our Ingredient: A full-width row with Background Image, Heading and Text Block with margin for the right and left sides at 100px, 300px respectively. Just follow it and you will have an attractive look for this review section. Try to make it outstanding because it is one of the most decisive parts for customers to choose you.
6. Special Dish
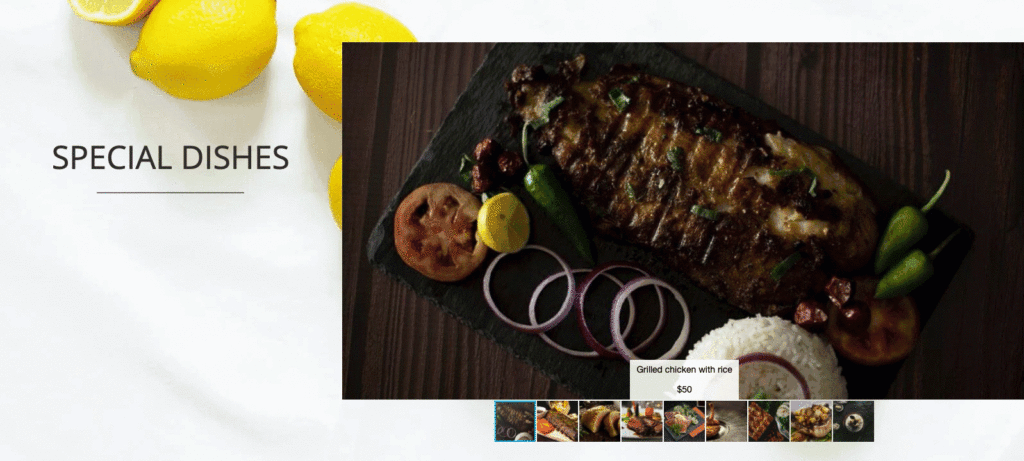
This section keeps showing multiple dish images of your restaurant. In the Menu Restaurant section, to display dozens of dishes, Image Carousel is chosen. This time, we use Image Gallery that enables you to display images in a grid layout. You can show a slider of thumbnails for your pictures right below. As a result, it makes your customers browse easily and find exactly what they want. What’s more, they can view your beautiful dish images in full screen. Fantastic? To find more about this element, check this Image Gallery tutorial.
In a Nutshell
Above are all things that we would like to guide you on how to create a restaurant landing page with Magezon Page Builder. We hope you will know well how to make one for your business. Please feel free to reach us if you have any questions.

Try FREE Magezon Page Builder demo today
Easily create beautiful, engaging Magento website in any style whenever you want without relying on developers or designers. Just by drag & drop.
 Magezon Blog Help Merchants Build Comprehensive eCommerce Websites

