 Magezon Blog Help Merchants Build Comprehensive eCommerce Websites

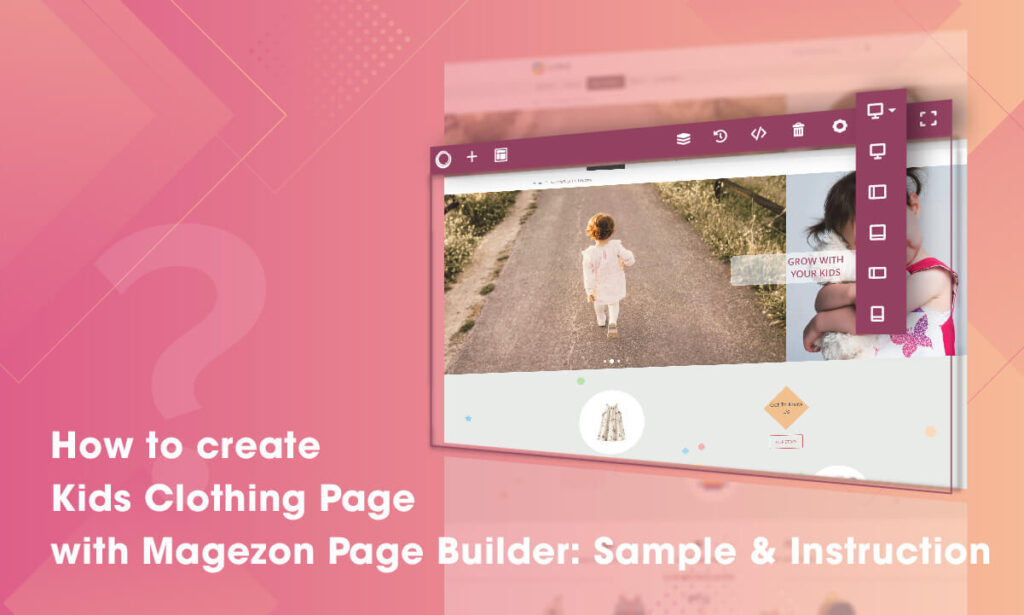
Have you made a firm plan to run an online kid clothing business? You don’t have the slightest idea about web code. However, your budget cannot allow you to hire a programmer. No worry! Magezon Page Builder enables you to design your web page on your own while ensuring a rich-feature e-commerce page. This article will give you the detailed instruction on how to create a kids clothing page with Magezon Page Builder.
Table of contents
In this article, we will use our kids clothing page example.
First of all, you should understand the structure of our page example. Keep in mind, this example consists of all main sections that a typical sales page has. Please kindly scroll down from top to bottom. You can easily know the following sections:
- Banner
- Product category in a creative way
- Policy of Delivery & Payment
- Our best seller
- Product Slider
- About our workshop
- Newsletter form
Each section is created with one or more different elements in Magezon Page Builder. Now, let’s move on to the tutorial to create a kids clothing page with Magezon Page Builder.
Create Kids Clothing Landing Page With Magezon Page Builder
1. Banner

Consumers tend to buy with their eyes long before they have decided to choose your product. Therefore, we make use of an eye-catching banner which is created by many different elements.
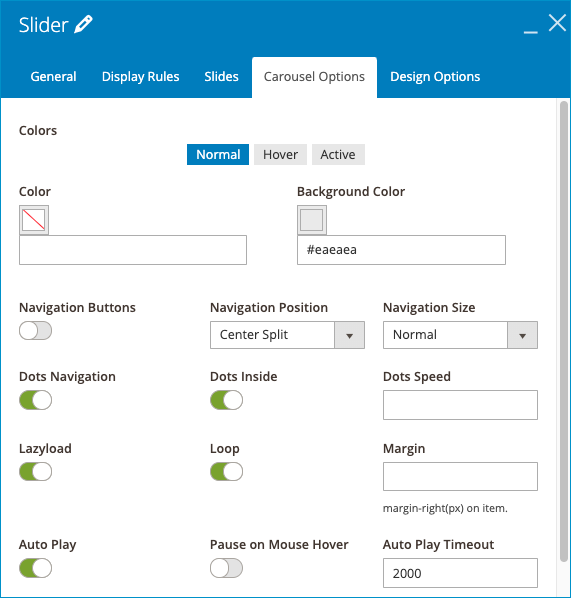
For the first column, Slider element is applied. The slider comprises three product-related images playing automatically in a set timing. Plus, Dot Navigation is right on the bottom of the slider with Auto Play Timeout at 1500. If you want to switch to the desired image, just click any white dot. Ok, let’s take a look at the picture of Carousel Options below:
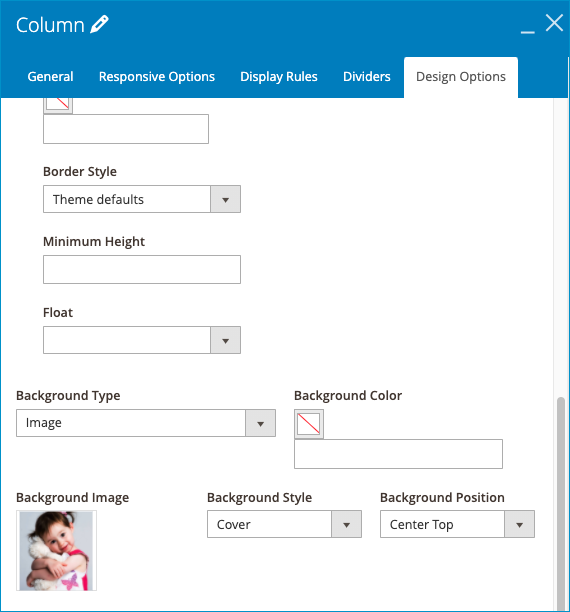
For the second column, can you guess what element is? Single Image? Actually not. In fact, it’s a column with Background Image in Cover Style.
In this column, add a Heading element. As usual, when adding one element, it is entirely a part of that column. But in this example, Heading overlays the first column. How can we do that?
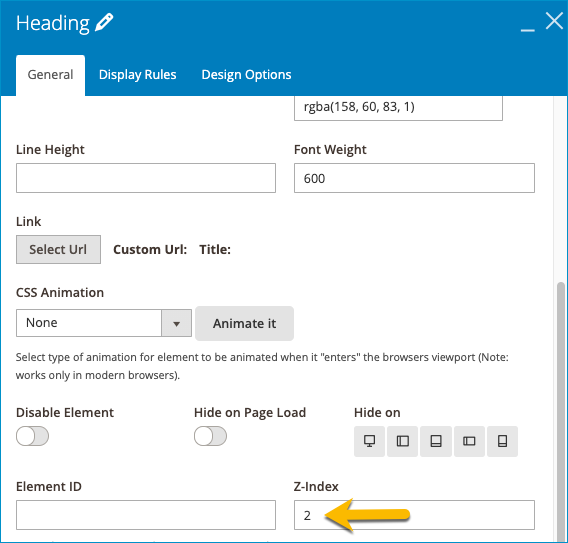
Step 1: Add the Heading element.
Step 2: In General Tab, fill in information like the picture below:
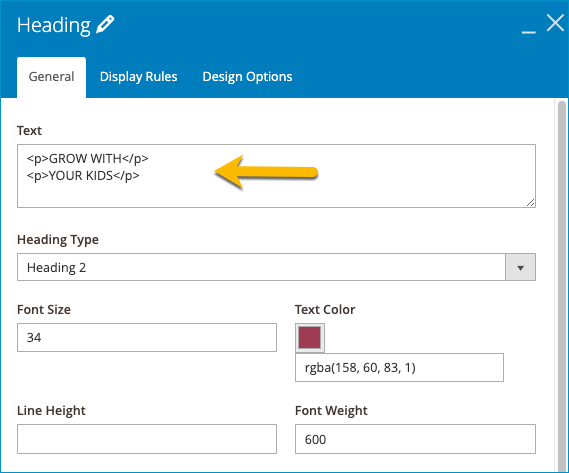
And, fill 2 in Z-Index to make sure Heading overlays the first column.
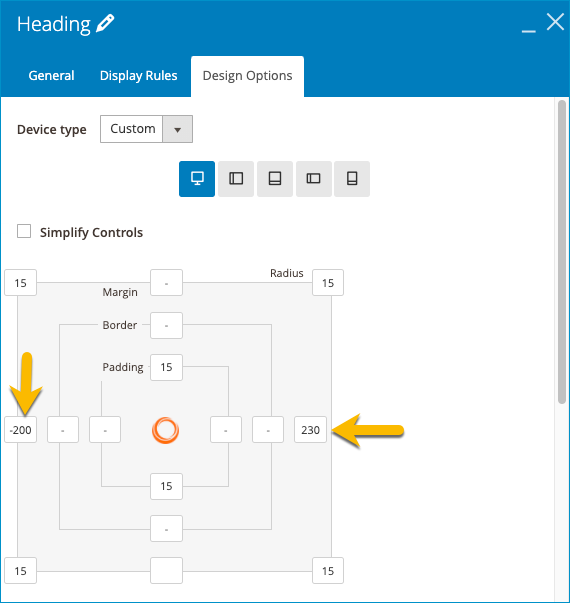
Step 3: Pay a special attention to Padding, Margin and Radius which decide the position of Heading. Set the left and right margins equal to -200, 230 respectively.
2. Product category in a creative way
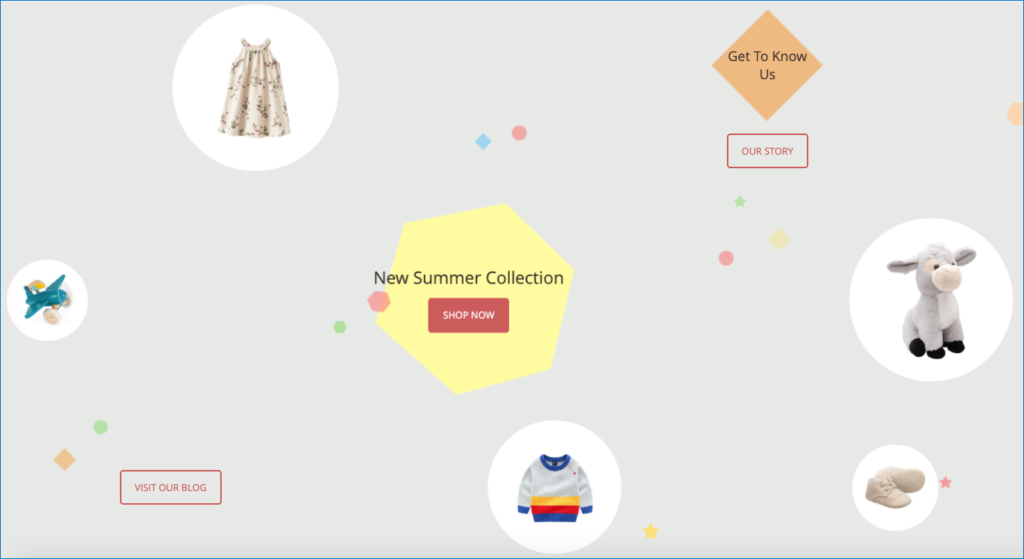
In this section, the parent row consists of three sub-rows. Each row is built by 2-3 equal-height columns. For the parent row, set the relevant background image. Instead of columns and text, we display each category by a clickable image. Thus, you can build a kids clothing page with Magezon Page Builder in a creative way.
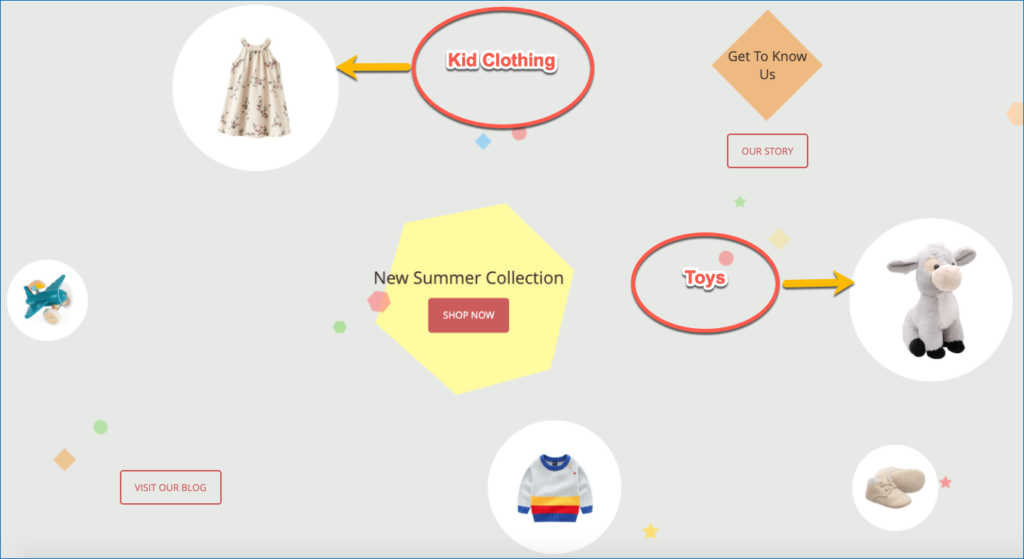
In this section, to create Call to Action, we use a Button element. Each button will navigate you to the content you are looking for.
In this case, users can follow buttons to the Our Story page, Blog page and shop in the New Summer Collection page. Especially, you can add pulse animation to make the New Summer Collection column more interesting.
3. Delivery and Payment Policies

For the section, we will guide you how to create 3 equal columns in a row effectively and quickly. The thing is, you first need to build a column in the right way and then duplicate it.
Step 1: In General Tab of Row, set margin as its Gap Type with Center Alignment.
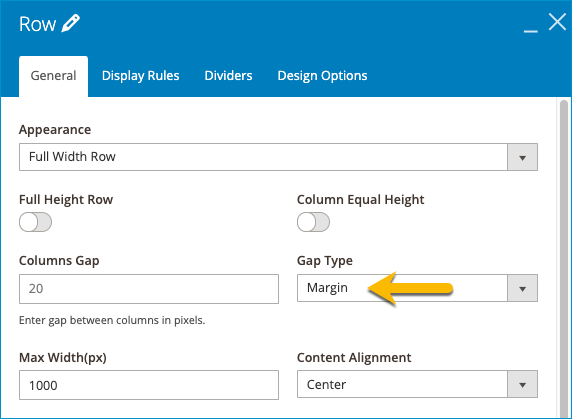
Step 2: Choose the appropriate Icon from our two libraries.
Step 3: Add Heading.
Step 4: Duplicate into 2 other copies. Make it perfect for the first time! Then, change the content inside each of them. Done!
Note: The Contact section has the same structure as this one. You just use the same approach to make it.
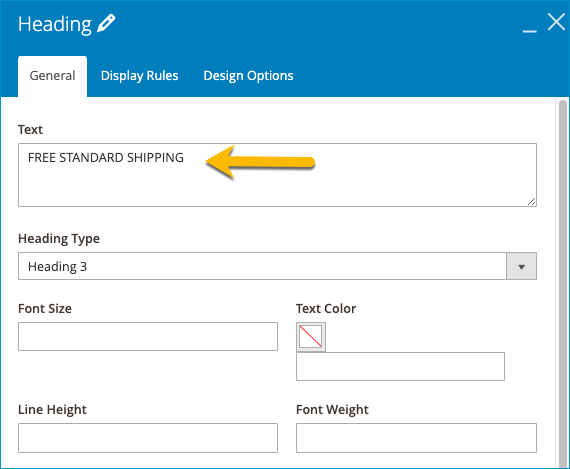
4. Our Best Seller
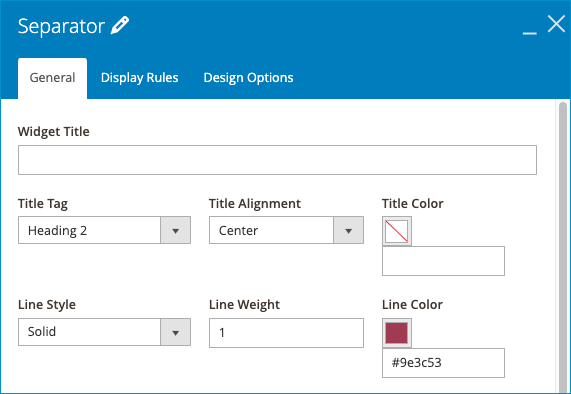
Two elements utilized here are Heading and Separator. Heading is too familiar to all of you. Therefore, in this section, we focus on Separator only which appears on the both sides of Heading.
For the element, the thing you need to concern is General setting, particularly the Line Style and Line Weight. Here is our settings:
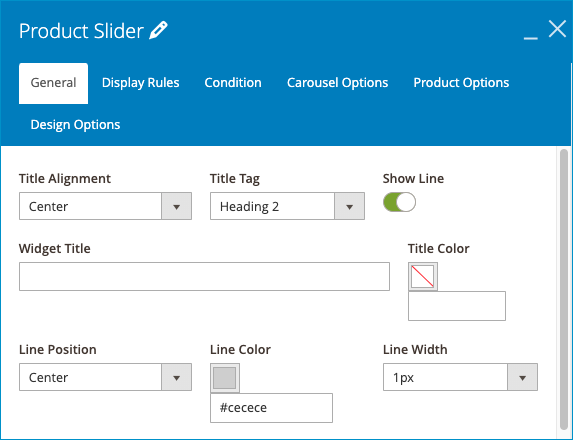
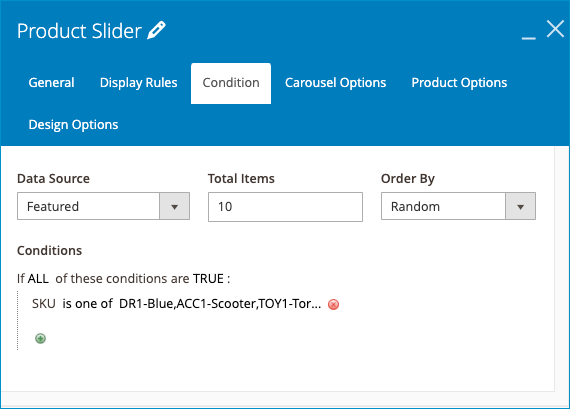
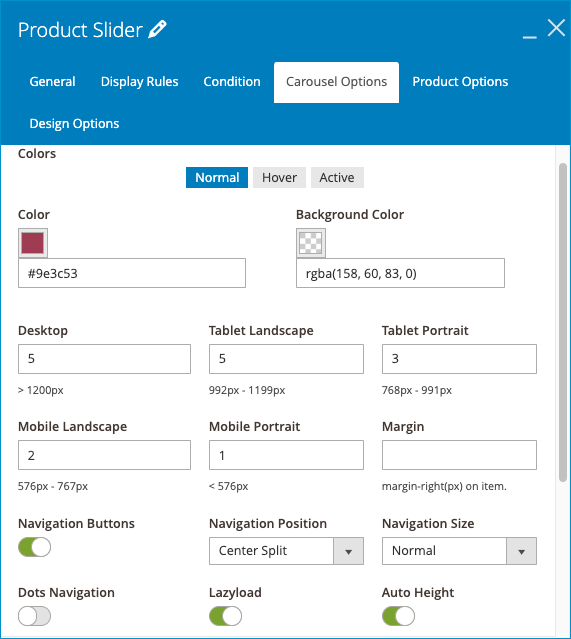
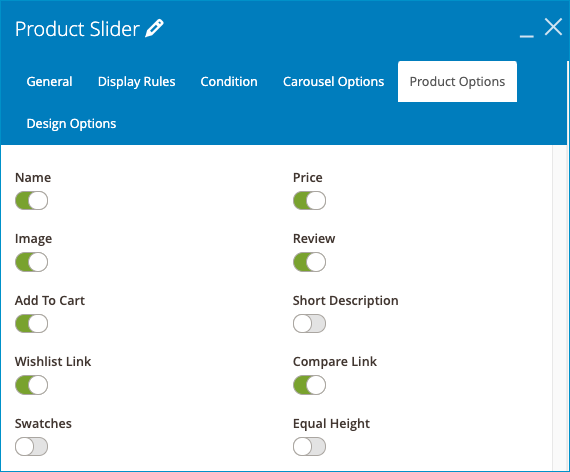
5. Product Slider
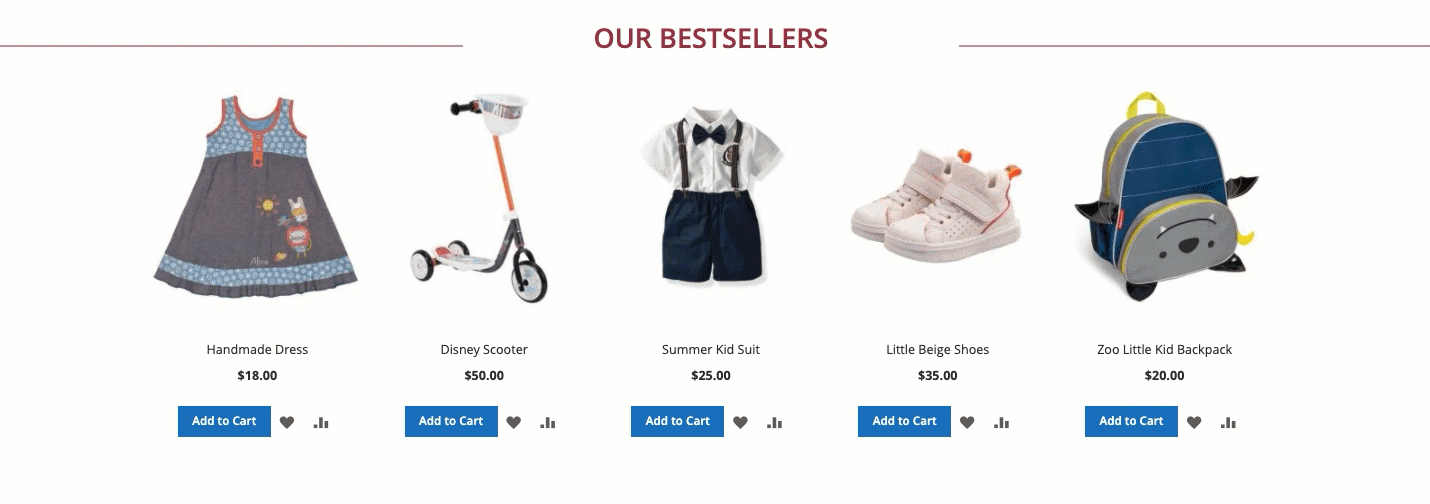
Right below the Heading “Our Best Seller” is Product Slider. This is the rare section you have to use code (in the Condition setting). It’s not a big deal! By following our steps, you can do it yourself. Let’s look at each of these settings:
- General: Set the setting like below:
- Condition
This element enables you to categorize the products by their attributes. Let’s take notice of the Condition setting. First, fill in the Data Source, Total Items, Order by field. Second, move on to Conditions. Add conditions by clicking the green plus icon.
- Carousel Options: Put the setting like below:
- Product Options: Ensure the setting as follow:
6. About Our Workshop
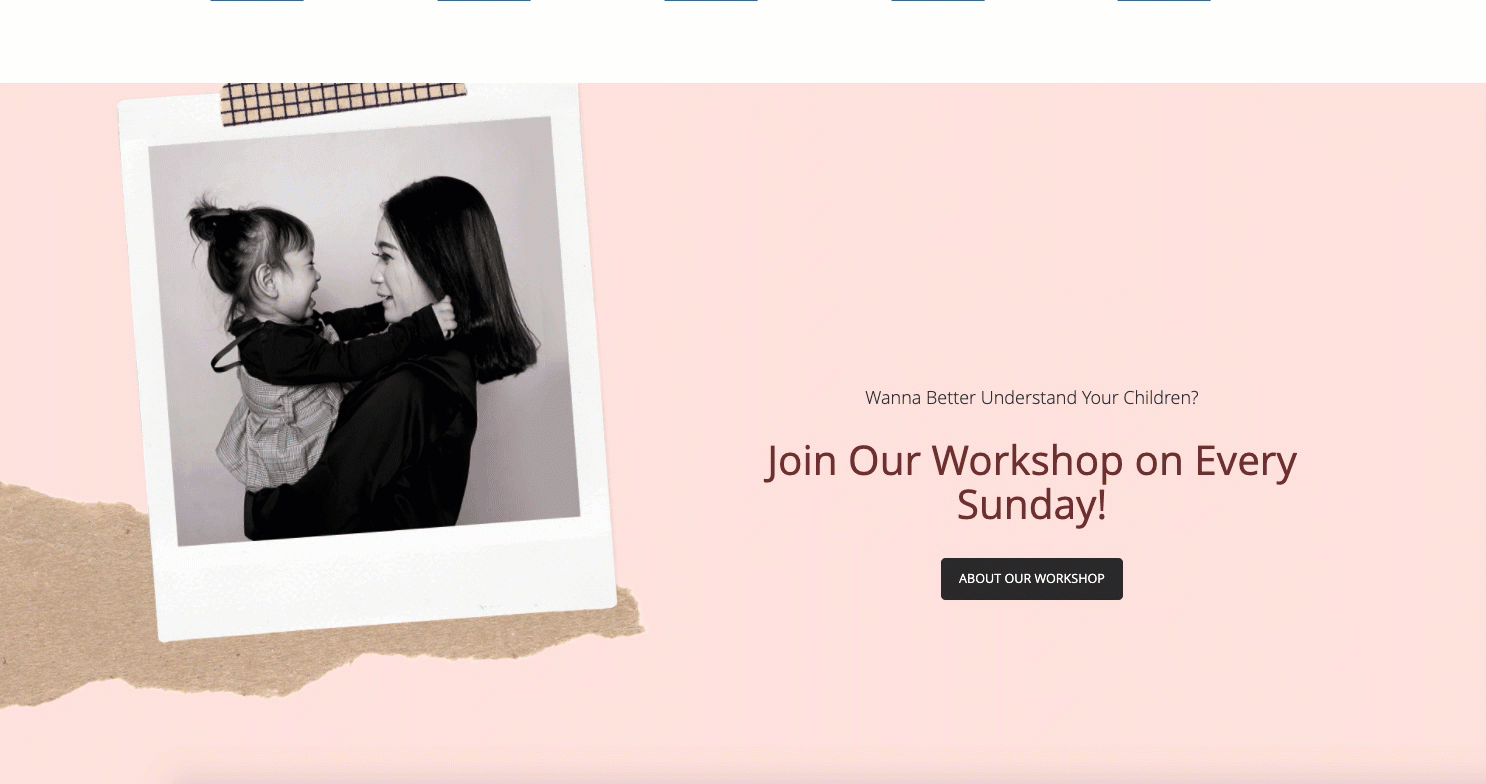
“About our workshop” may be the most impressive section for the whole page. What makes it look best? Parallax Effect is the key for sure. This creates an illusion of depth when scrolling, making your kids clothing page look stylish and professional. To know how to make Parallax Effect for this row, please check our Parallax tutorial here.
7. Newsletter form
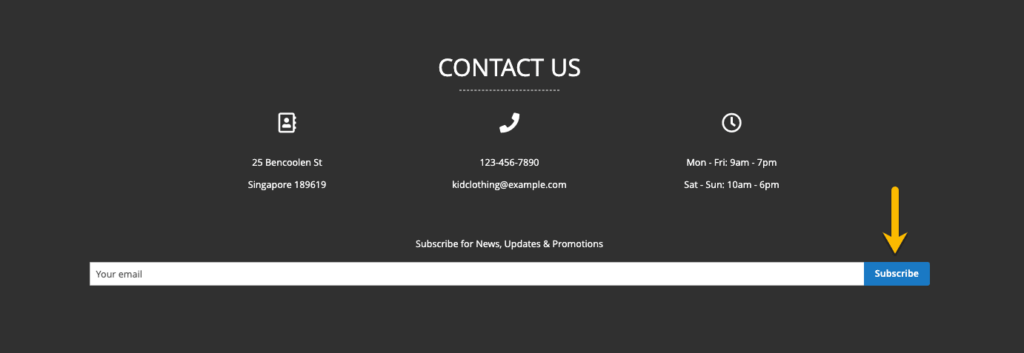
To create a newsletter form, just add the Newsletter Form element. Customize some settings like Layout, Title, Title Font Size, Color. Easy?
Conclusion
Now creating a kids clothing page isn’t that hard to do yourself, right? An affordable, good-looking, and super-effective page of your own comes true with Magezon Page Builder. We sure hope you had a good grasp of building your web page. If you need further clarification, please feel free to reach us or just simply leave us some questions in the comment section below.

Try FREE Magezon Page Builder demo today
Easily create beautiful, engaging Magento website in any style whenever you want without relying on developers or designers. Just by drag & drop.


