
Living in a state-of-the-art technology era, people now have various ways to keep in touch with each other. A phone call, video call, or live chat help online store owners communicate more directly with customers for urgent messages or time-sensitive offer. However, it is undeniable that using emails for business communication purposes is a traditional but effective way.
In this blog, I’m going to give you all knowledge about the Magento 2 email logo in Magezon Email Builder. So there we go!
Table of contents
1. What is Email Logo Element in Magezon Email Builder?
Magento 2 email logo is an image file that expresses your brand trademark, symbol, or styled name. Sticking a logo to emails enables your customers to be familiar with your brand. Therefore, it’s useful for your brand identity. What’s more, all transactional documents going with their company logo seem to look professional, right?
When uploading your email logo (an image), you get 3 file formats to choose:
- PNG: this file format ensures that your image will be its highest quality
- JPEG: your image will get a small file size, which’s extremely good for page load performance.
- GIF: it’s an animated image without sounds.

Try FREE Email Builder demo today
Create any Magento transaction email templates that match your web design and theme. Without time-wasting, of course, no coding skills needed.
2. Steps to create a Magento 2 email logo in Email Builder
Step 1: Add element
In the Magento 2 Email Builder interface, create a row with a 3-column layout:
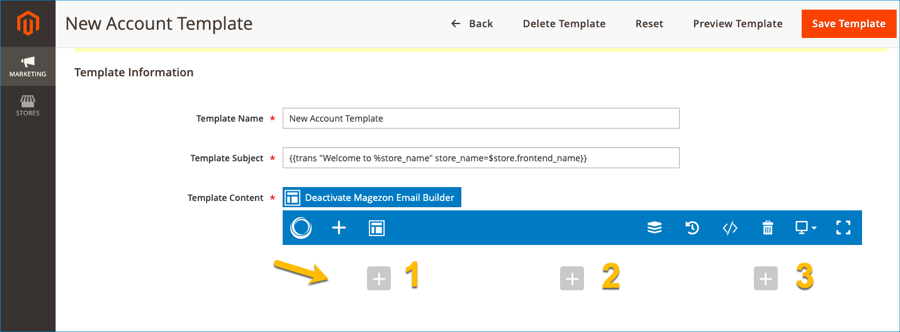
Because I want my logo to be placed on the right-hand side of my email, I’ll add an email logo element in column 3.
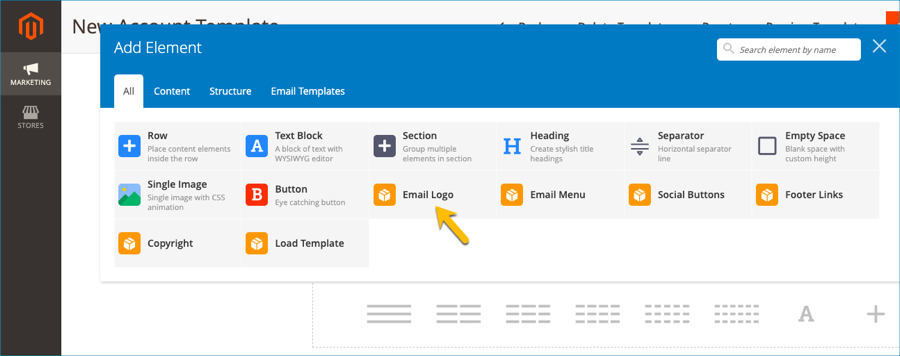
Click the “+” symbol of column 3, then an element list popup window will appear. Select the email logo element:
Step 2: Set up element
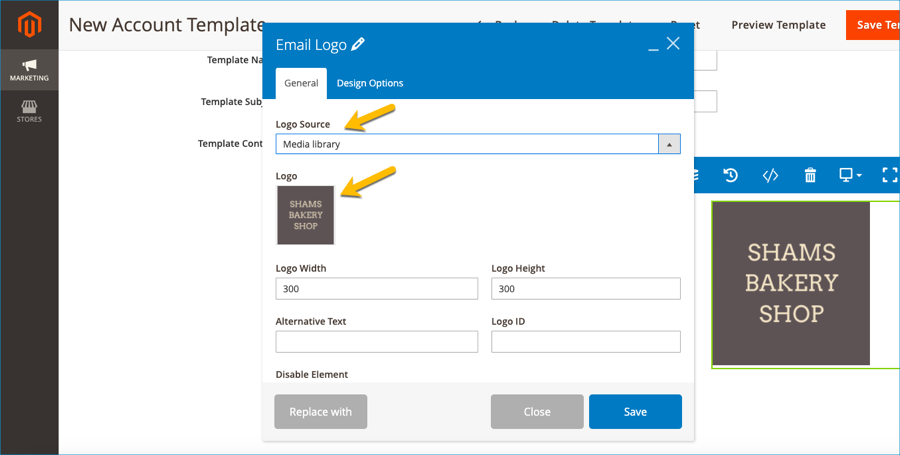
Now we’ll go through the general setting tab of the email logo element.
- There are 2 sources for you to upload the photo. As you can see, I picked up an image from the Media library source.
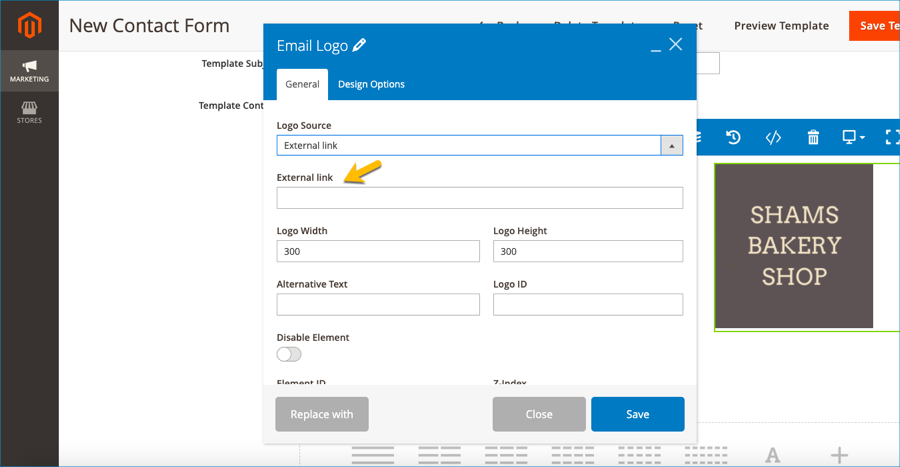
In case you prefer external link, you just need to add an URL to the External link bar:
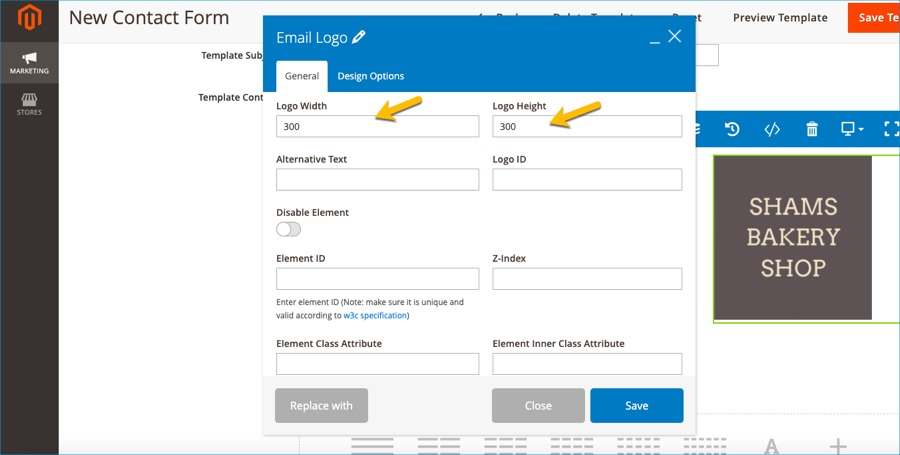
- Enter your desired logo width and height. However, we suggest that you should design your logo size exactly the same as your logo display size. It’s good for your page load performance in particular and your SEO in general:
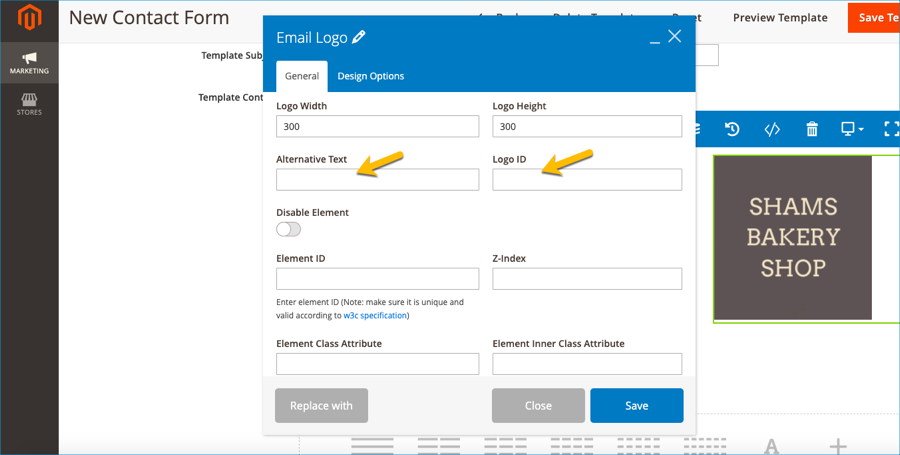
- Insert ALT text (in case your logo cannot be shown due to technical problems, the text will replace your logo. Therefore, viewers can understand what it is although they can’t see the logo). In addition, adding a logo ID is ok but that’s optional:
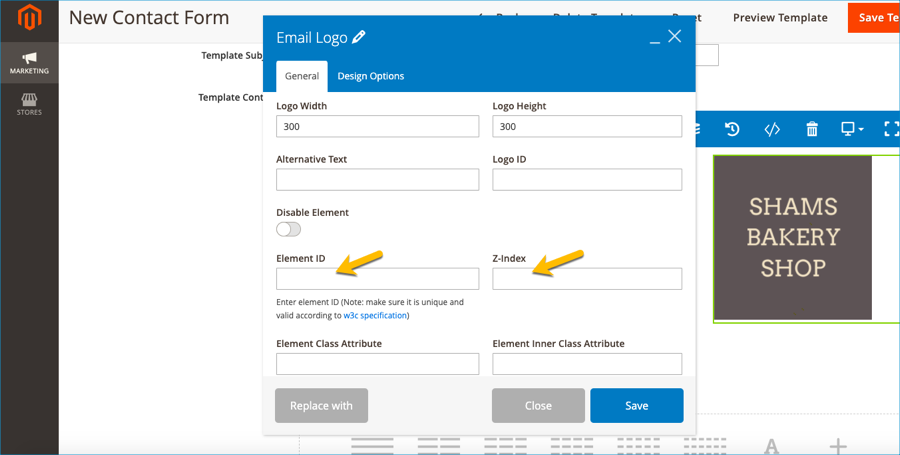
- Element ID will be useful for a within-page anchor link purpose. To understand what it is, read our blog about using element ID in anchor links. Furthermore, we also provide you with a fully comprehensive instruction about Z-index. Read these articles to know how.
Step 3: Save element’s setting
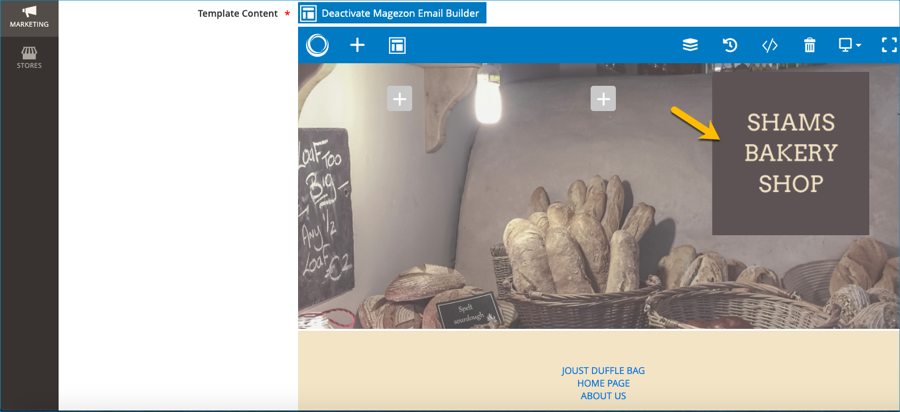
After configuring the logo, click the save button and see your result. I set a background image for this row, and here is our work!
Back-end

Front-end
Wrapping it up
We hope that after reading this article you could have a pretty firm grasp of Magento 2 email logo element in Magezon Email Builder. We’ll be back with tons of useful tutorials so do not forget to turn on your notification. If any of your concerns relate to our products, please feel free to leave some words in the comment section below.

Try FREE Email Builder demo today
Create any Magento transaction email templates that match your web design and theme. Without time-wasting, of course, no coding skills needed.
 Magezon Blog Help Merchants Build Comprehensive eCommerce Websites


