 Magezon Blog Help Merchants Build Comprehensive eCommerce Websites


Find your default Magento 2 email templates boring? Want to consolidate the new look for your online store right from your emails? Purchased Magento 2 Email Builder but do not know how to make the most of it?
This blog will answer all of these questions by giving you the instructions for creating a new order email template in Email Builder. Let’s get going!
Table of contents
I. What is the Magento New Order Email?
When it comes to new order emails, it’s easy to understand that the email’s purpose is to keep either customers or store owners informed about the placing of an order. Like almost all of the other email templates, Magento new order email contains the basic parts of an email which are template name, template subject and template content.
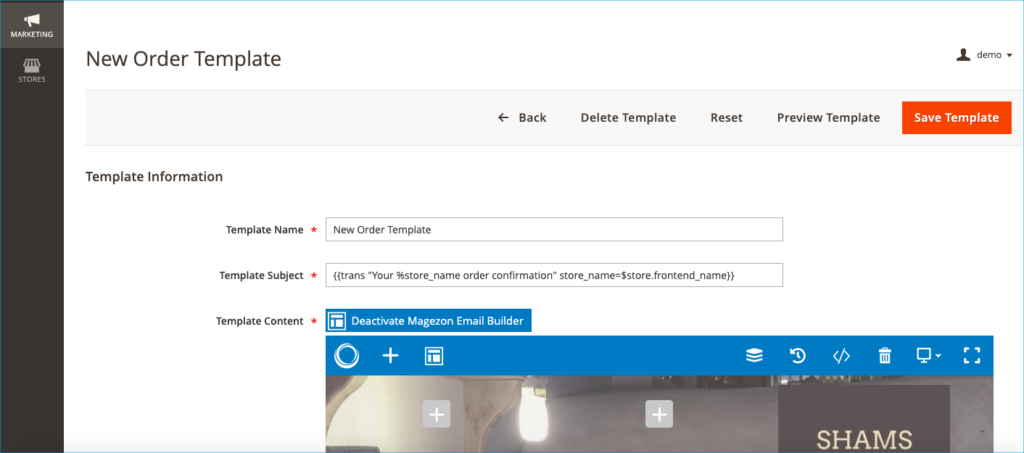
II. Steps to create Magento 2 new order email in Email Builder
Now we’ll go straight into how to create a new order email template in Email Builder. The process includes 4 steps as the following.
1. Email Header
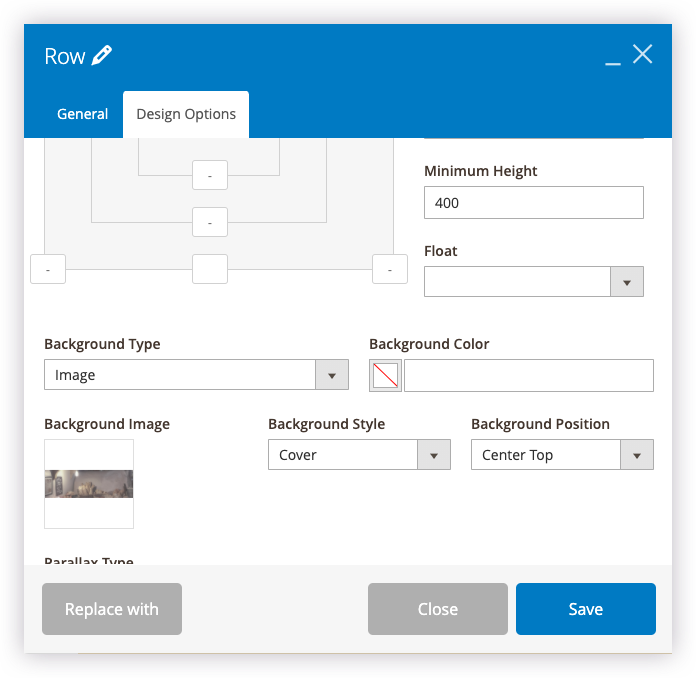
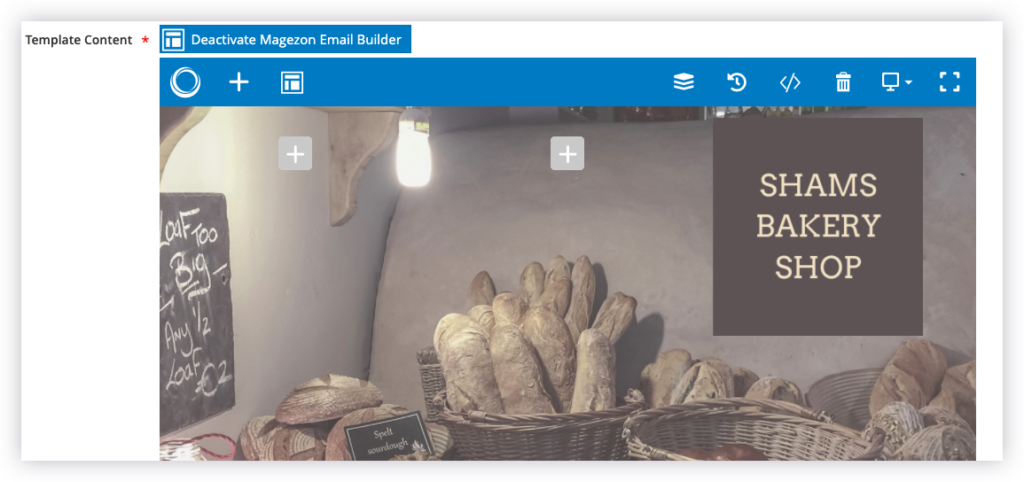
First of all, we need to create a header for the email template. What about an eye-catching image describing your product? So at the top of your template, add a new row and set its background image like below:
After creating a background, it’s important to insert a logo for the email header. Because the logo is just about ⅓ of the row, I’ll divide this row into 3 columns:
Then in the column of your right-hand side, insert an element called Email Logo with the settings like this:
Concerning the Email Logo element in Email Builder, you can visit our older post to dig it deeper.
Here is what our email heading looks on the front-end and back-end:
Back-end

Front-end
2. Email Menu
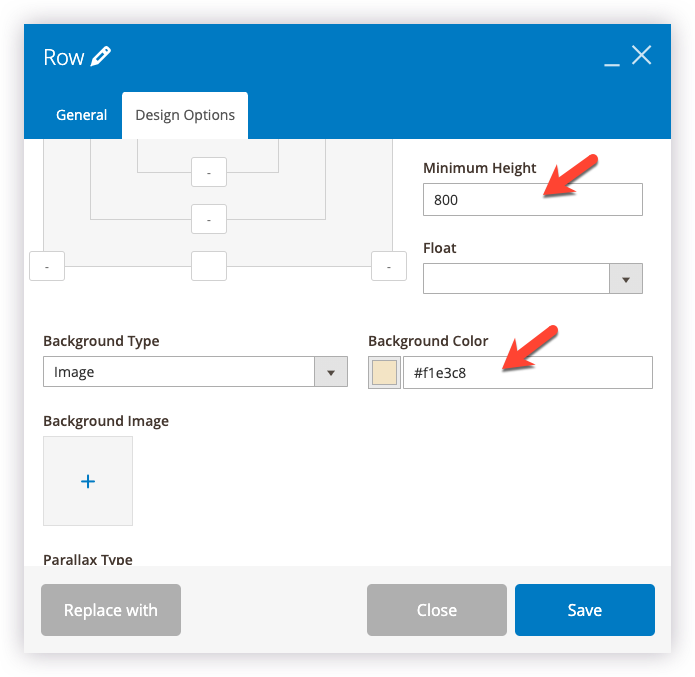
Because I want to make the rest of the email stands out from the header, I’ll create a new row after the header, then choose a background color for it:
This section is to insert a menu of links to your pages. In this case, I’ll allow the menu to link to 3 pages that are a product page, Home page and About us page. In the Email Builder editor, add an Email Menu element, and see its settings below:
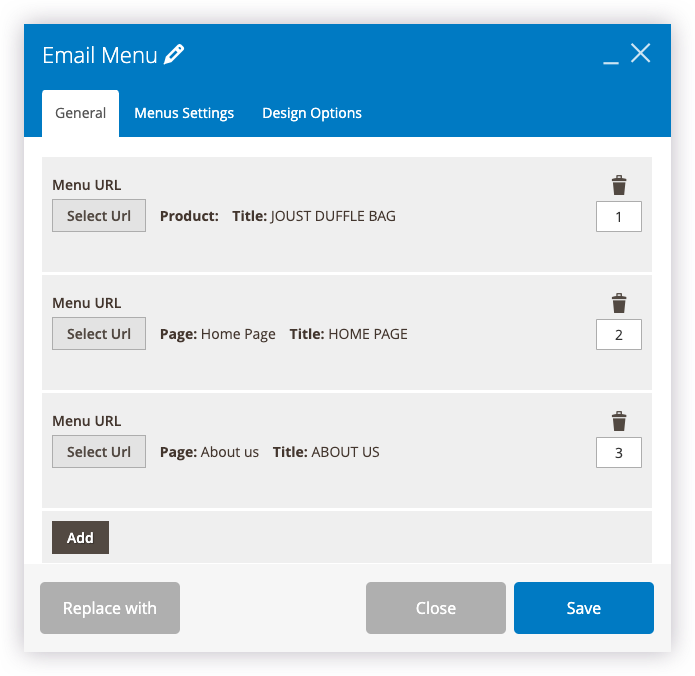
Email Menu general settings
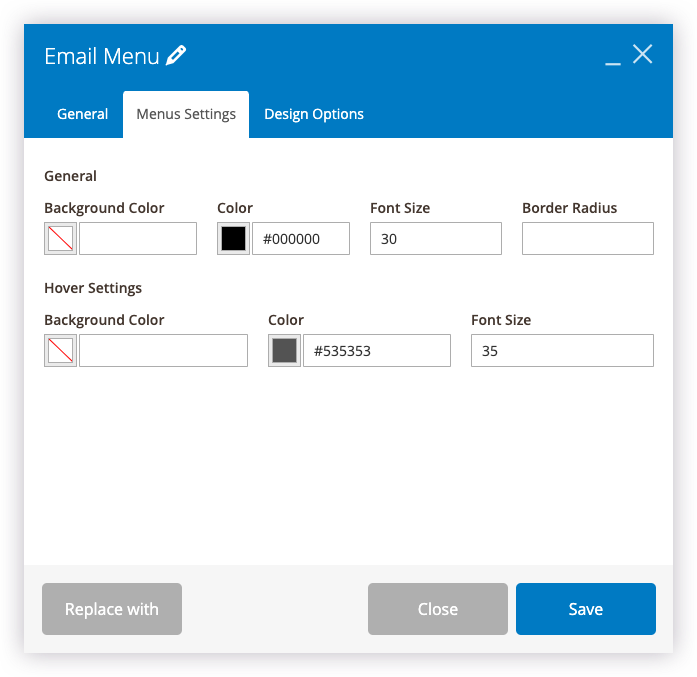
Email Menu menus settings
Here is what the menu link looks like in the back-end and front-end:

Back-end

Front-end
3. Email content: using Load Template and Variables
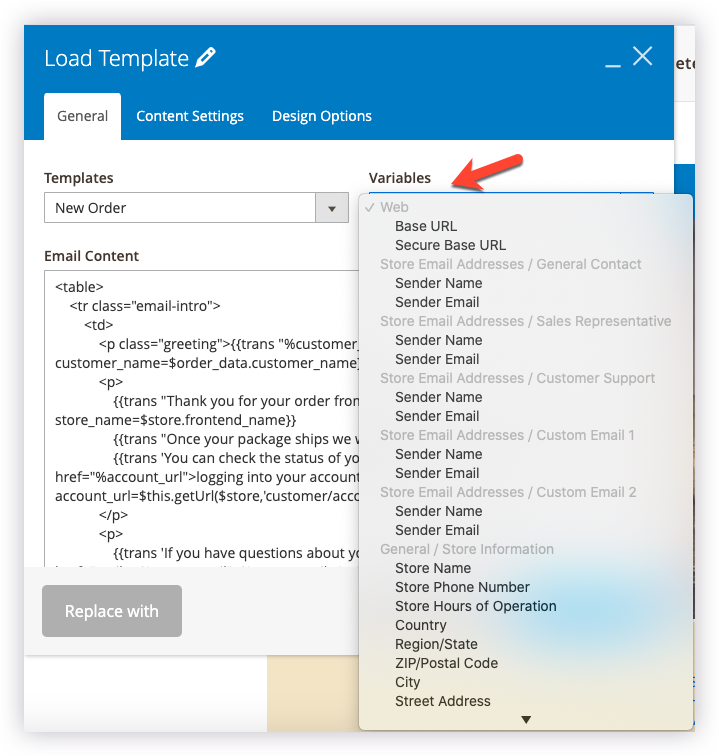
Next is the main content of our menu. We need to insert a Load Template element, choose “New Order” in the Templates field:
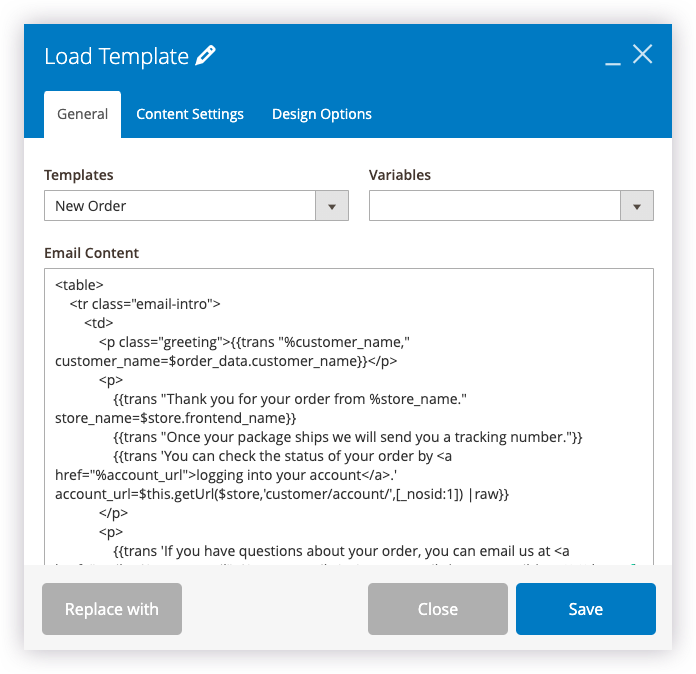
Use the Variables field to insert any additional information you want:
Here is what Load Template looks like in the back-end and front-end:
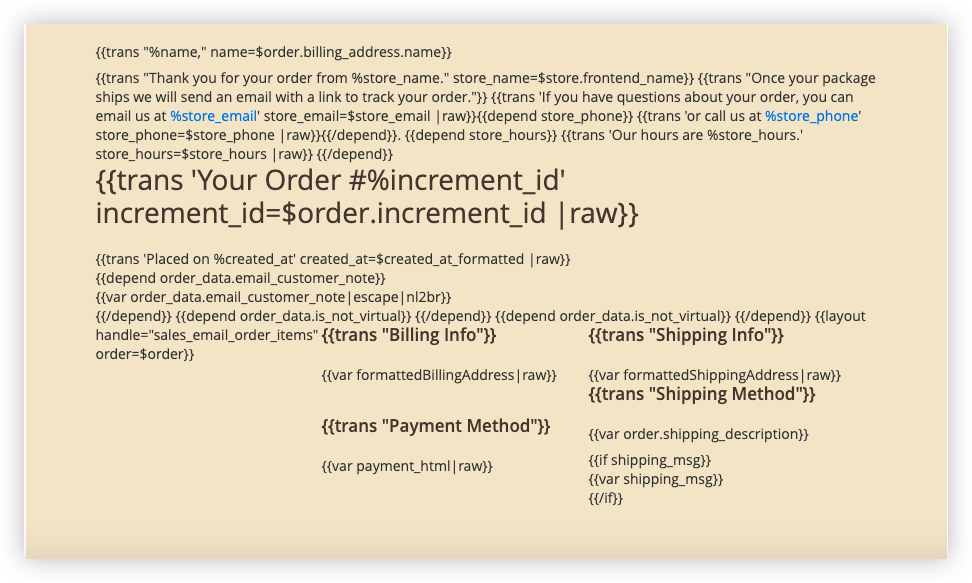
Back-end
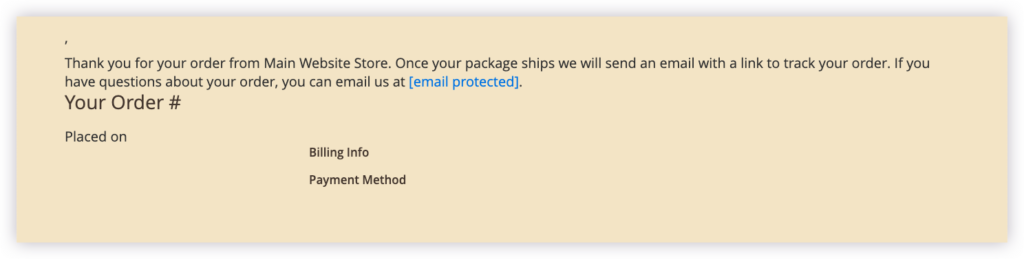
Front-end
4. Other parts for an email footer
The rest of the email will be like a footer containing social buttons, footer links and a copyright message. Insert after the Load Template element a Social Buttons element:
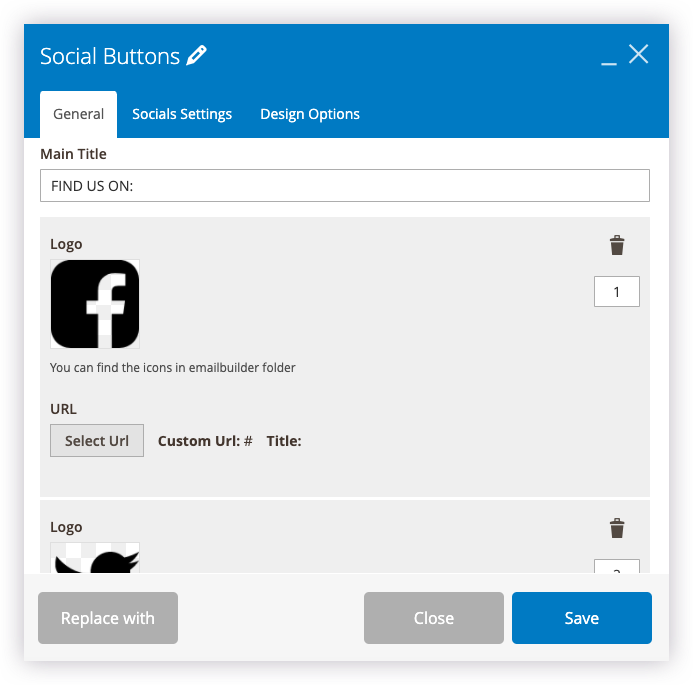
Social Buttons general settings (the icon of socials need to be prepared beforehand)
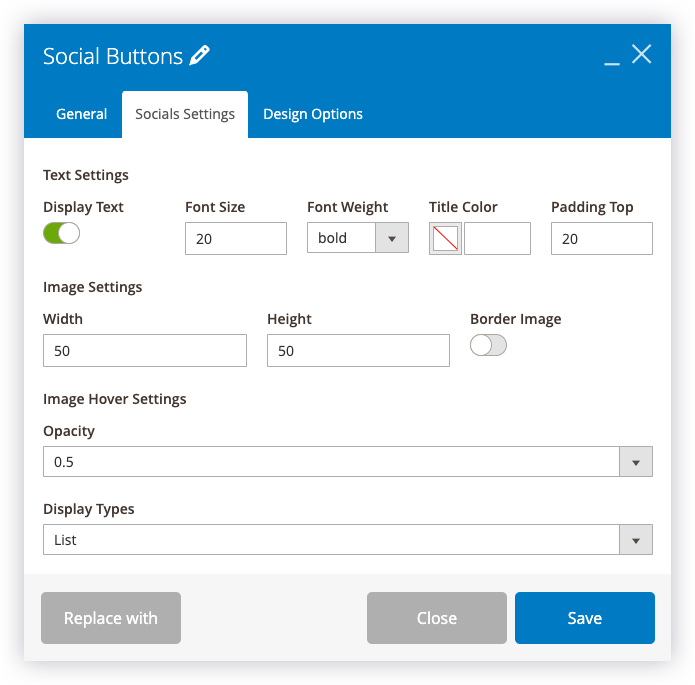
Socials Settings (you can display your social icons vertically by choosing Bootstrap Column on the Display Types field)
Next, add a Footer Link element to link to any site you want. The settings are like this:
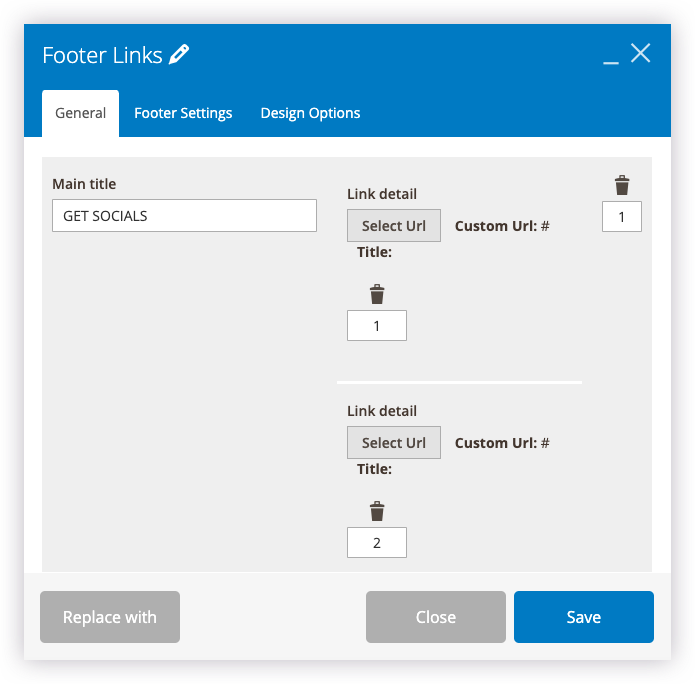
Footer Links general settings
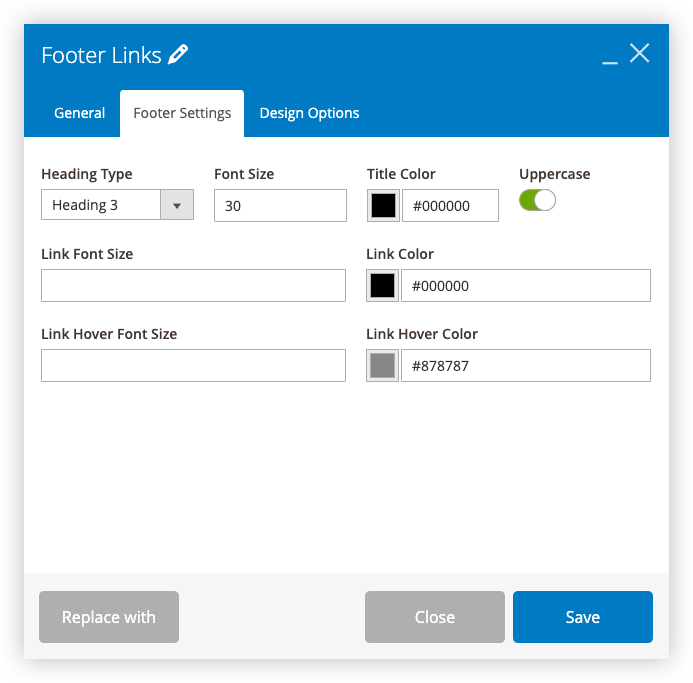
Footer Settings
Lastly, we should add a copyright message to make our email look more professional:
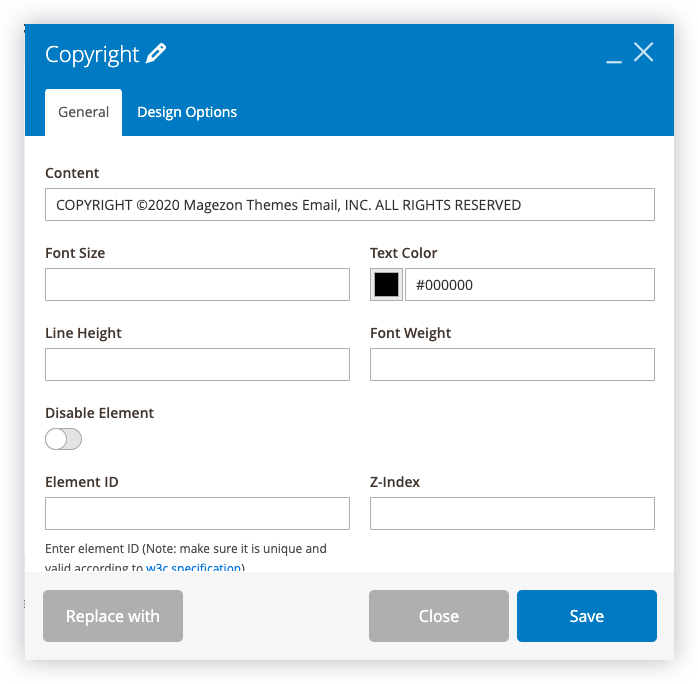
Copyright settings
And here is what our email footer looks like in back-end and front-end
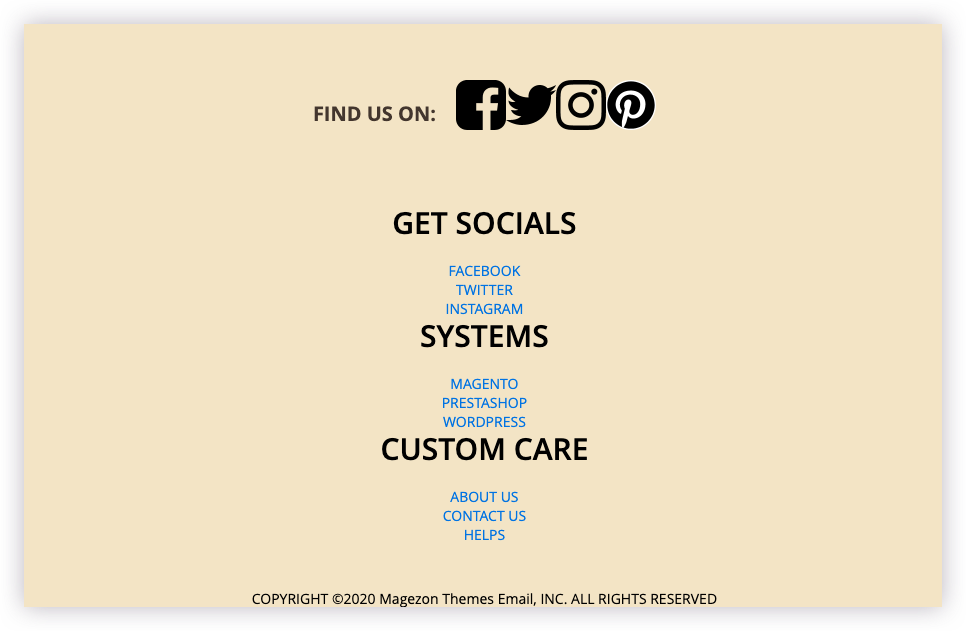
Back-end
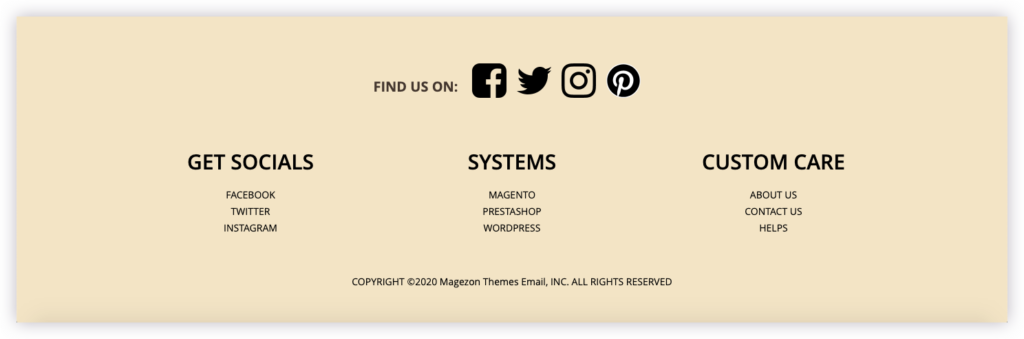
Front-end
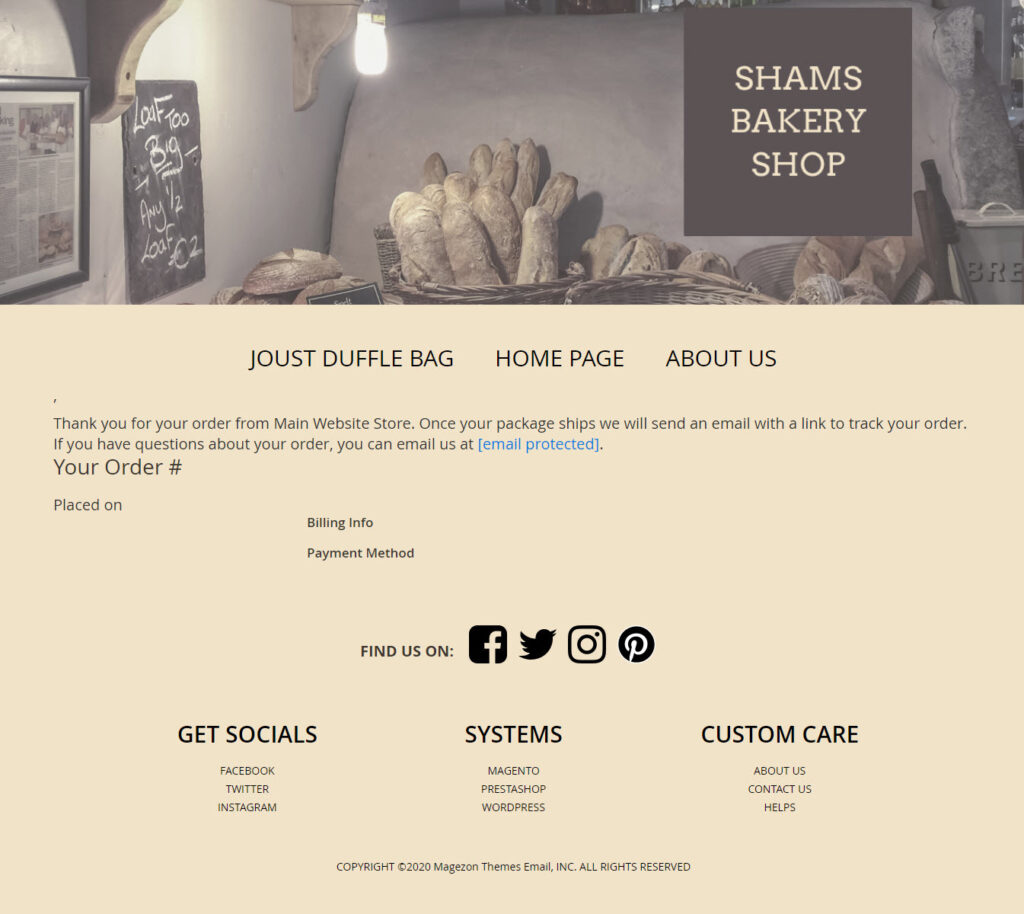
Let’s see our result!
Conclusion
We hope that after reading this blog you can understand a walkthrough of how to create a Magento 2 new order email template in Magezon Email Builder. Find our post helpful? Visit us to read more. If you have any questions, don’t hesitate to leave them in the comment section below.

Try FREE Email Builder demo today
Create any Magento transaction email templates that match your web design and theme. Without time-wasting, of course, no coding skills needed.


