 Magezon Blog Help Merchants Build Comprehensive eCommerce Websites


We know that Google Sheets provides a great way for collaboration among members in your team. So by sending your form submissions to Google Sheets, you and other team members can easily manage form entries, in real time without the need to provide login credentials to your Magento dashboard.
And here is how to save Magento 2 form submissions to Google Sheets using Blue Form Builder.
Table of contents
How to Save Submissions to Google Sheets
To send Blue Form Builder submissions to Google Sheets, please follow these steps:
1. Create A Form
After installing Blue Form Builder on your site, you can start creating your own Magento 2 forms. Please follow this guide for detailed steps on how to build a simple contact form.
2. Connect Your Form with Google Sheets
After building a form, it’s necessary to connect it with Google Sheets so that every submission will be automatically saved to a spreadsheet. To do this, we’ll use Zapier, an online automation tool that allows connecting your apps and other services. Let’s see how!
Step 1: Integrate Zapier with Blue Form Builder
First, make sure that you have a Zapier account already. If not, you can create one at zapier.com. You can choose the free plan or paid tiers based on how many zaps you’ll be using.
To integrate Zapier with Blue Form Builder, it’s required to install the Zapier plugin that gives you the ability to connect Blue Form Builder forms with 2000+ web apps.
After installing the plugin, you need to create a Zapier API key that will connect Blue Form Builder with your Zapier account. Here is a step-by-step guide for this.
Step 2: Create a zap in Zapier
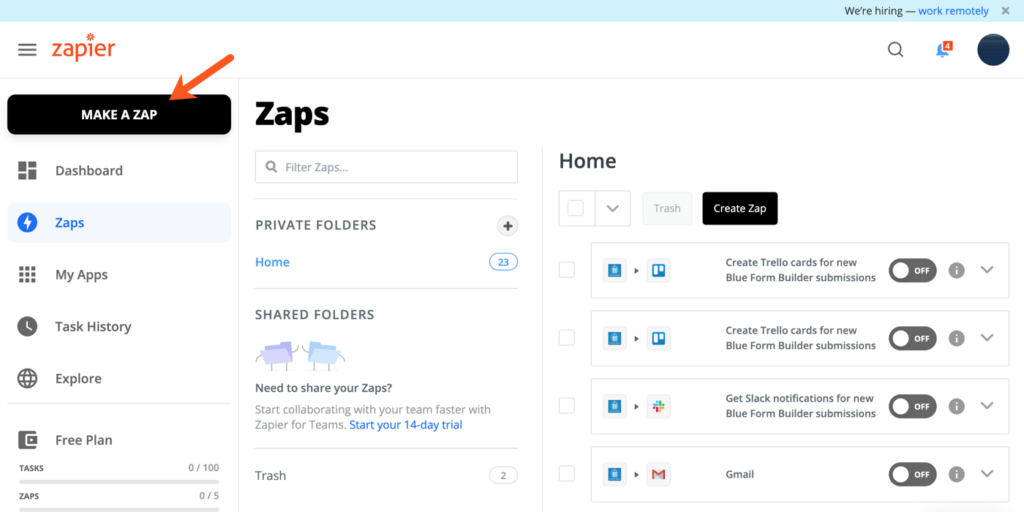
After logging in to your Zapier account, click MAKE A ZAP button on the upper left corner to create a zap:
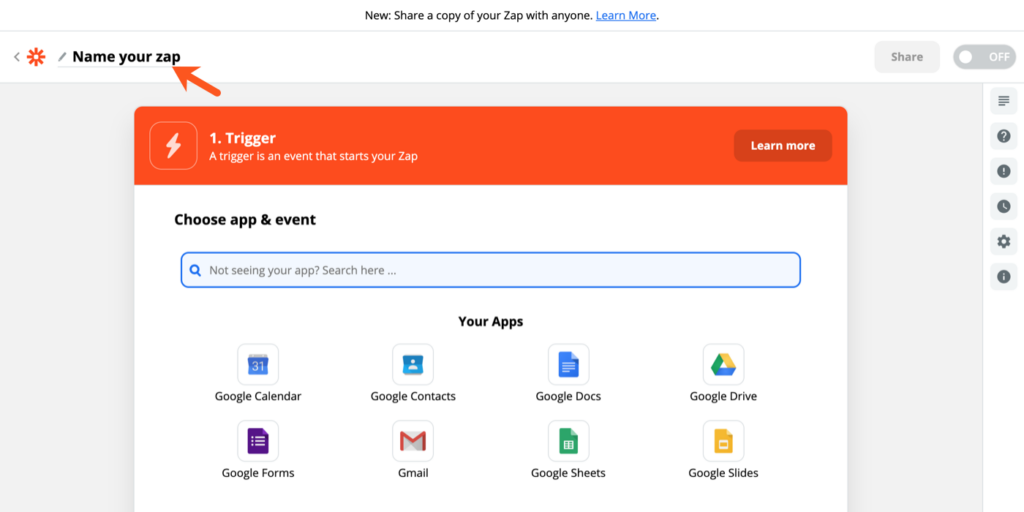
After that, you’ll go to the setup page of the new zap. Click Name your zap on the upper left corner to rename your zap:
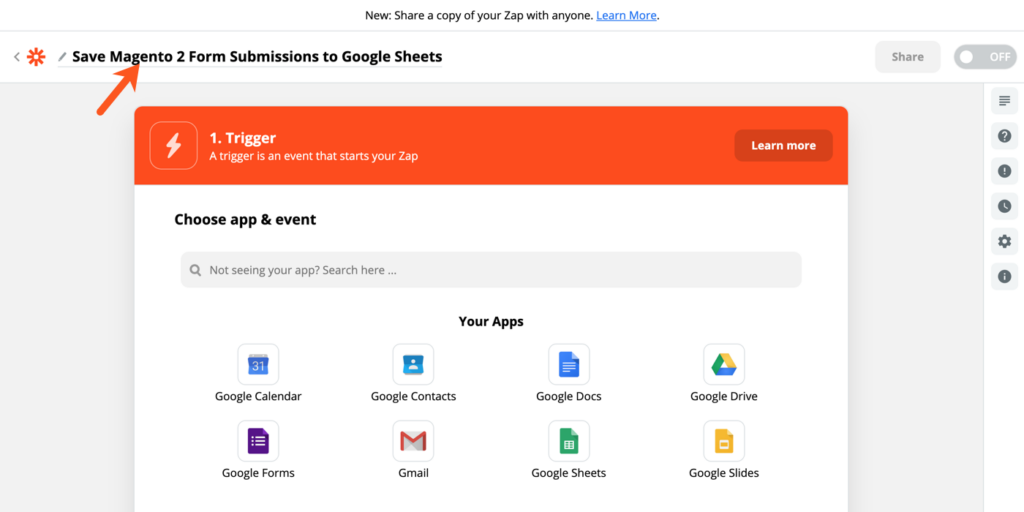
For example, we’ll rename the zap to Save Magento 2 Form Submissions to Google Sheets:
– SET UP TRIGGER:
Trigger is an event that starts a Zap. You’ll set up the trigger in the 1. Trigger section.
+ Select trigger app & event: in Choose App & Event section, you’ll choose your trigger app and event.
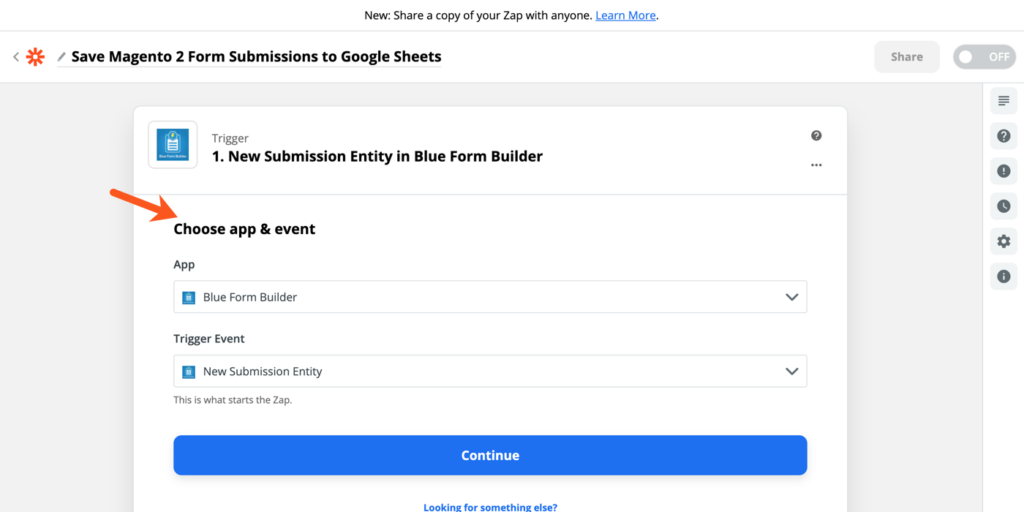
- App: The trigger app you need to select here is Blue Form Builder. In the search box, type Blue Form Builder and click Blue Form Builder from the result list.
- Trigger Event: Blue Form Builder only has 1 trigger (New Submission Entity) and it’s automatically selected.
Click the Continue button to proceed.
+ Connect Zapier and Blue Form Builder: To connect Zapier and Blue Form Builder on your website, click on the Sign in to Blue Form Builder button:
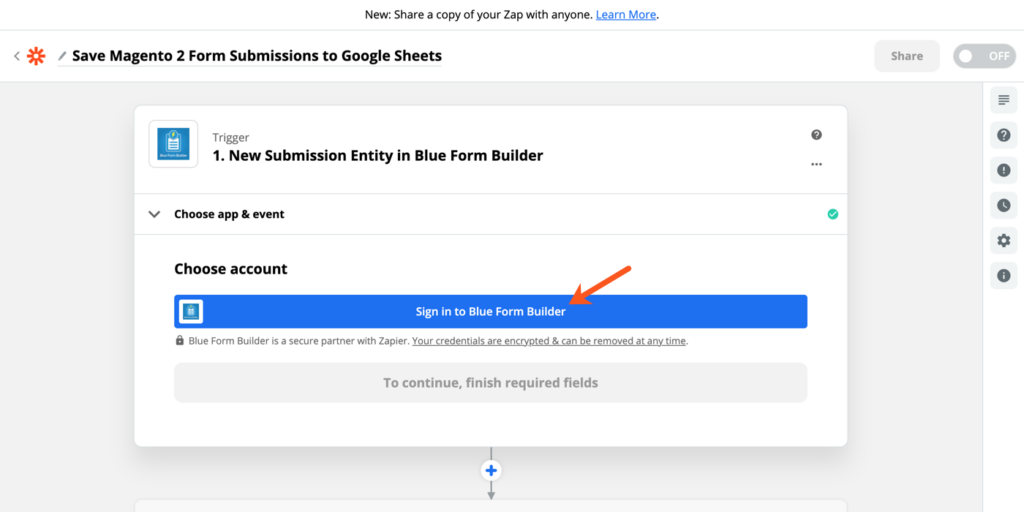
A new window will appear:
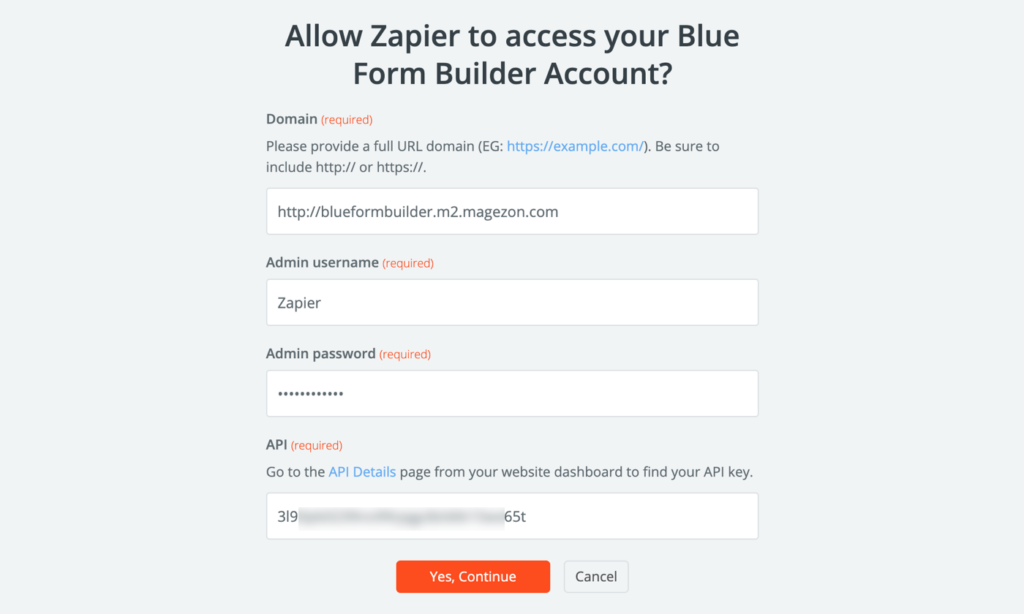
- Domain: enter the full URL of the domain in which Blue Form Builder is installed.
- Admin username: enter admin username.
- Admin password: enter admin password.
- API: enter the access token key here. Then click Yes, Continue button to finish the connection.
You can connect Zapier with multiple Blue Form Builder accounts by clicking on the +Create a new account. Then choose the account you want to connect with from the drop-down list.
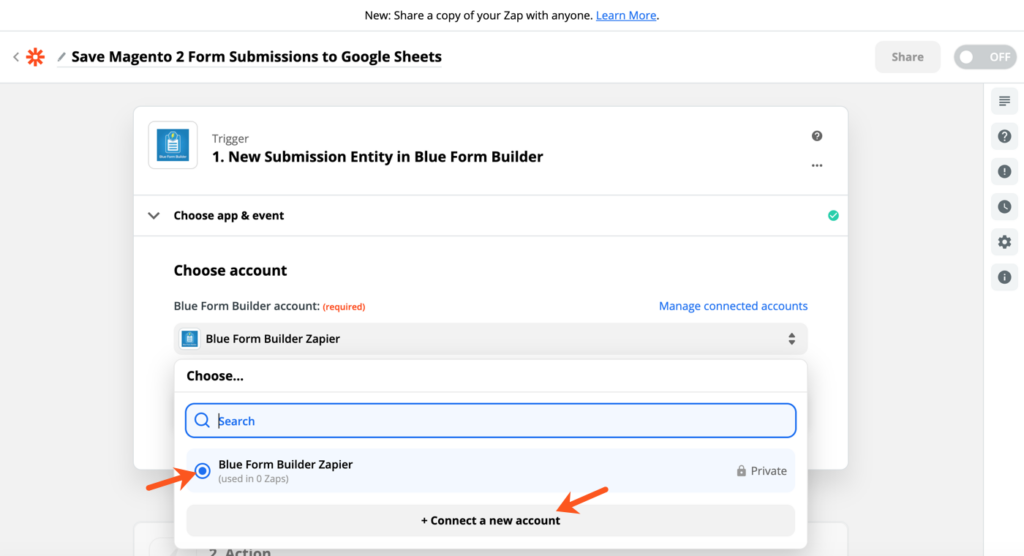
Click Continue to proceed.
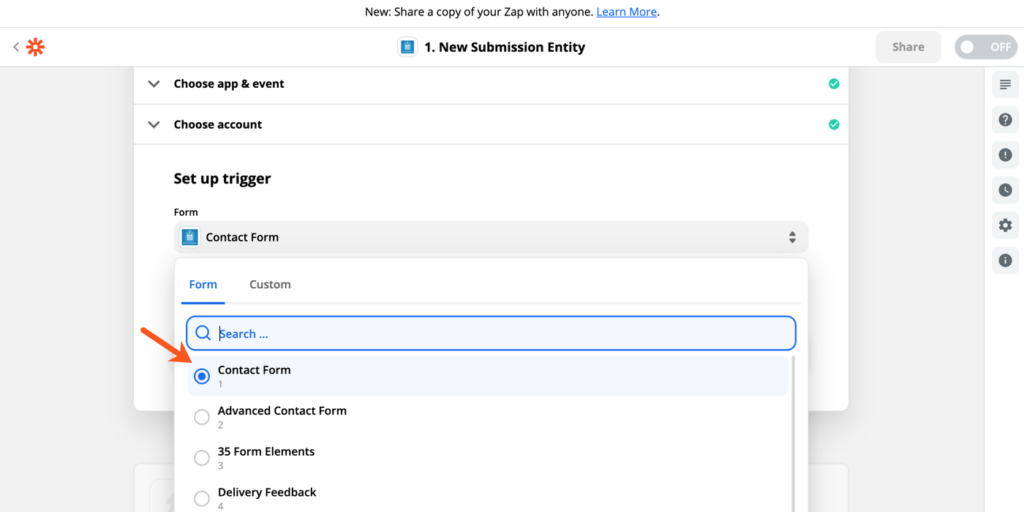
+ Select form: Select the form you want to use in this zap, then click Continue.
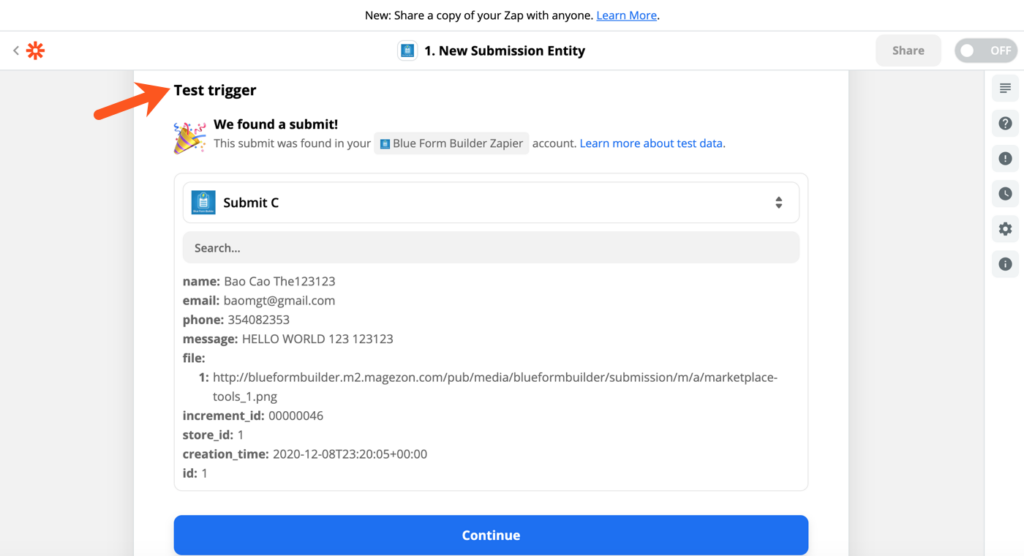
+ Test trigger: In this step, you are able to test your connection using sample submission data pulled in. Please make sure that the form you selected has at least one submission to test. After clicking the Test Trigger button, you should see a submission found with all related data:
You can choose another submission to test from the drop-down list where latest submissions are listed:
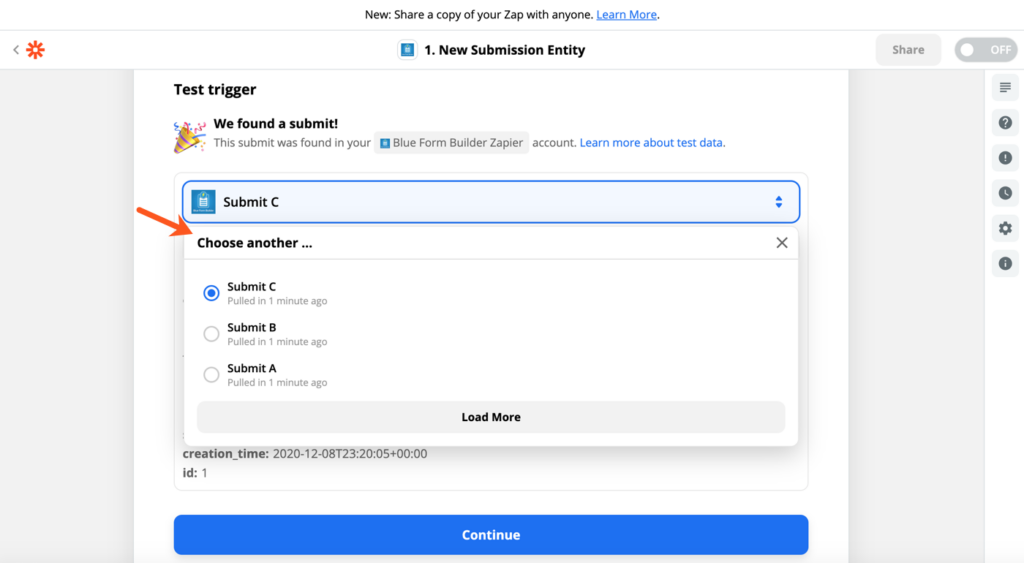
Click the Continue button to proceed.
– SET UP ACTION:
An action is an event that a Zap performs after it is triggered. You will set up action in the 2. Do this… section.
+ Select action app & event: in the Choose App & Event section, choose the app which you want to send your submission data to and the action event also.
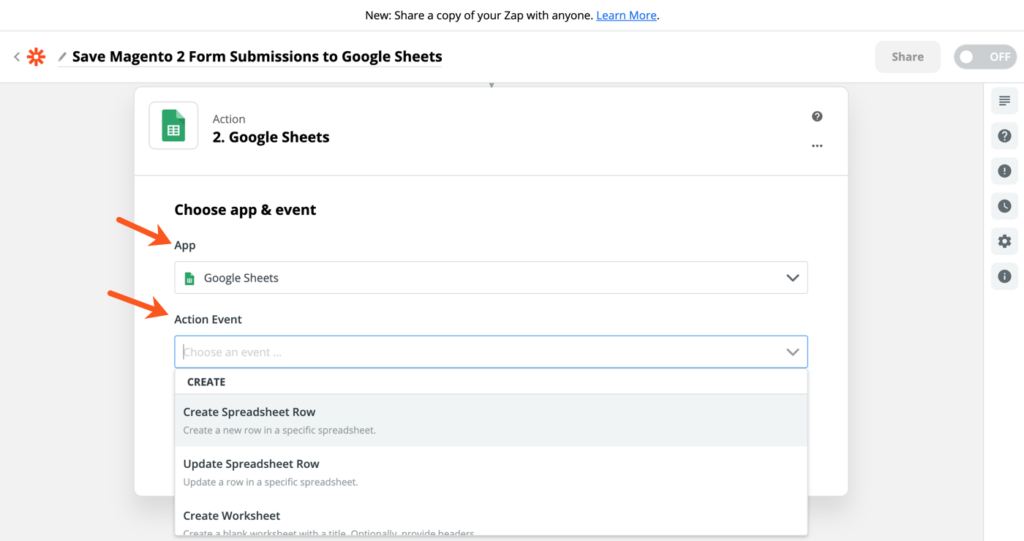
- App: select Google Sheets.
- Action Event: select Create Spreadsheet Row.
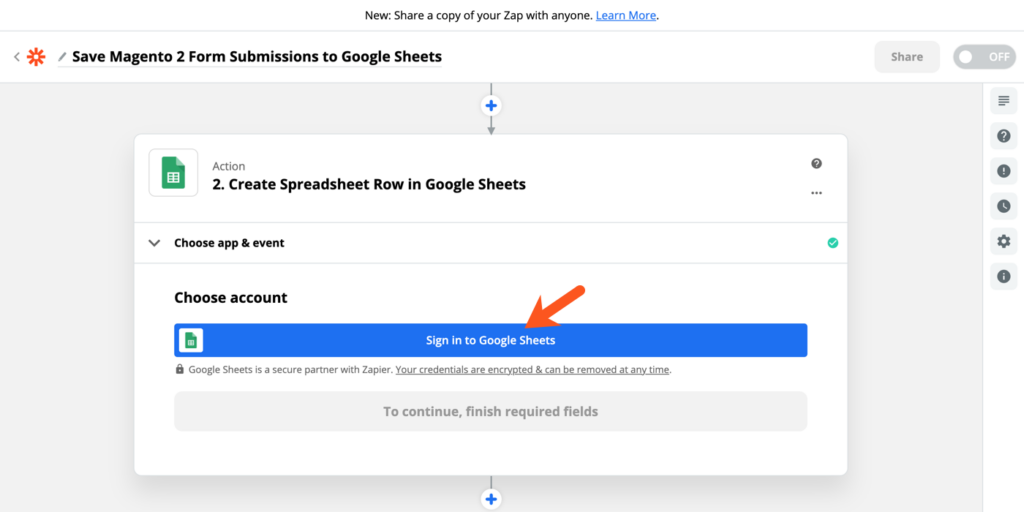
+ Connect Google Sheets accounts: now it’s necessary to connect Zapier with your Google Sheets account. Log in to your Google Sheets account by clicking on Sign in to Google Sheets button and allow Zapier to access your Sheets.
Please note that you can connect to multiple Google Sheets accounts.
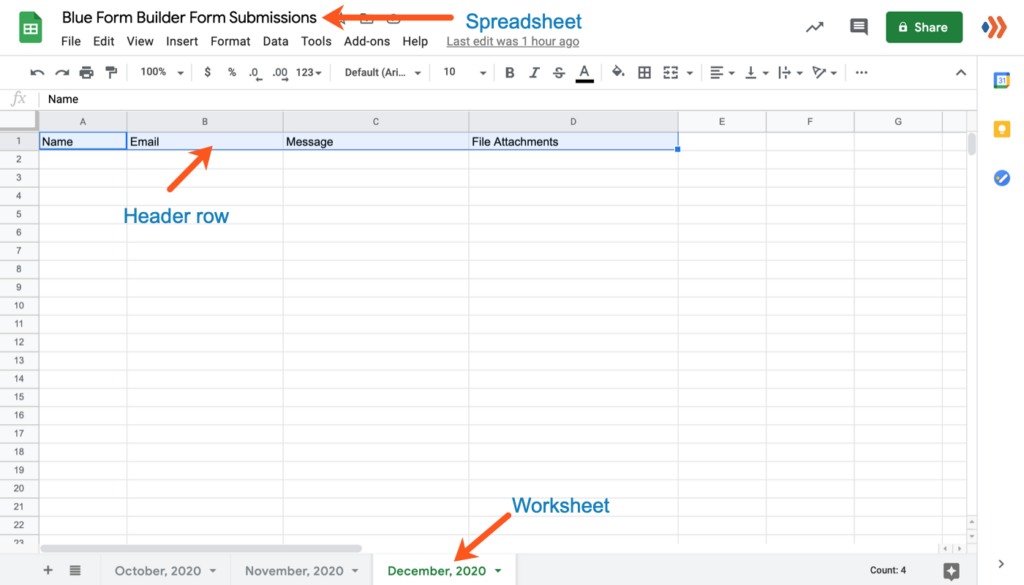
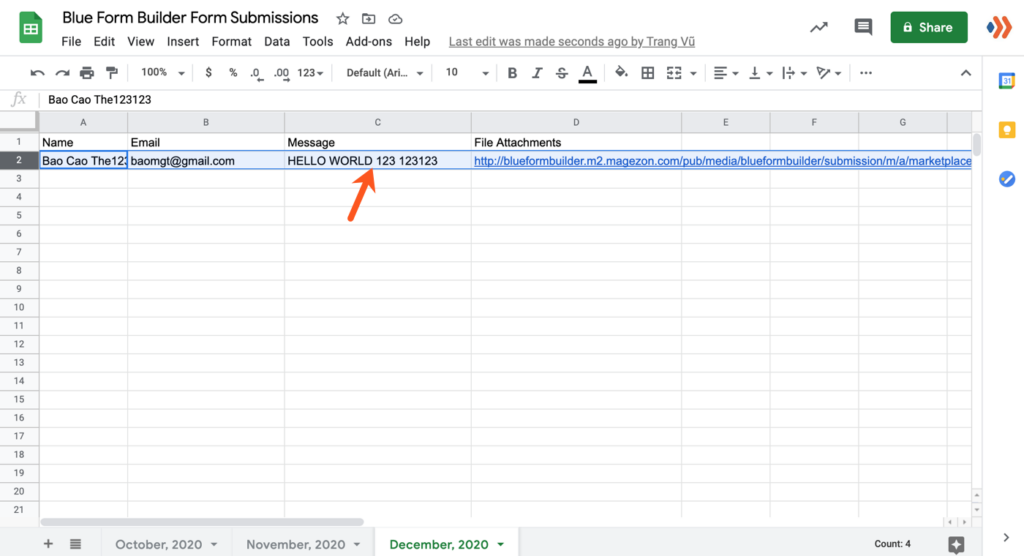
Before going to the next step, you need to create a spreadsheet in your Google Sheets account. Make sure that the first row is a header row with column names:
+ Set up action:
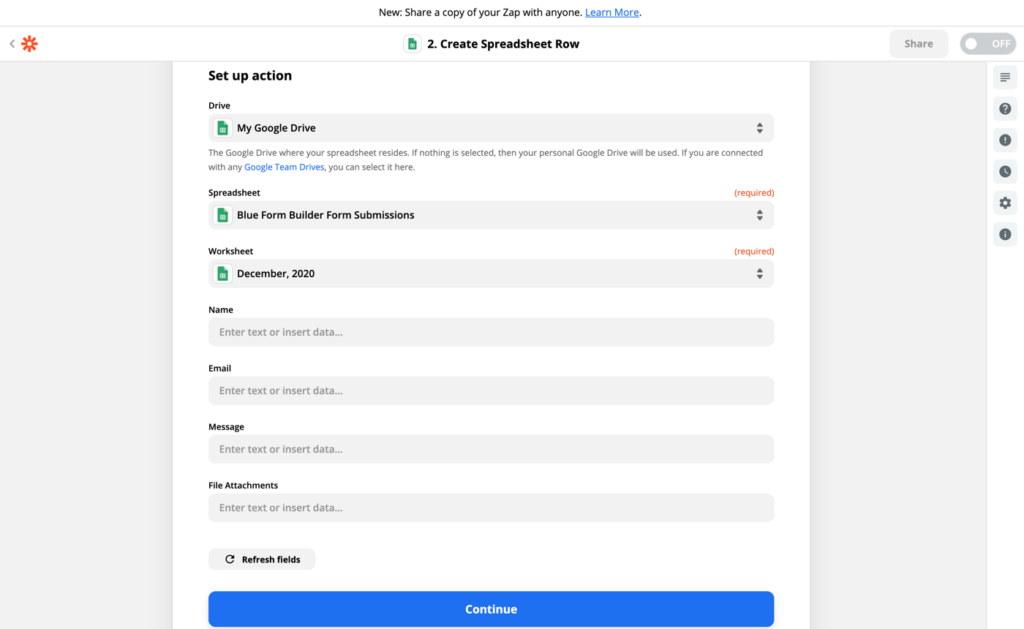
In this step, you’ll set up the action Create Spreadsheet Row.
- Drive: choose your Google Drive where your spreadsheet resides.
- Spreadsheet: choose the spreadsheet to which you want to save your form submissions.
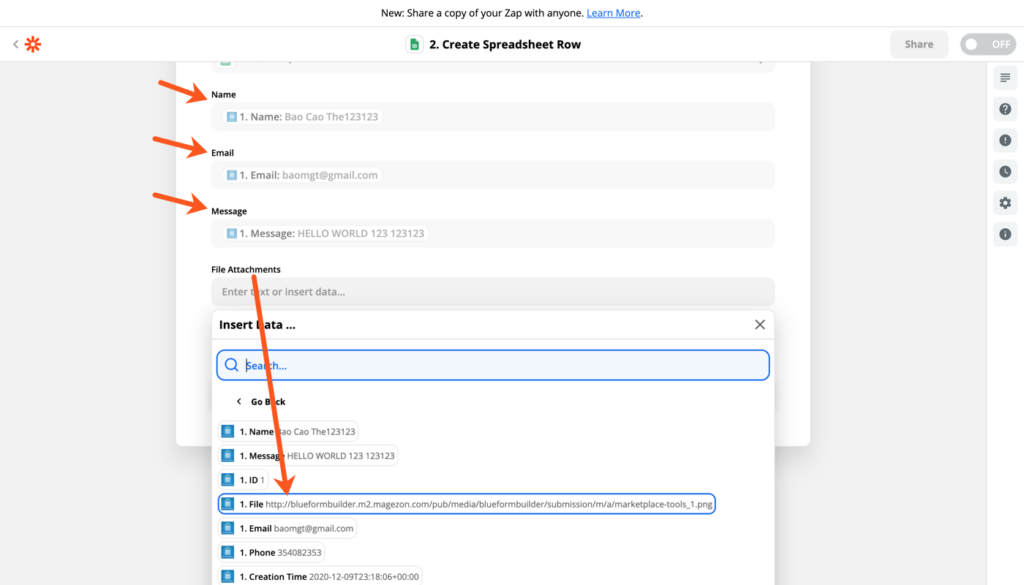
Worksheet: choose a specific worksheet in your spreadsheet. After you select a worksheet, column names in the header row of your spreadsheet will appear below. And you should choose the corresponding form fields for these columns to get the relevant data.
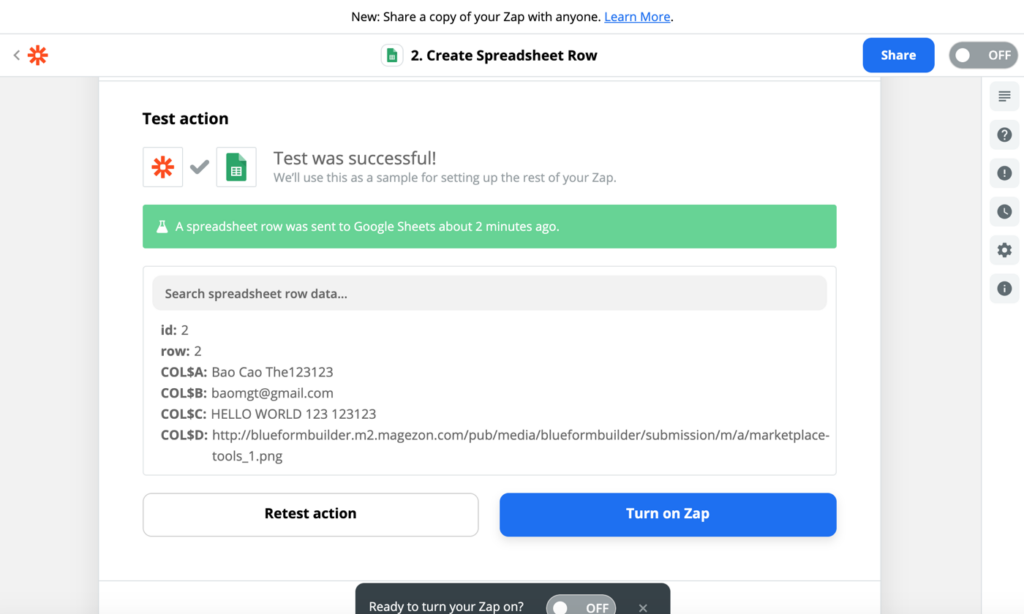
+ Test zap: now you’ll need to test your zap to make sure that it works by clicking the Test & Review or Test & Continue button. Then go to your spreadsheet to check if the form submission in your test form has been saved.
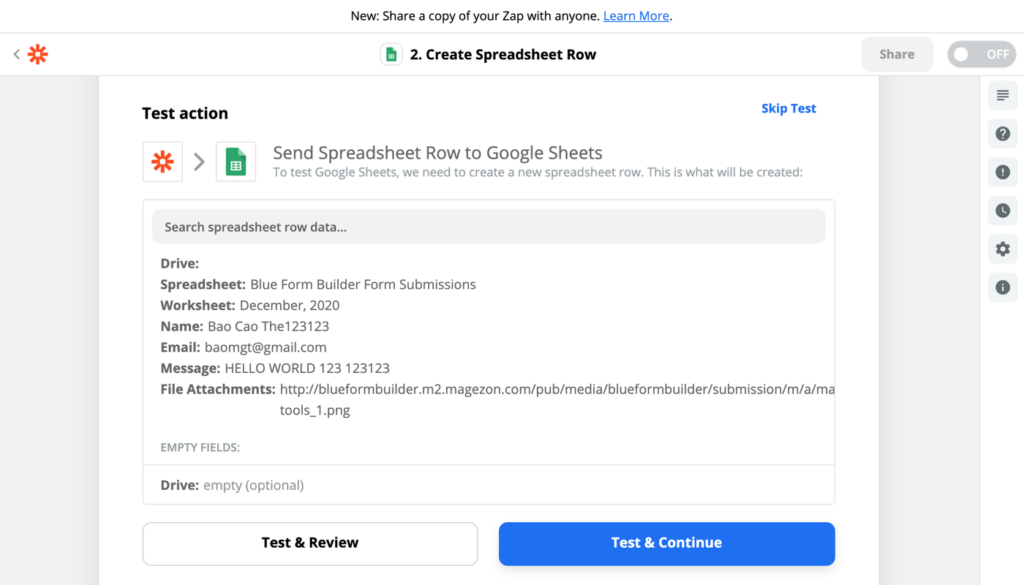
If you see a new row in the spreadsheet, then your integration is successful.
You can Retest Action or Turn On Zap right away, then click Done Editing to finish:
To Sum Up
Above is a step-by-step-guide on how to send Magento 2 Blue Form Builder submissions to Google Sheets. If you have any questions or need support, please don’t hesitate to leave a comment below.

Try FREE Blue Form Builder demo today
Create whatever type of Magento form in any style you want just in minutes. Just by drag & drop.


