 Magezon Blog Help Merchants Build Comprehensive eCommerce Websites

Multiple columns can be used to create a clear layout for your webpages, thus making it easier for customers to scan and read. In this article, we’ll show you how to create multi-column layouts in Magezon Page Builder.
To get started, you first need to download and install Magezon Page Builder. Please refer to this installation guide for details.
After finishing, every WYSIWYG editor in your store backend will be replaced with new builder interface (that you can activate/deactivate):

Create Multi-Column Layouts
You can quickly add multiple columns as seen in the below image.
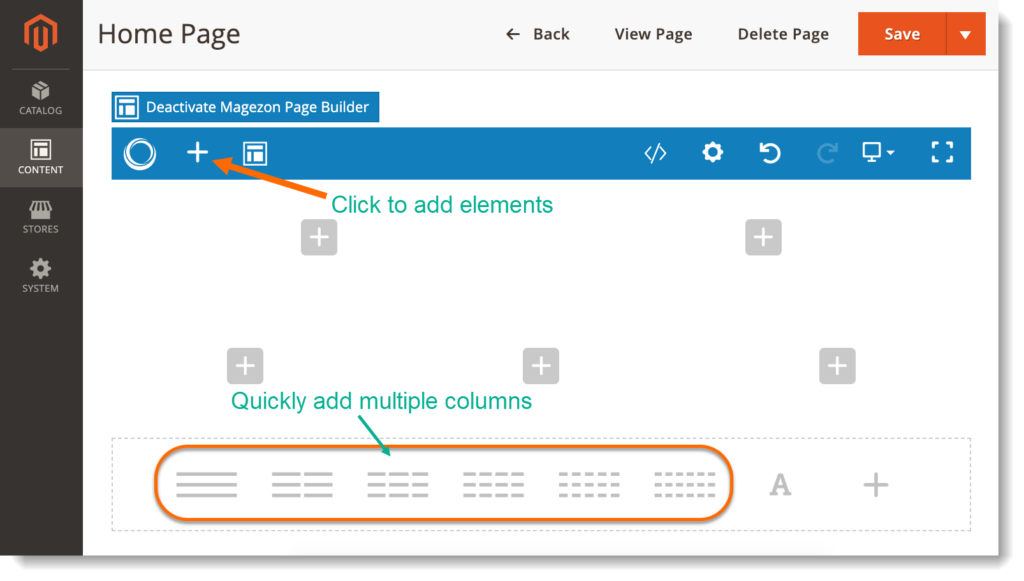
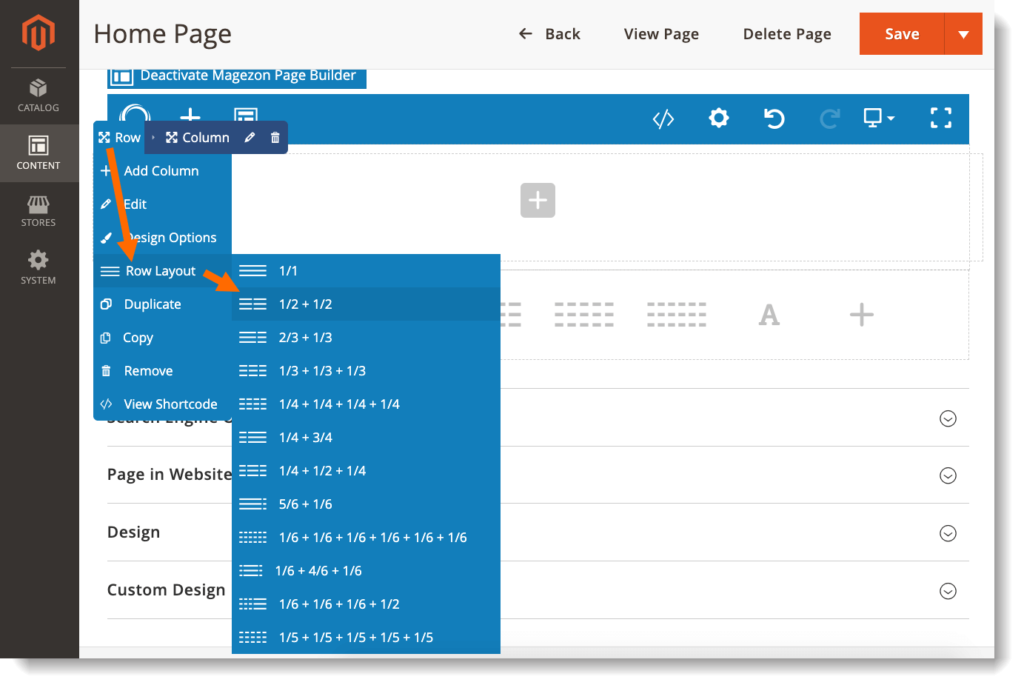
Or for more layout options, you can follow these steps:
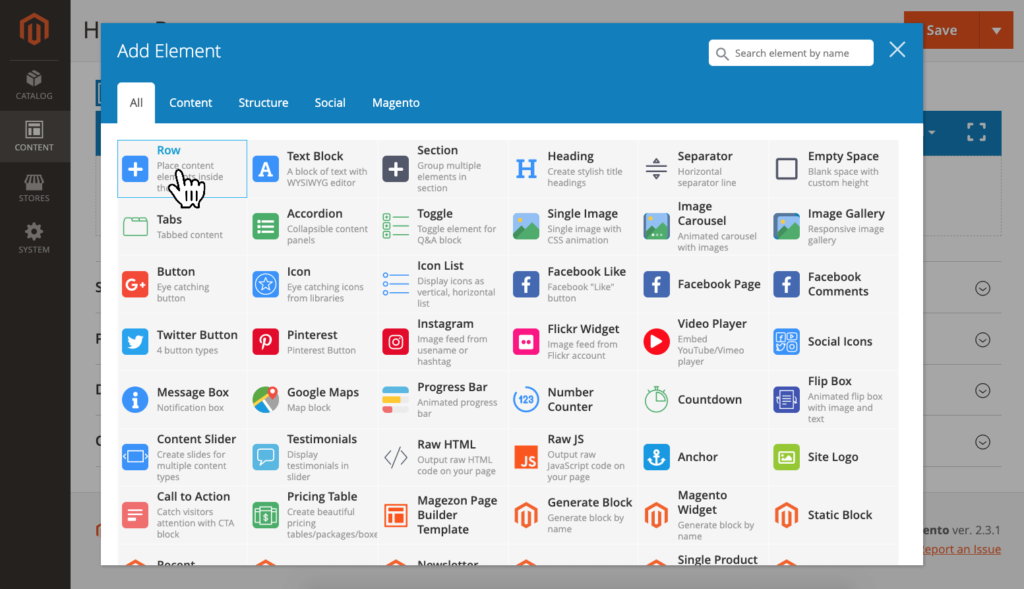
- Click the plus icon in the top bar. A popup with all elements will appear. Click to add Row element to the builder.
- Hover over the element and you’ll see a top bar like this:
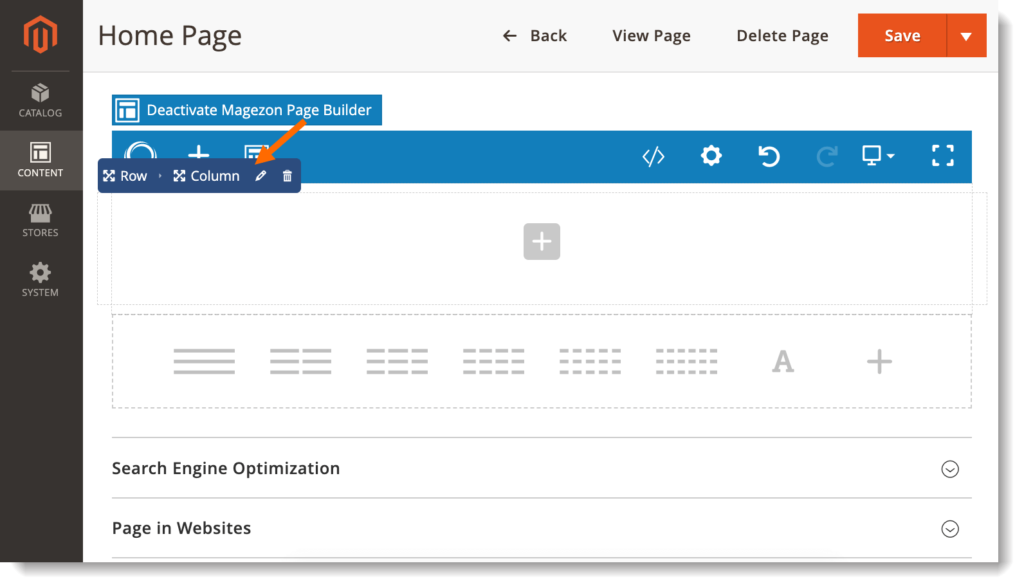
- Move your mouse to Row > Row Layout and choose your wanted layout.
Customize Columns
1. Add Elements
To add elements to a column, you can follow either of 2 following ways:
– Inside each column, you can see a plus icon.
Click on this to show the popup containing all elements. Choose your element to add to the column.
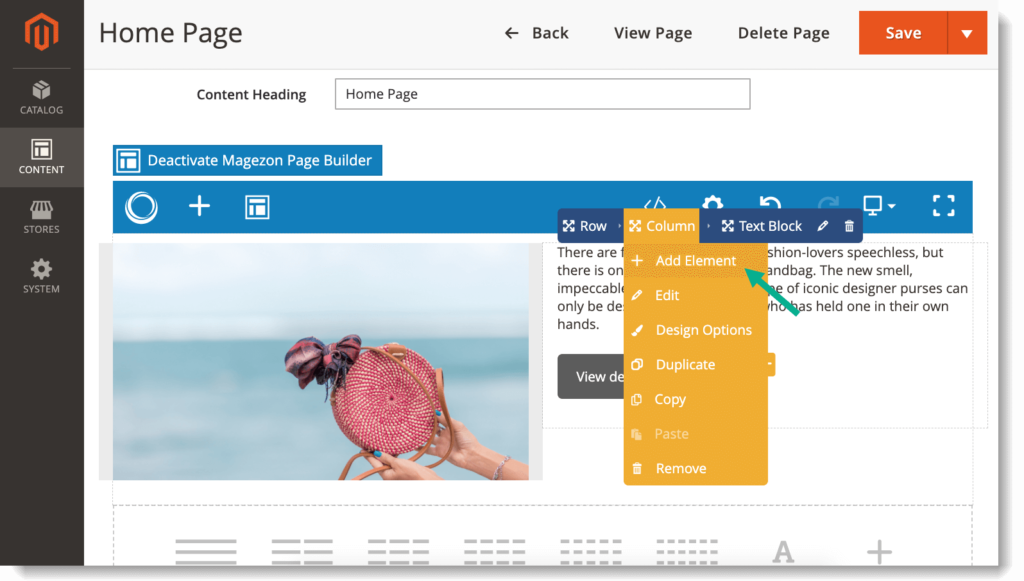
– Or you can hover over the column. Then move the mouse to Column in the bar. Click Add Element.
2. Rearrange & Resize Columns
a. Rearrange columns
To do this, hover over the column. Then move the mouse to drag drop icon next to Column in the bar. After that, drag and drop the column to your wanted positions.
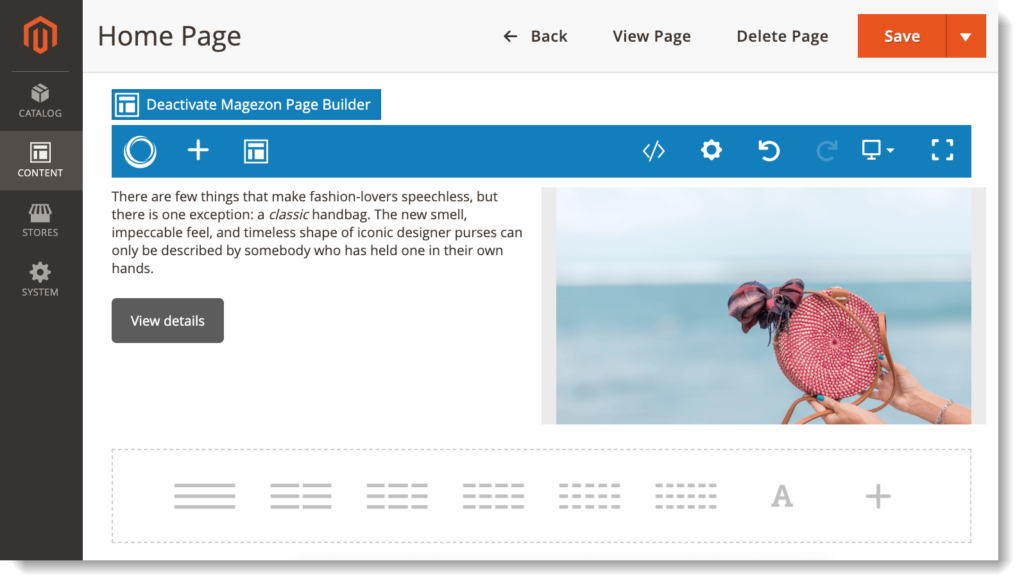
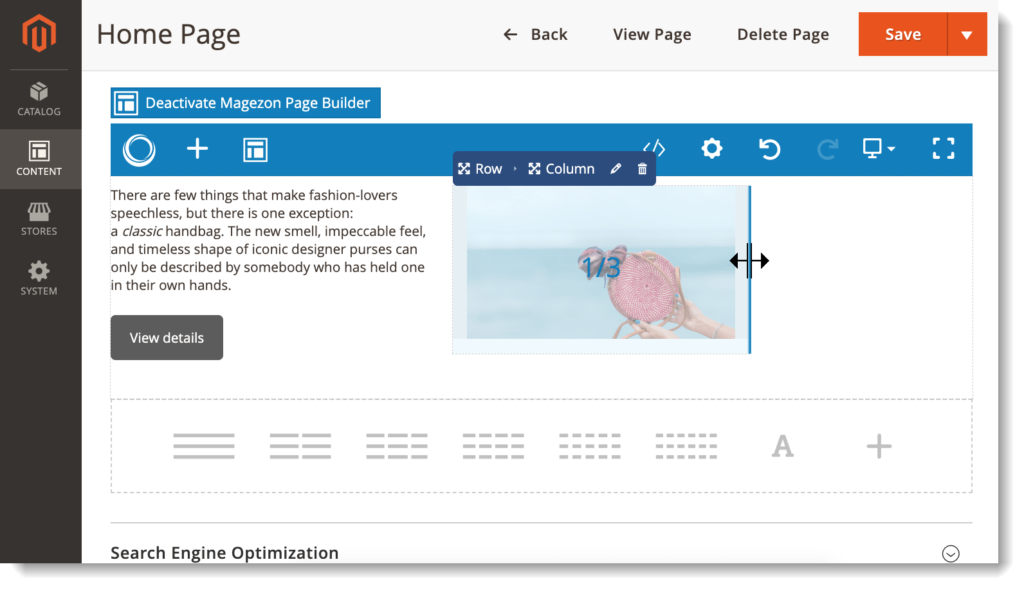
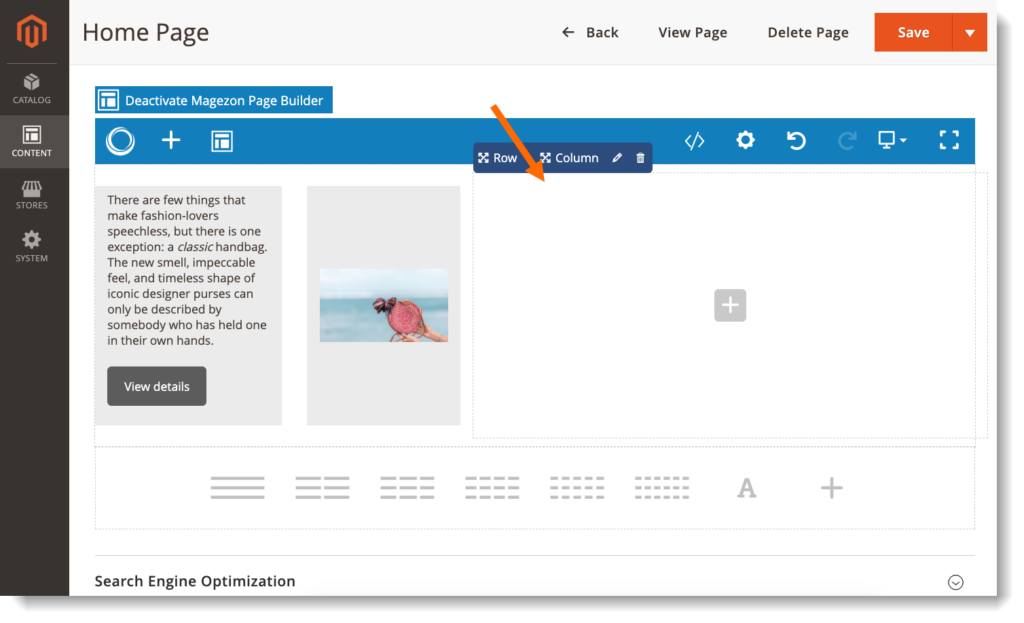
b. Resize Columns
You can resize columns using drag & drop like this:
3. Custom Options for Columns
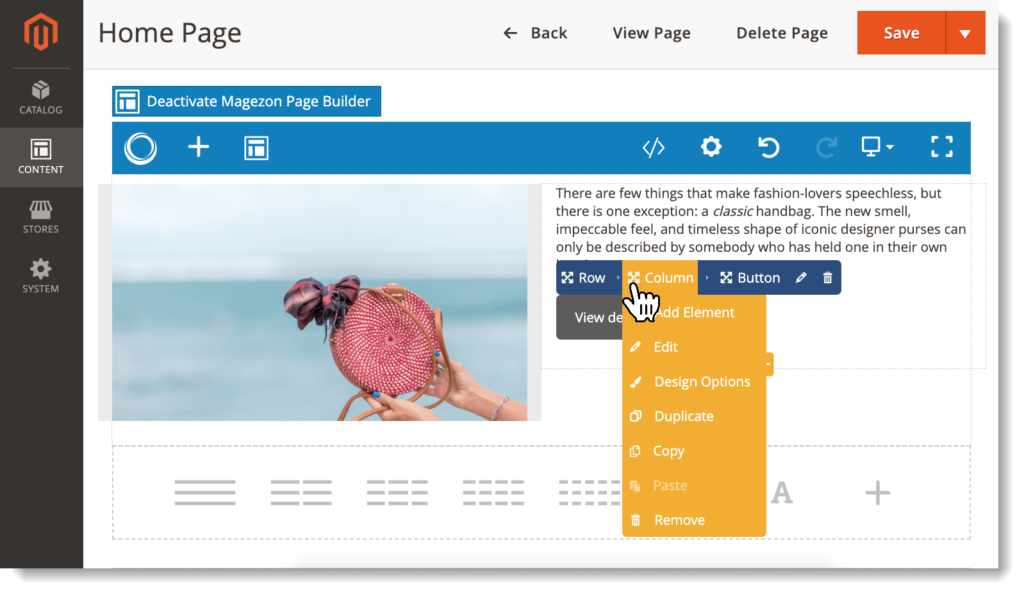
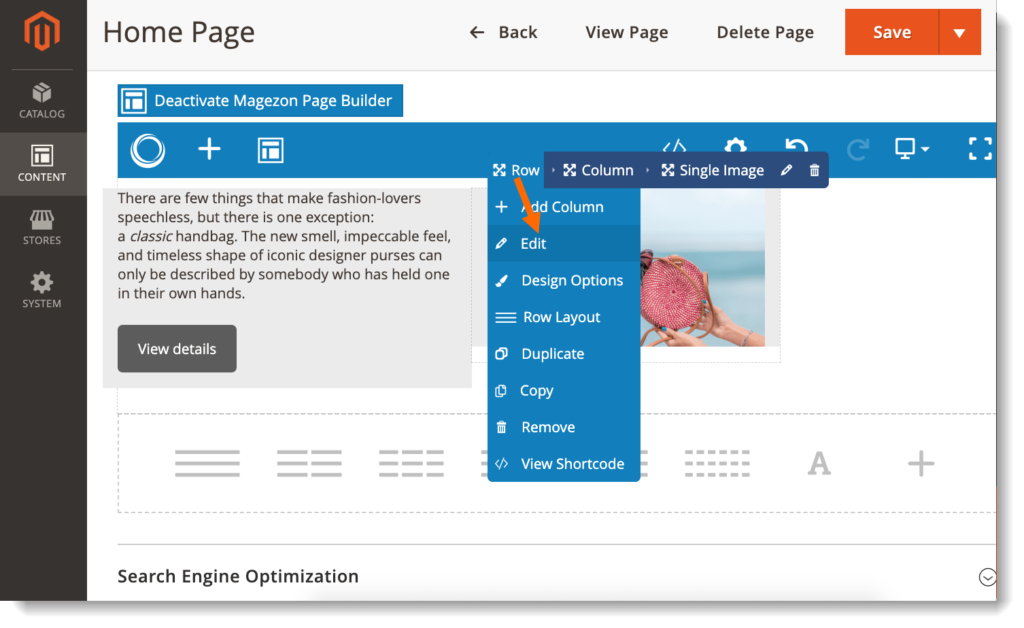
When hovering over the column and move the mouse over Column in the bar, you will see a drop-down with the following options:
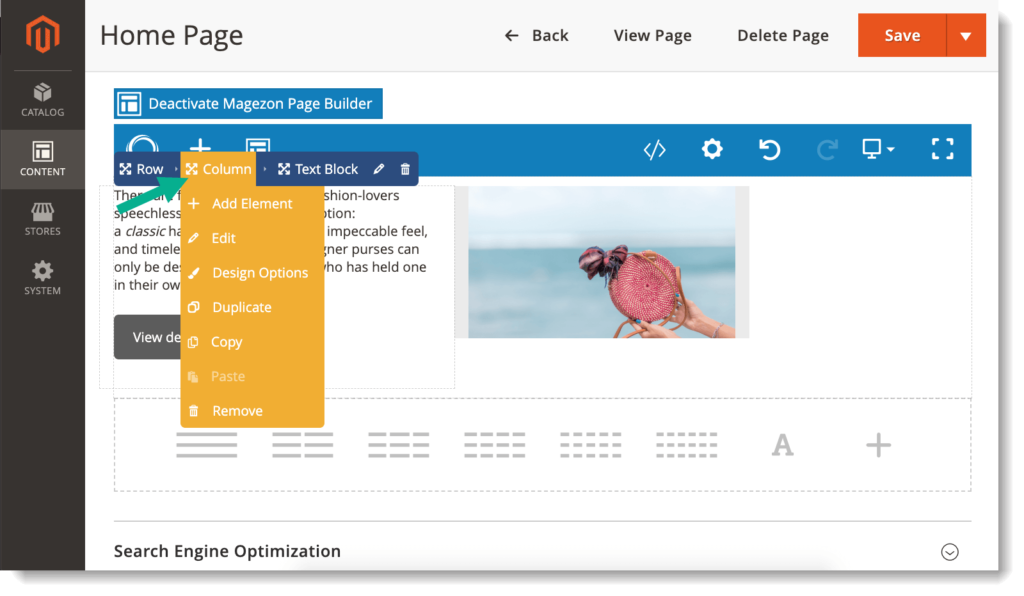
- Add Element: add element to the column.
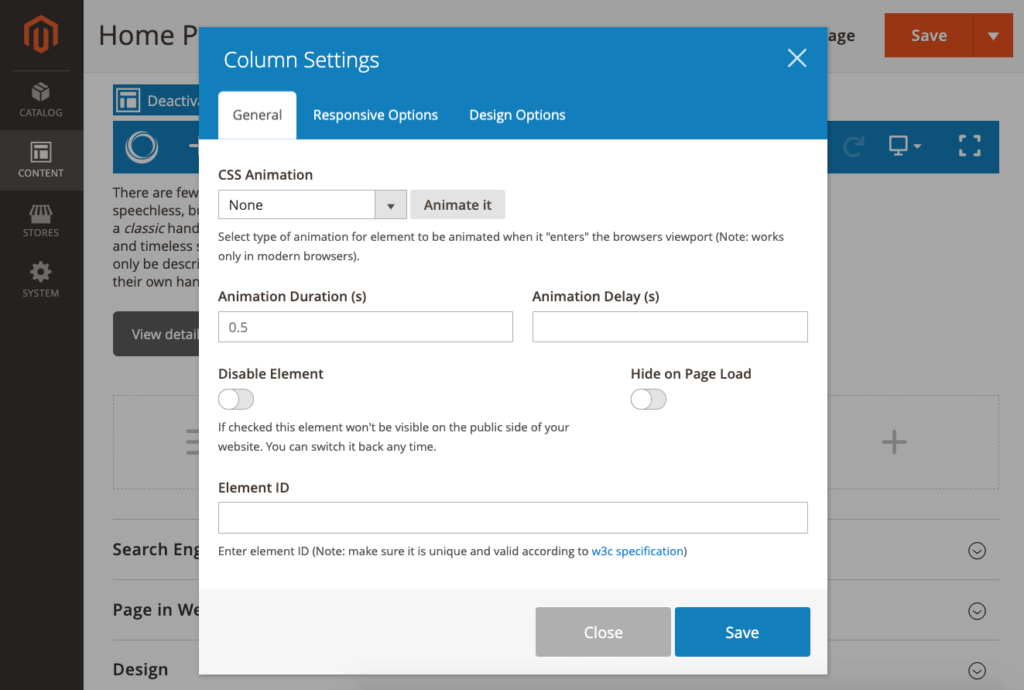
- Edit: click to open column settings in a popup.
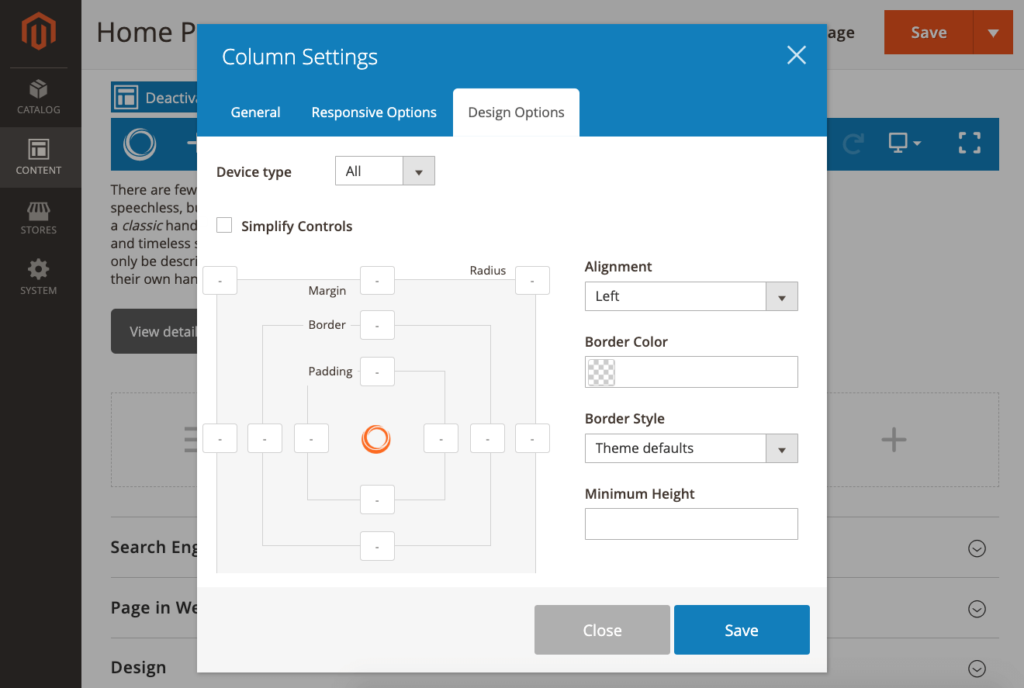
- Design Options: open Design Options tab in the popup.
- Duplicate: duplicate column.
- Copy: this function doesn’t apply to column.
- Remove: remove column.
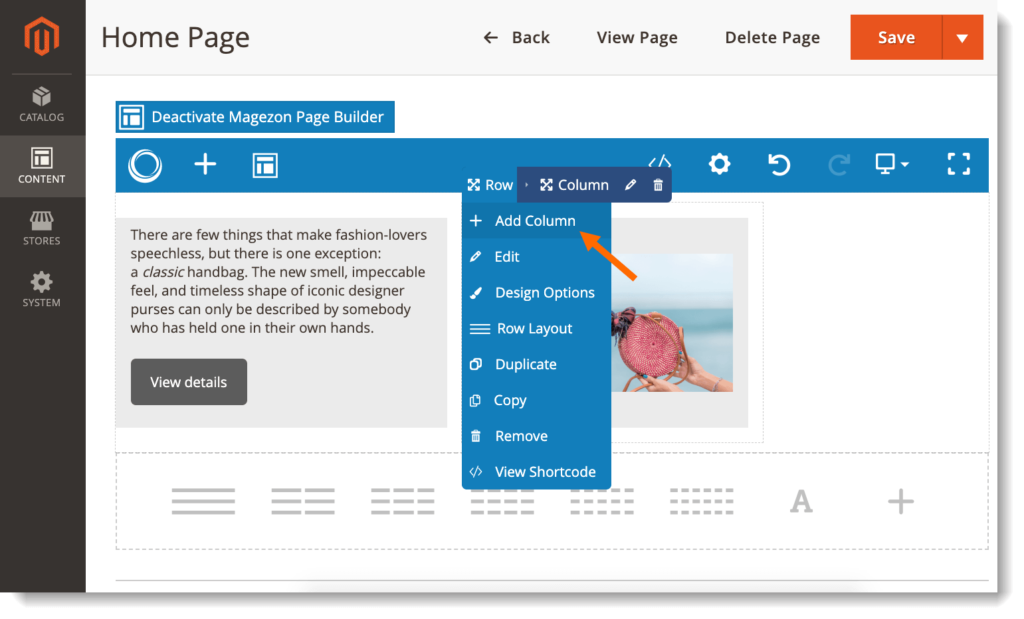
When hovering over the row, then moving the mouse over Row in the bar, you can:
– Click Edit to open row settings in a popup.
There, please pay attention to:
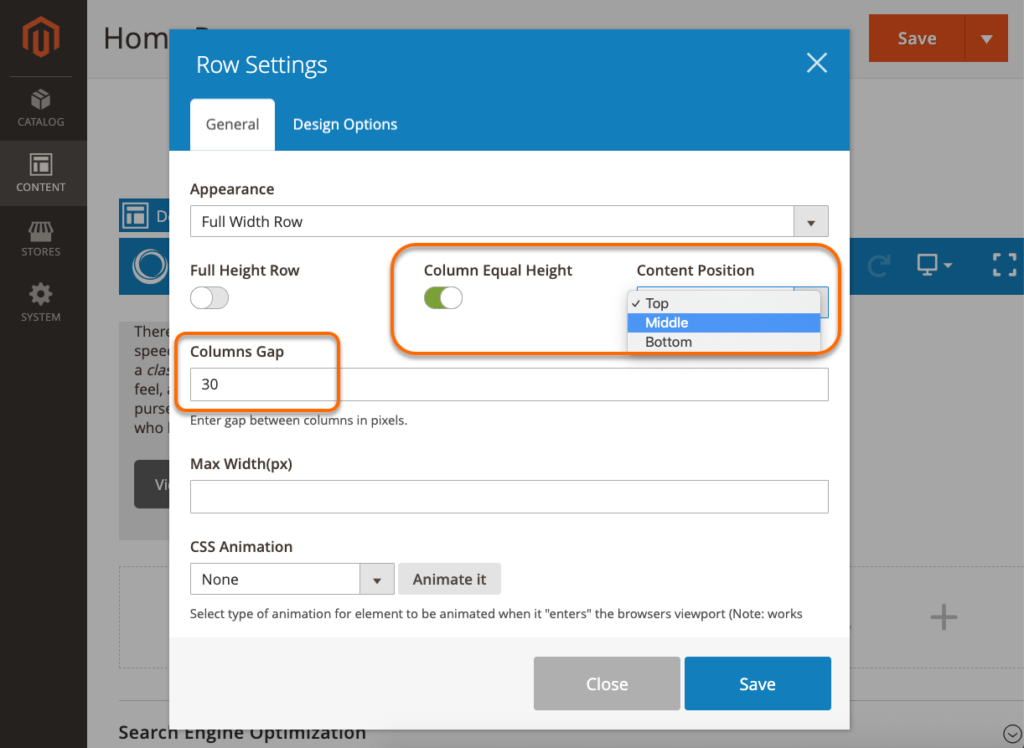
- Column Equal Height: set equal height for all columns in the row. If this function is turned on, Content Position field will appear. You can choose to display content in the column on top, middle or bottom.
- Columns Gap: set the gap/distance between columns.

– Add Column: add another column to the row.
To Sum up
In this article, you’ve looked at a detailed guide on how to create multi-column layout for your Magento 2 websites. If you have any questions and need support, feel free to leave a comment below.

Try FREE Magezon Page Builder demo today
Easily create beautiful, engaging Magento website in any style whenever you want without relying on developers or designers. Just by drag & drop.


